Shared File Areas
Shared File Areas
Empower Administrator > Document Options > Shared File Areas
Overview
When vaulting a document, the user can choose from a "local" file or use a "Shared File Area" file.
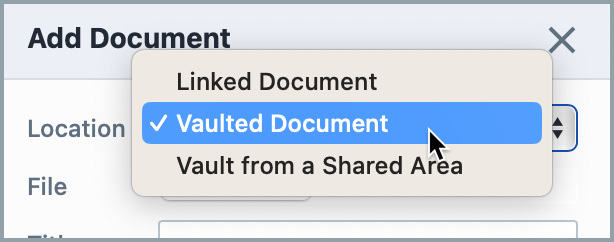
When selecting the Vault File(s) from Shared Area option, a Browse button will be available:
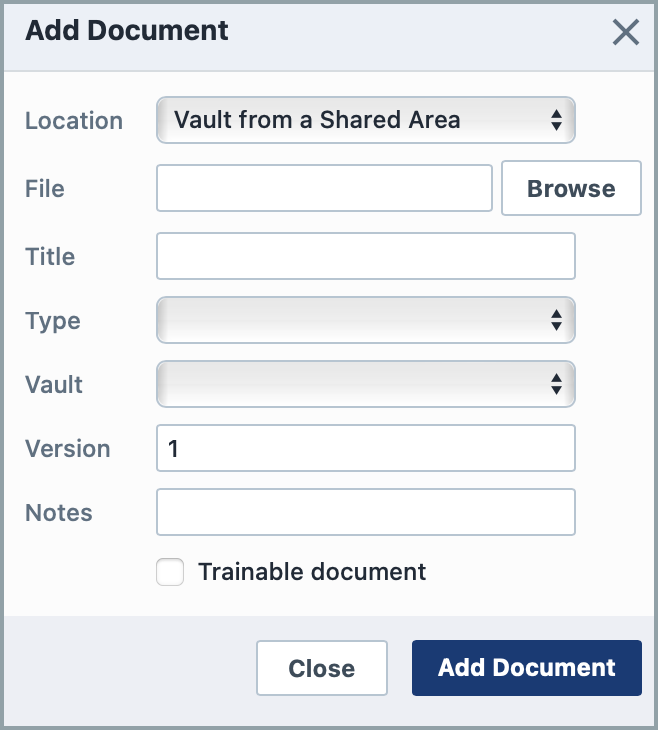
Clicking the Browse button will invoke the Shared File area browser.
Adding Folders
To add a shared file area, click the Add toolbar button. This will present the Add Folder dialog box.
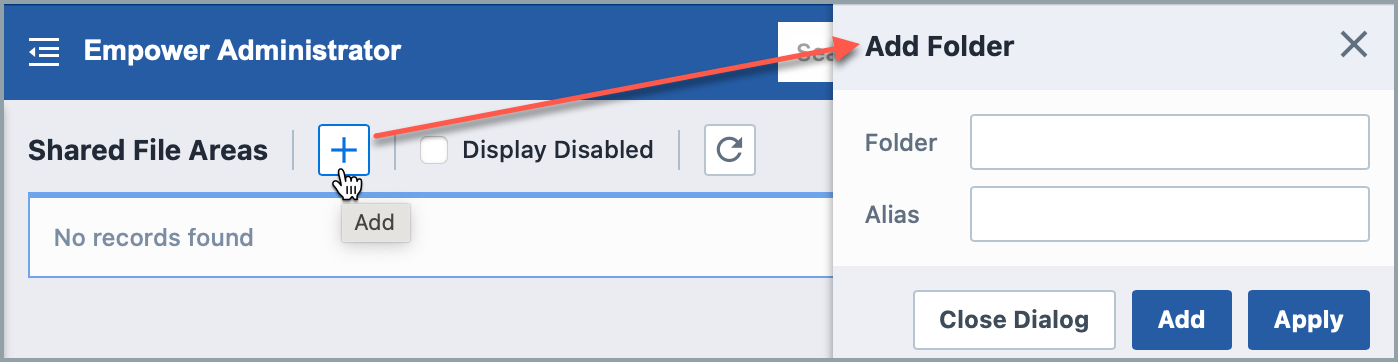
When defining a shared file area, you must set a folder and an alias. Note: the "folder" must be an area that is "readable" by the web server.
Editing Folders
To modify a folder/alias, click the Edit icon on the list.
This will invoke the Edit Folder panel.
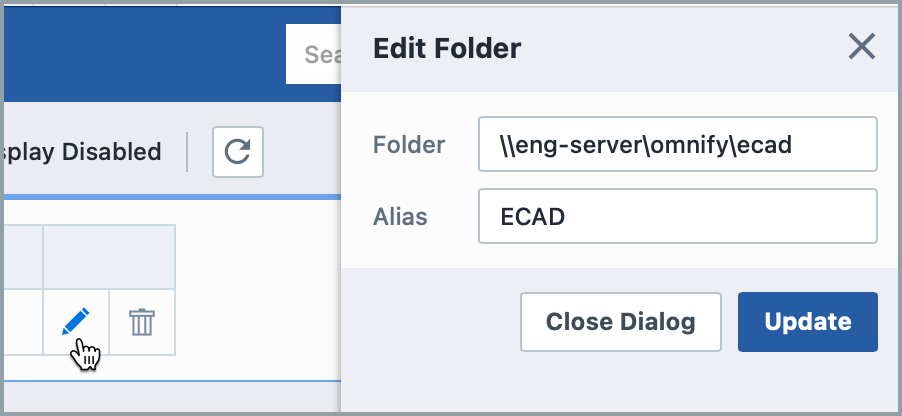
Once the desired changes are made, click the Update button to save the changes.
Removing Folders
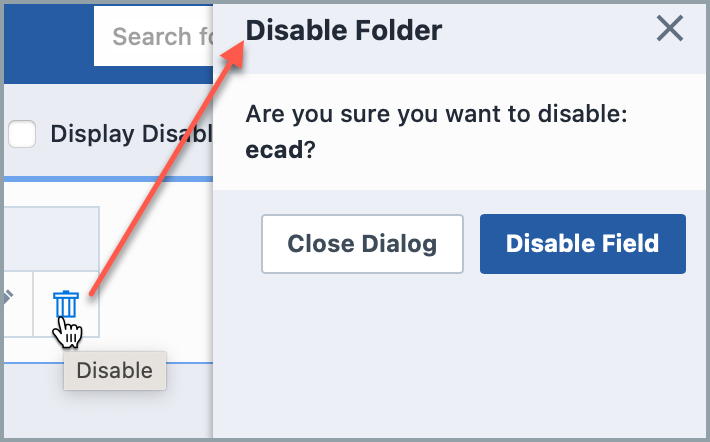
To remove an entry, click the Delete icon on the list.
You will be asked to verify the removal.
Enabling Folders
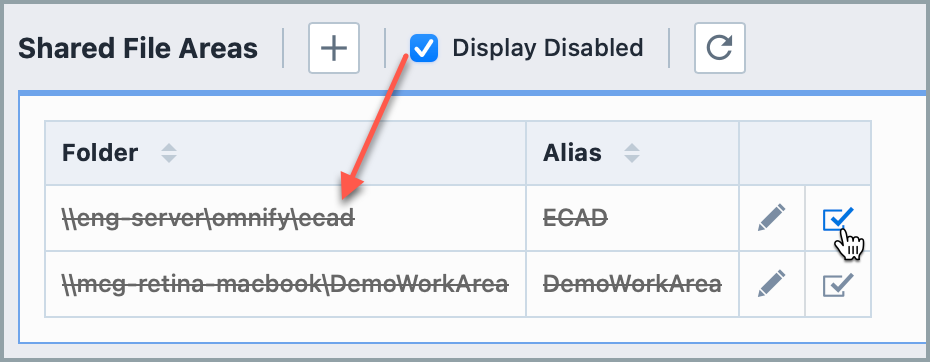
Deleting an entry will "disable" the record in the database. You can view disabled entries by checking the Display Disabled option.
You can activate/enable the entry by clicking the Enable icon: