Document Vaults
Document Vaults
Overview
Document Vaults provide you with a way to group/classify vaulted documents. Document Vaults are available in the Document Properties (adding and editing documents) dialog box in Desktop.
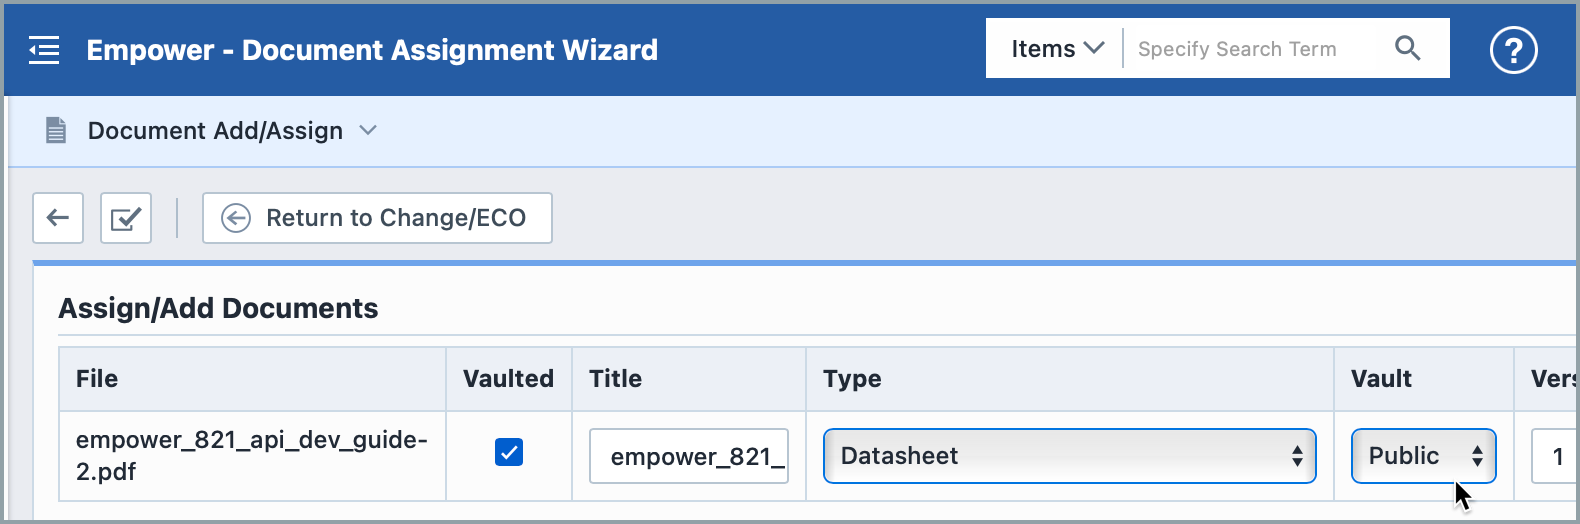
You can use Document Vaults to define user permissions/access to specific documents. Refer to the Permissions section for more information on controlling user access to documents.
Adding Vaults
Go to Empower Administrator > Document Options > Document Vaults: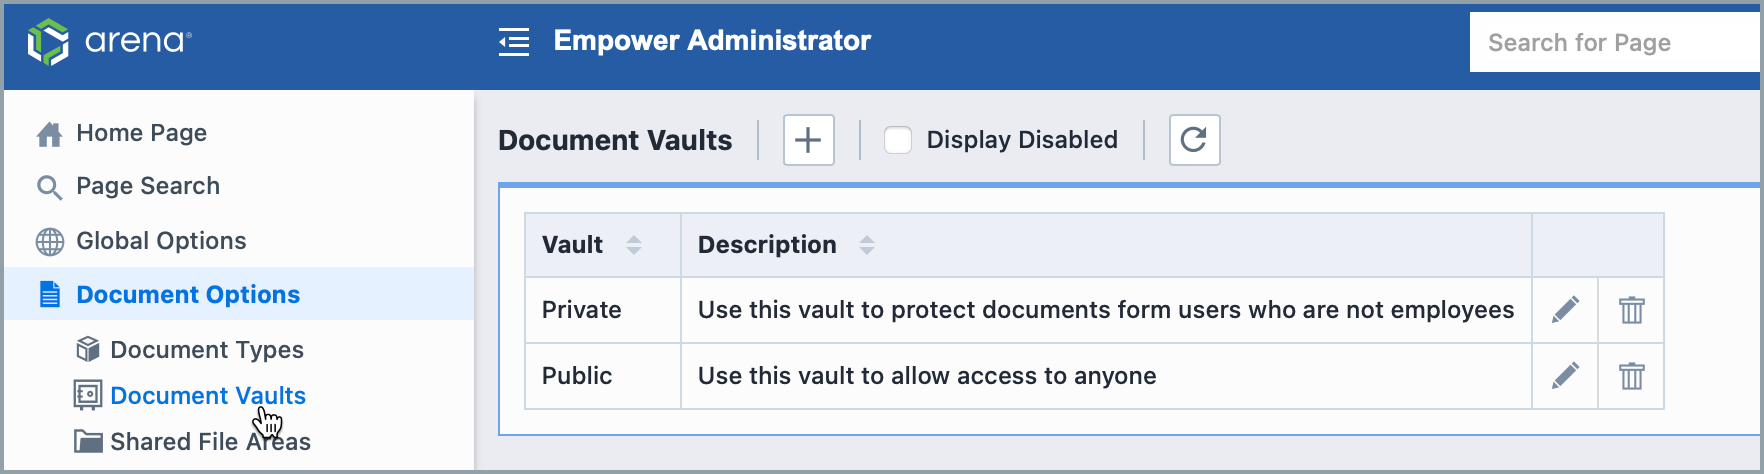
To add a document vault, click the Add toolbar button. This will present the Add Vault panel.
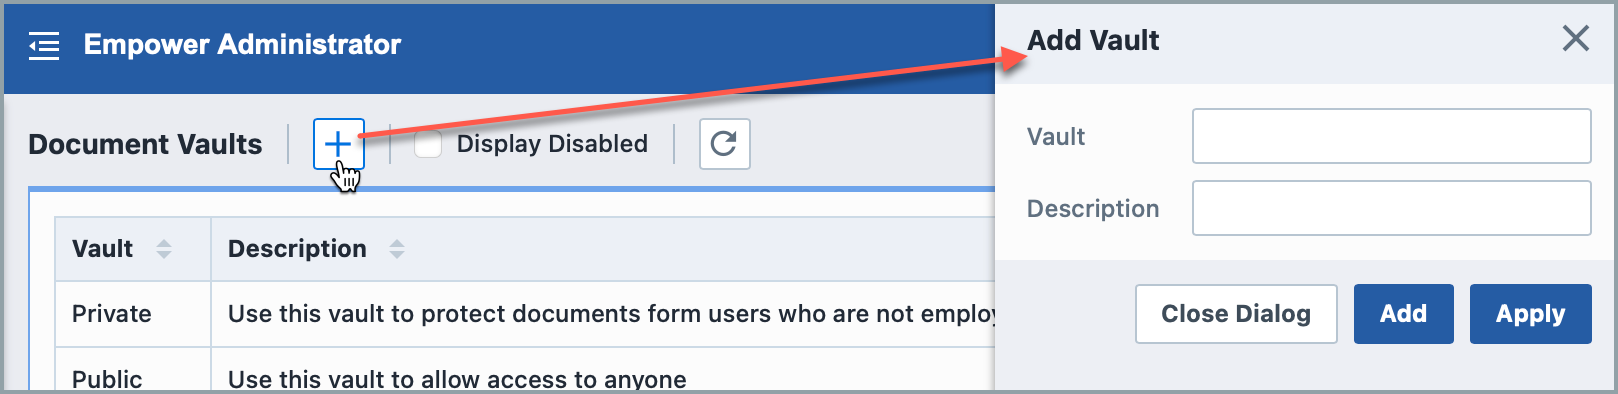
When defining a document vault, you can set the name and description. Once all fields/options are set, click the Apply or Add button to create the type.
Editing Vaults
To modify a type, click the Edit icon on the list. This will invoke the Edit Vault panel:

Once the desired changes are made, click the Update button to save the changes.
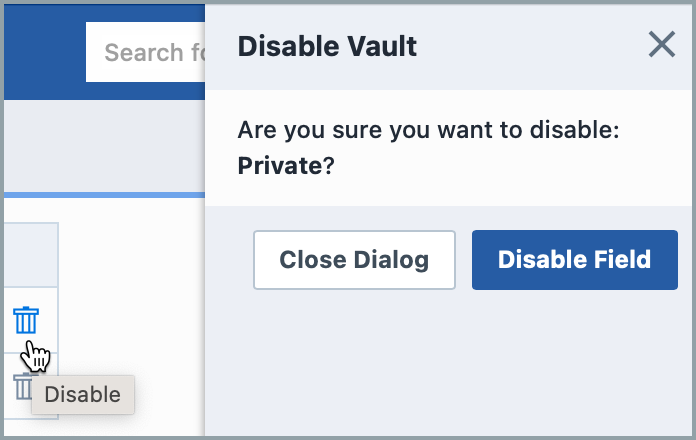
Removing Vaults
To remove an entry, click the Delete icon on the list. You will be asked to verify the removal:
Enabling Vaults
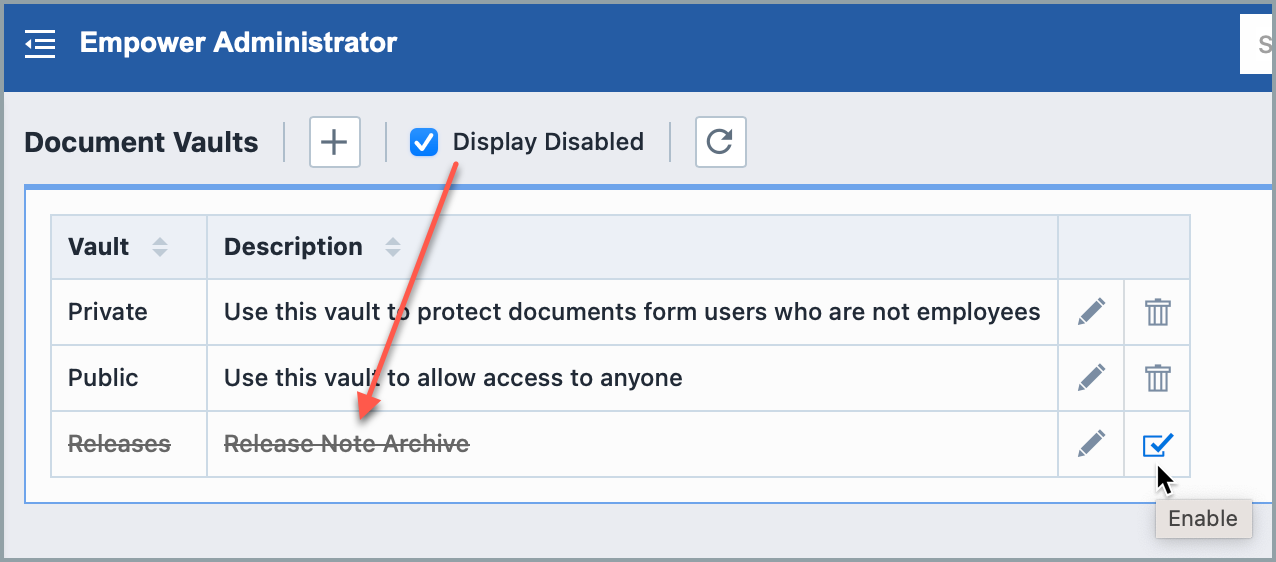
Deleting an entry will "disable" the record in the database. You can view disabled entries by checking the Display Disabled option.
You can activate/enable the entry by clicking the Enable icon: