Creating Views Reports
Creating Views Reports
Overview
Using the ViewManager, you can create reports/views for the following Empower objects:
- Items/Parts/BOMs
- Changes/ECOs
- Projects
- CARs/PARs
- Vendor Items
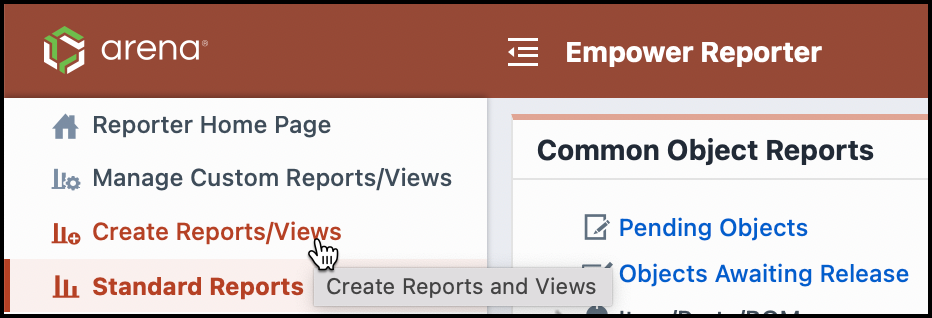
To create a single or multiple reports/views, select the Create ReReports/Views link from the Action Links list.
Report Wizard
When creating or modifying a view/report, the Report Wizard page will appear.
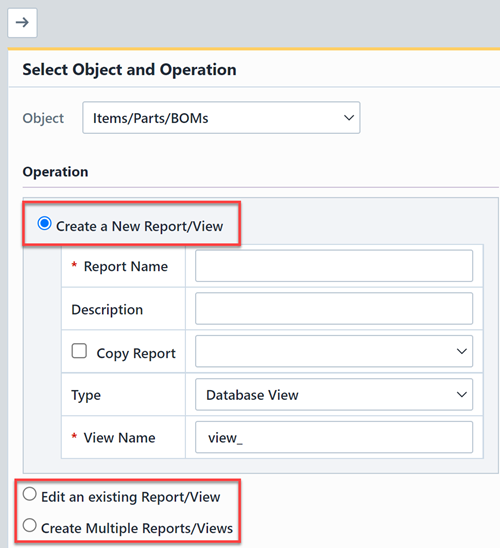
The first page of the Wizard allows you to select an operation. You will be able to specify:
| Operation | Description |
|---|---|
| Create a New Report/View | Create a single report/view |
| Edit an existing Report/View | Modify an existing report/view |
| Create Multiple Reports/Views | Create multiple views in a single operation |
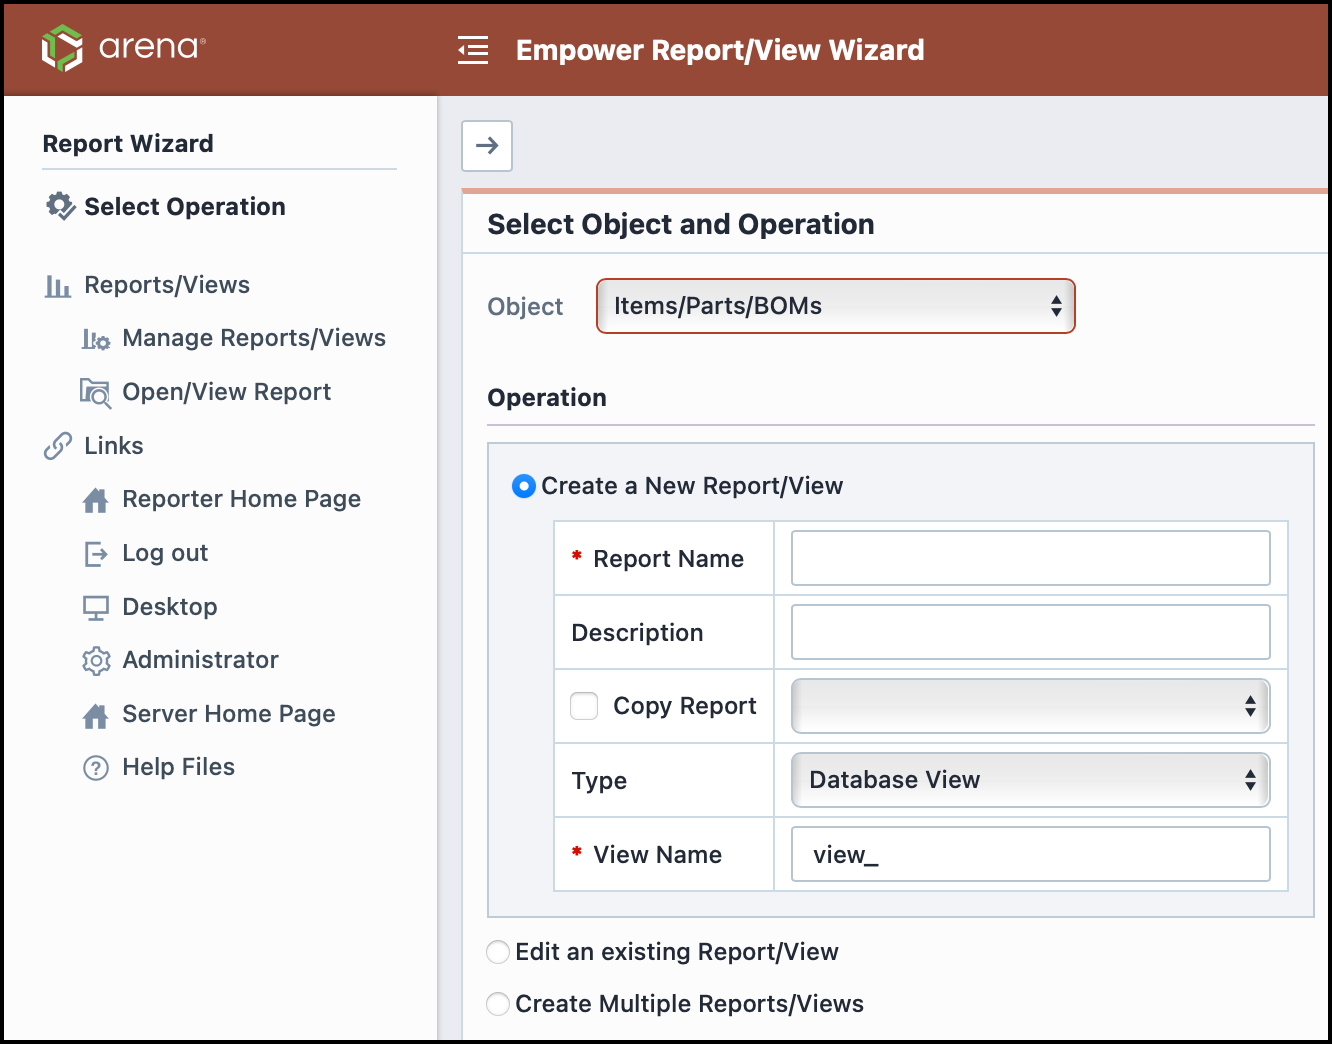
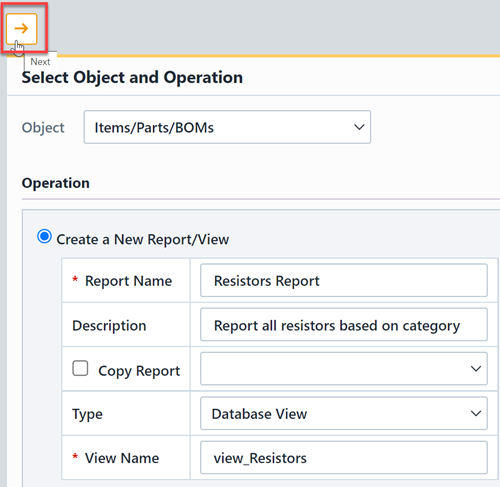
Create Single Report
To create a single report/view, first select the Object and then select the Create a New Report/View operation on the first page of the Report Wizard.

When creating a single report, you will be able to specify the following:
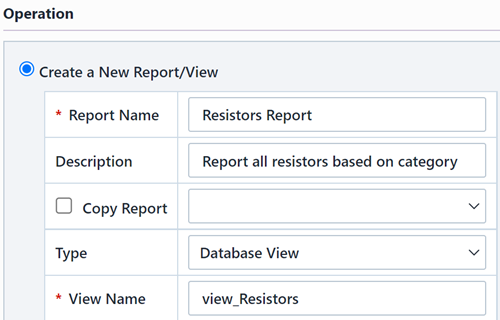
| Option | Description |
|---|---|
| Report Name | Specify a name for the report |
| Description | Description of the report (for search purposes) |
| Copy Report | If checked, the user will be able to copy the structure of an existing report |
| Type | Either database view or database report |
| View Name | When creating a database view, you must provide a view name |
Once all options are set, click the Next button on the Toolbar.
Creating Multiple Reports
The ViewManager allows you to create multiple Item data views/reports automatically based on field values.
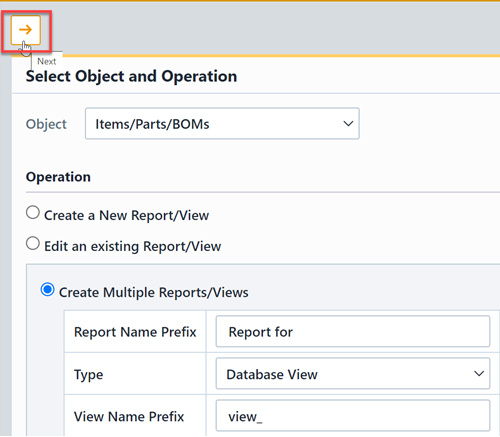
To create multiple reports/views, select Items/Parts/BOMs in the Object and then select the Create Multiple Reports/Views operation on the first page of the Report Wizard.
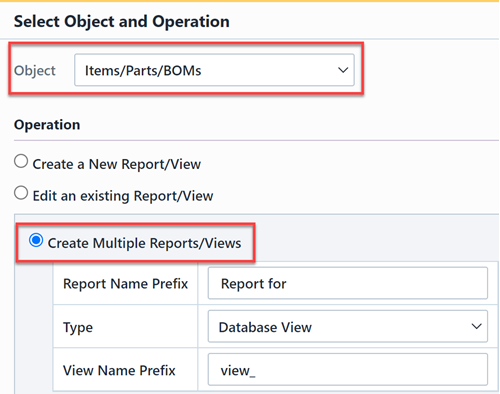
When creating multiple reports/views, you will be able to specify the following:
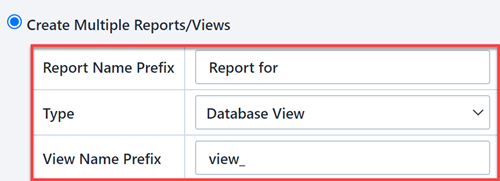
| Option | Description |
|---|---|
| Report Name Prefix | Specify the report prefix (system will automatically append to the name based on the selected field and values) |
| Type | Either database view or database report |
| View Name Prefix | When creating a database view, you must provide a view name prefix (system will automatically append to the name based on the selected field and values) |
Once all options are set, click the Next button on the Toolbar.
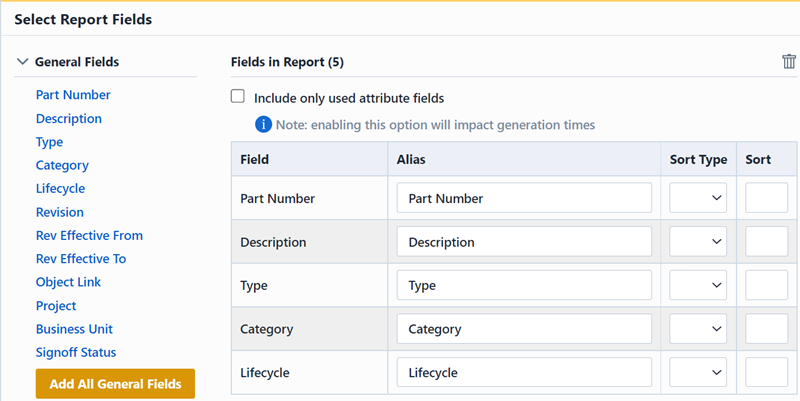
Field Selection
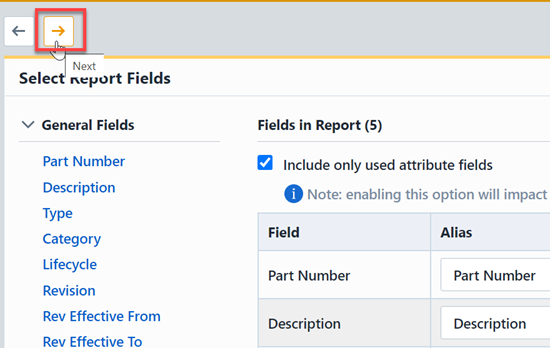
When creating or modifying reports, you will be able to select the fields that will appear in the reports/views.
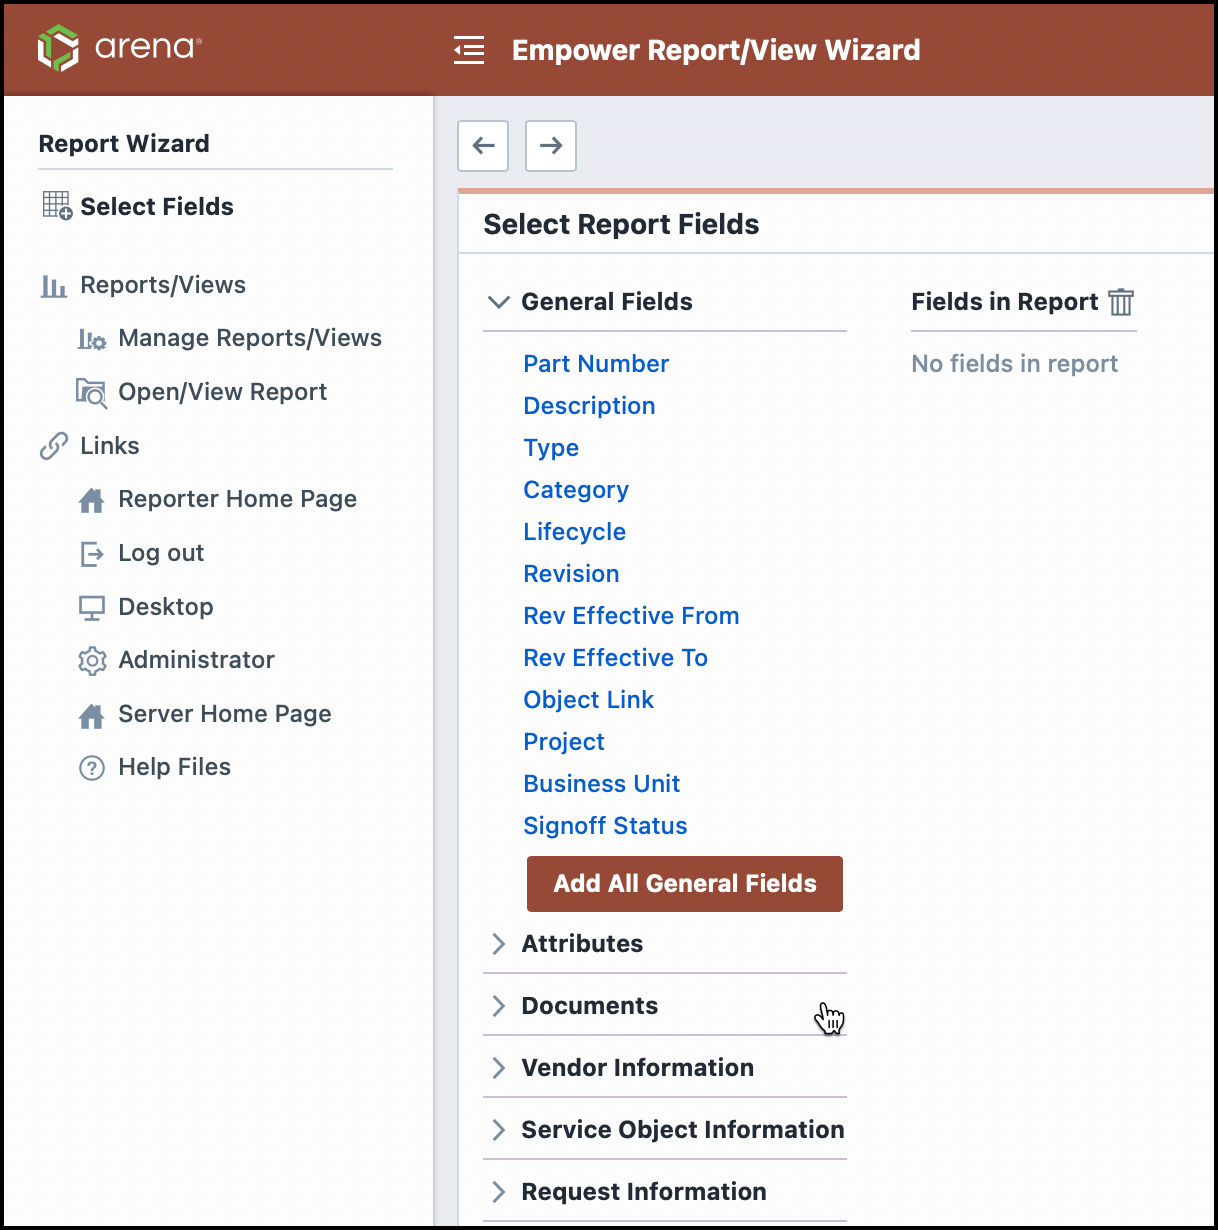
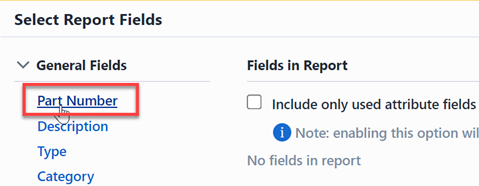
To include a field in the report, click field hyperlink.
Fields will be listed in the order you select them from the list.
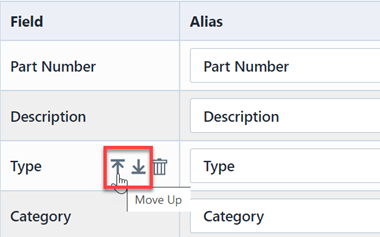
You can adjust the field order by hovering over a field and using the Up and Down icons.
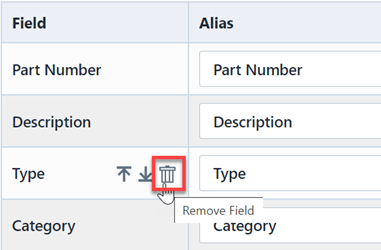
You can remove a field by hovering over a field and using the Delete icon.
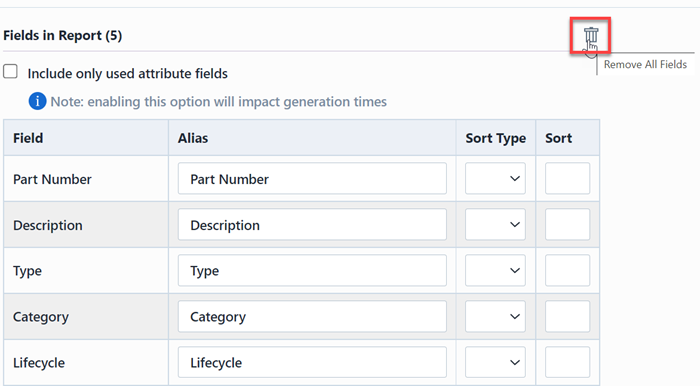
ou can remove all fields using the Remove All icon.
When selecting fields, the ViewManager will allow you to include an "Object Link" field.
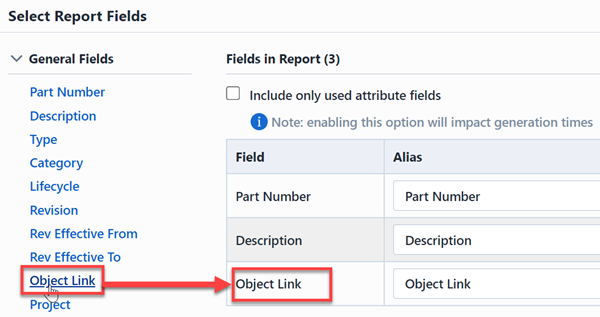
If this field is included in the view, the view will contain a field that includes a URL (link) to the Item form in Desktop.
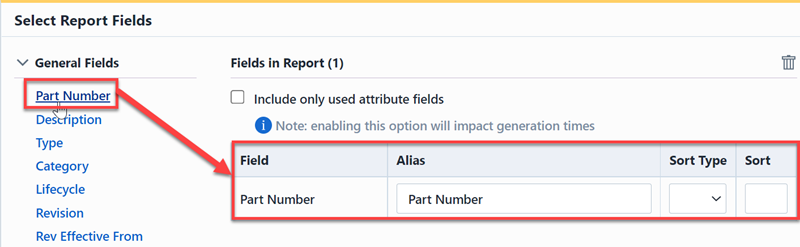
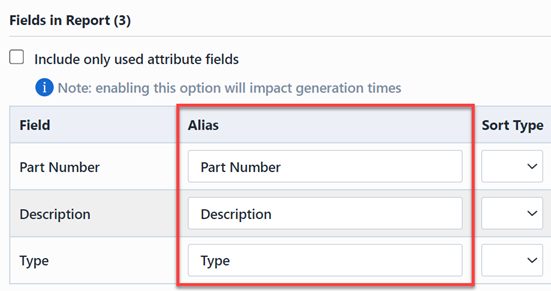
For each field in the list, you will be able to specify a field alias. The alias will be the name that will appear in the view/report and not the actual Empower field name.
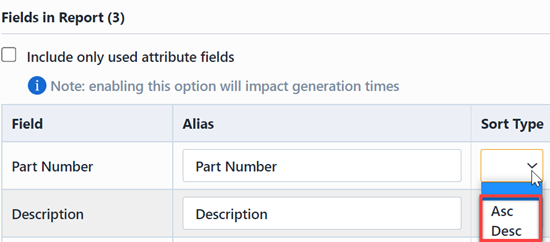
You can sort each field in the report by selecting the sort drop list (you can choose either Ascending [Asc] or Descending [Desc] order).
When creating multiple views, the ViewManager will provide an option to automatically select which attribute fields to include.
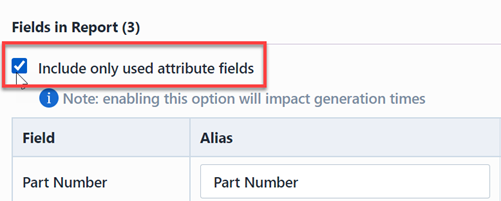
When this option is checked, the system will determine which attribute fields are in use by the items that will be included in the report and only include those attribute fields.
Once all fields have been selected, click the Next button to specify any additional parameters.
Parameters/Options
When creating or modifying reports, the last page of the Report Wizard will allow you to specify additional report parameters and options.
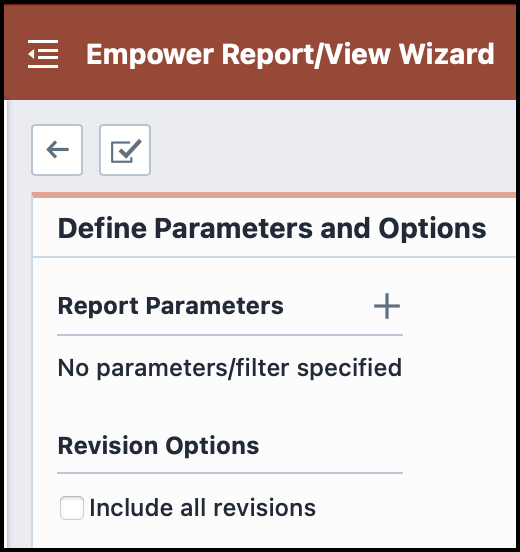
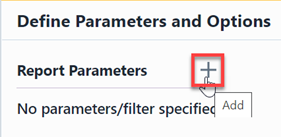
To add a parameter, select the Add button in the Parameters section.
The Add Parameter panel will present you with a list of available fields that you use to filter your results.
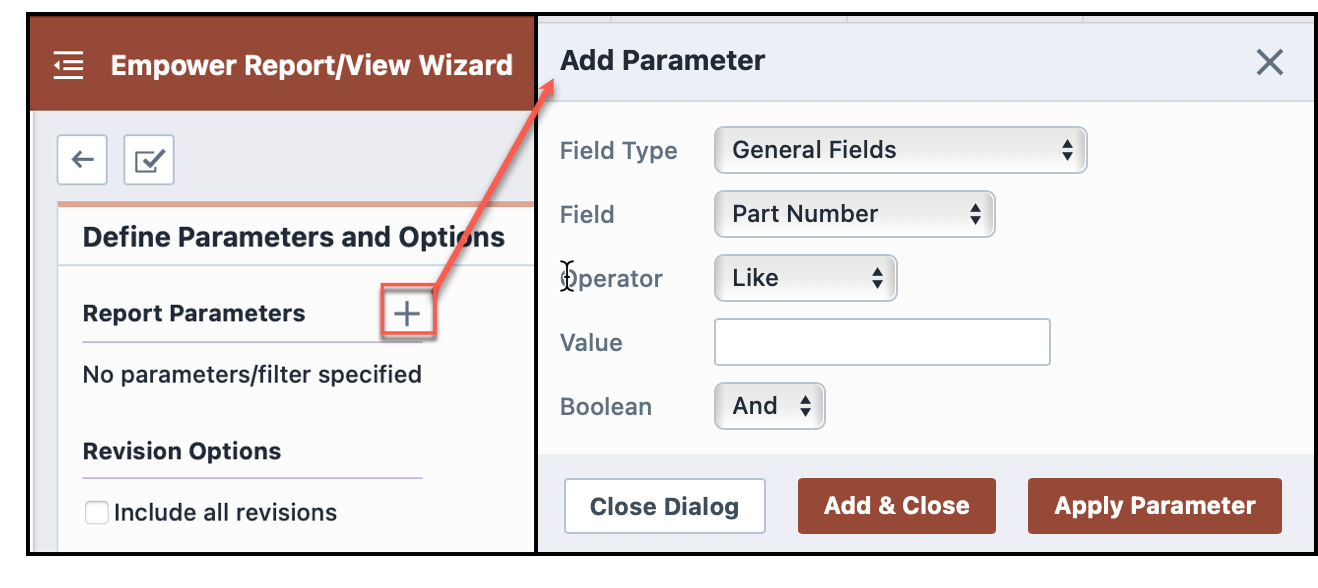
To add a filter, specify the field and value and then click the Add button. The limiting/search fields will appear in the Parameters list.
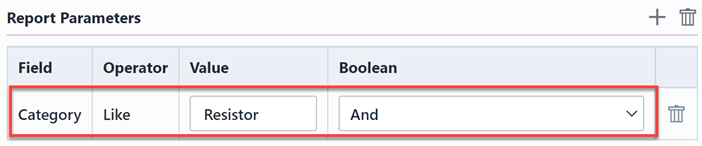
When creating multiple views, you can base the views on Item Type, Category, or Attribute field values.
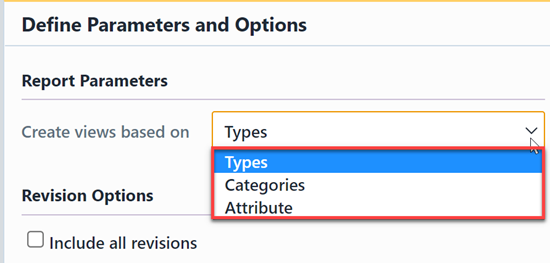
| Field | Description |
|---|---|
| Type | A separate view will be created for each Item Type value used by items. |
| Category | A separate view will be created for each Item Category value used by items. |
| Attribute | A separate view will be created for each value of the selected Attribute field. |
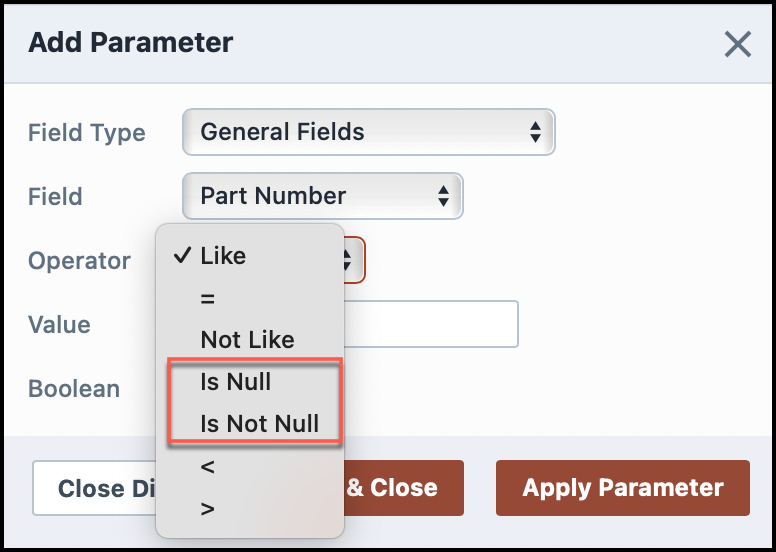
When creating a new custom report or updating an existing custom report, users can now select two new operators when defining the parameters of the report: Is Null and Is Not Null. With these operators, users can now filter for field types with no values, excluding objects with values or filter for field types with values, excluding objects with no set value for that field type.
Once all parameters and options have been selected, click the Create Report button.
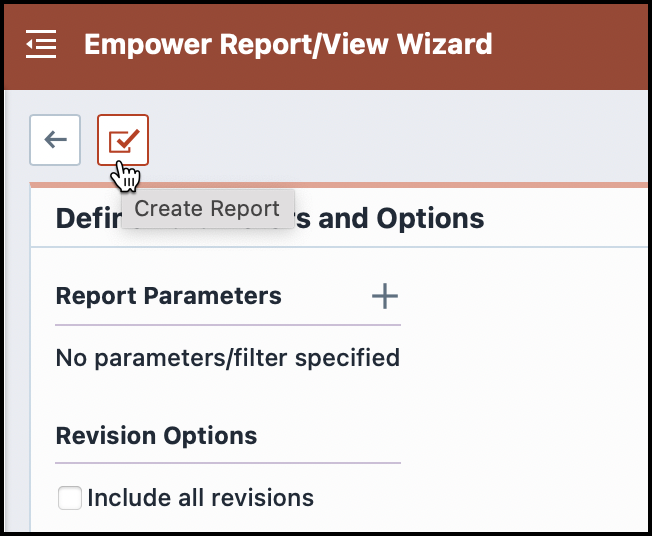
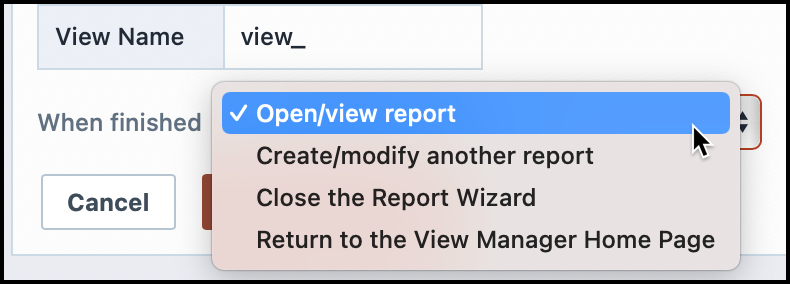
The final page will provide a verification check.
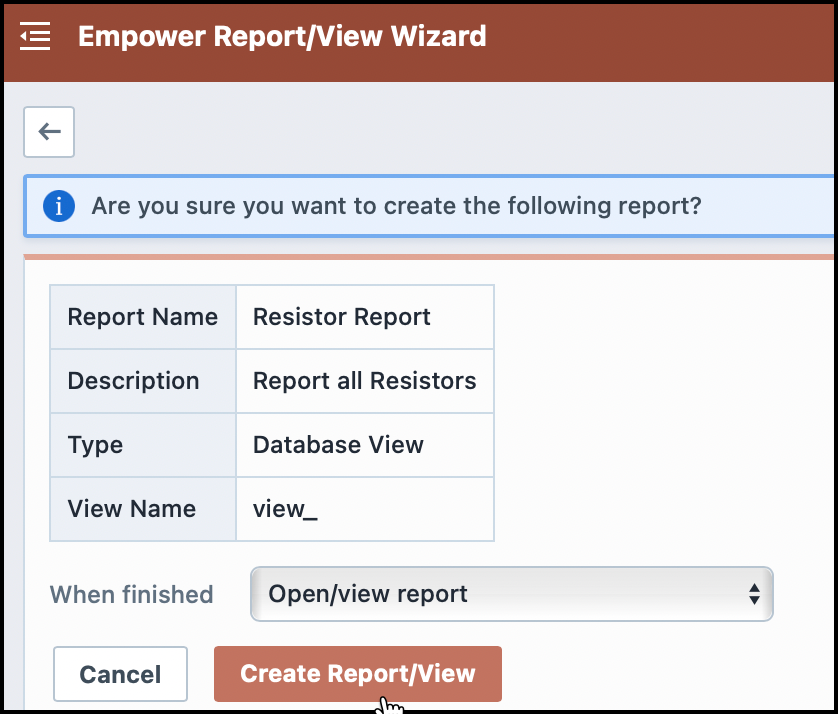
You will also be able to select which action to perform once the reports/views have been created.