Signoff Cycle Times
Signoff Cycle Times
Overview
The Signoff Cycle Time report will display all objects, their status, and the number of days it took to release each object.
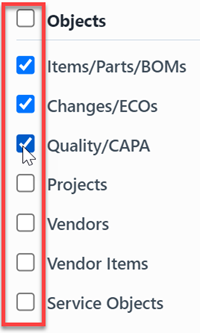
You can view the Signoff Cycle Times for the following objects:
- Items/Parts/BOMs
- Changes/ECOs
- Quality/CAPA
- Projects
- Vendors
- Vendor Items
- Service Objects
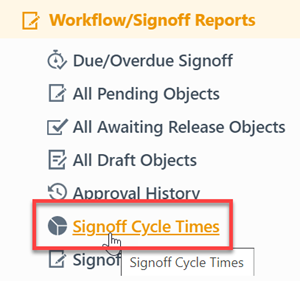
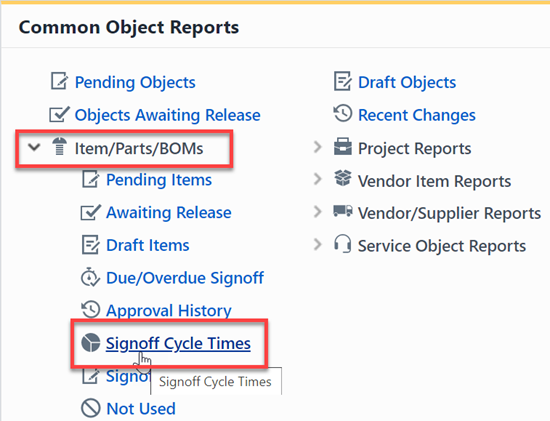
To view the Signoff Cycle Time report, select the Signoff Cycle Times link from the Workflow/Signoff Reports section or Object specific section of the Home Page.
Report Basics
The Signoff Cycle Time report contains the following key areas:
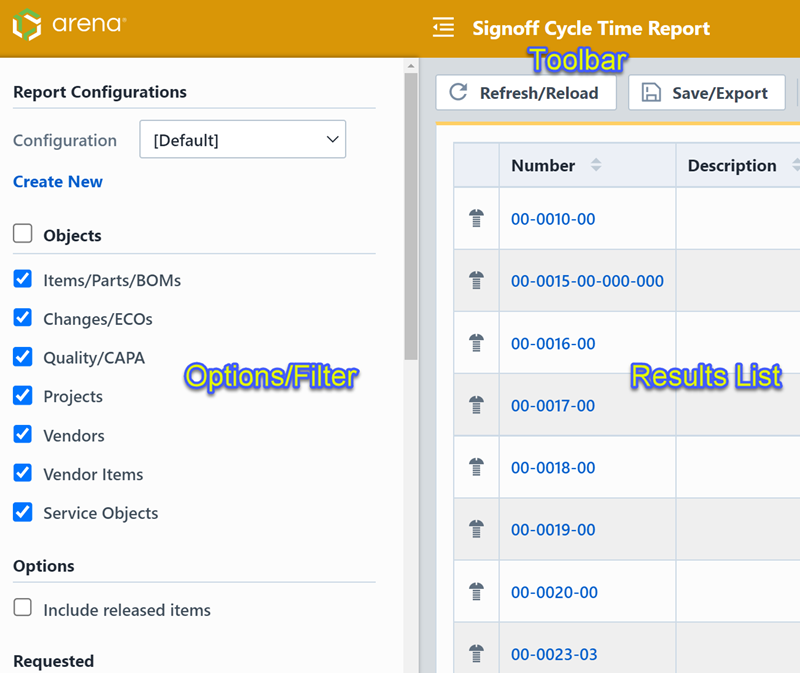
Report Options
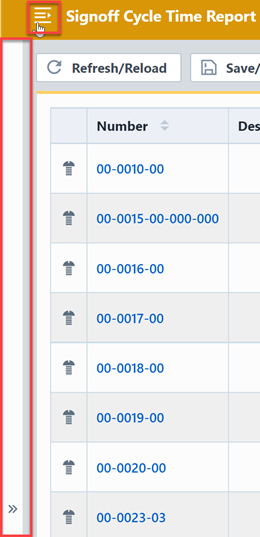
The report contains an Options pane that allows you to select which objects and states to include in the report. You can display and hide the Options pane by selecting the Options/Menu button.
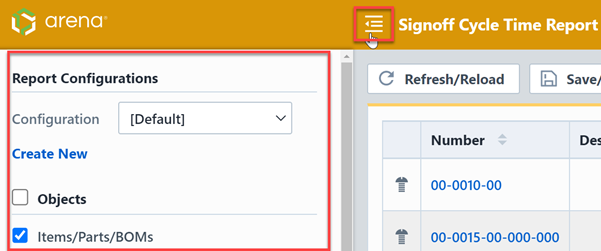
The Options pane allows you to select/check which objects you wish to include in the report.
The Options pane provides the following report setting:
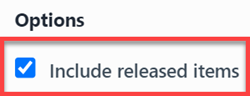
| Setting | Description |
|---|---|
| Include released items | If this option is checked, the report will include all pending and released objects. If this option is unchecked, the report will only include pending objects. |
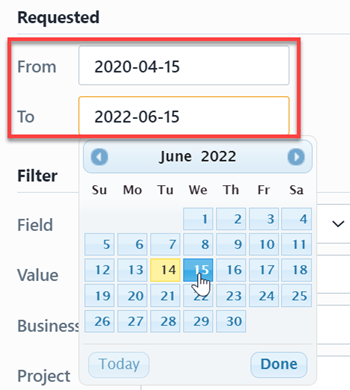
You can limit the timeframe of the report by specifying the Requested From and the Requested To fields.
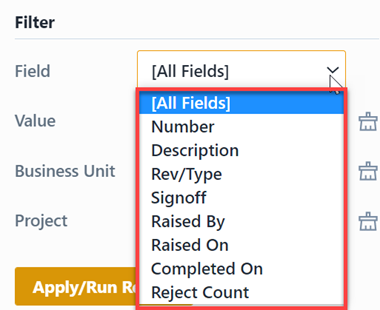
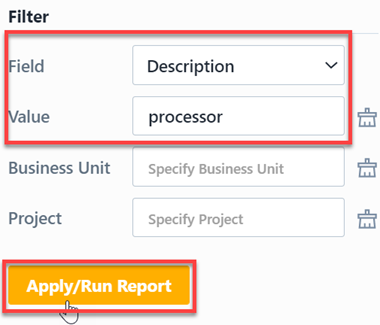
The report allows you to include specific field values to filter the report results.
Report Results
The report output includes the following fields:
| Field | Description |
|---|---|
| Number | Part/Key Number for the listed object |
| Description | Description of the listed object |
| Rev/Type | Revision of item or object type |
| Signoff | Object signoff state (e.g. "Released", "Pending", "Awaiting Release", etc.) |
| Raised By | User who created the object |
| Raised On | Date the object was created |
| Completed On | Date the object was released |
| Stage Days | Number of days the object was pending |
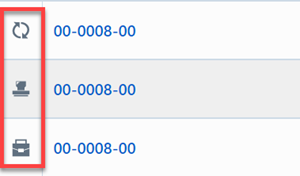
The report also contains a column that will indicate the object type/icon.
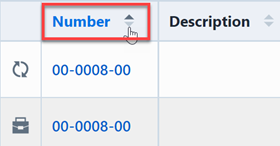
You can sort any field by clicking the header title. A sort indicator will appear.

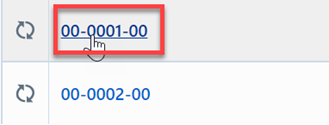
The report results will contain hyperlinks to launch the reported objects directly.
Results Export
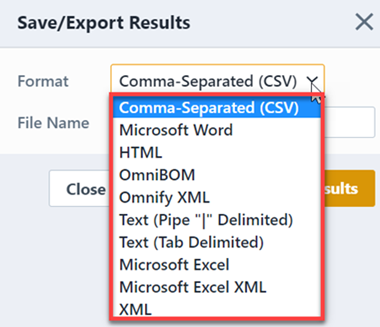
You can export the results by clicking the Save/Export toolbar button.

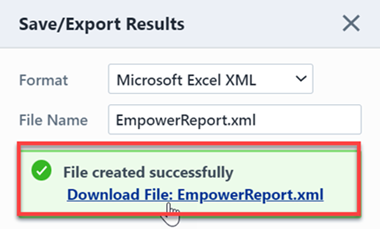
From the Export Report panel, you can select the output format and file name.
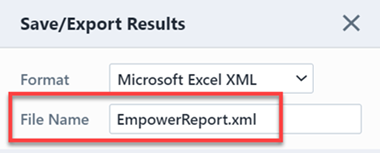
Once the format and file have been specified, click the Save/Export Results button to create the report.

If the file is created successfully, the download link will be available. To view the report, click the download link.
Results Paging
The report toolbar will display the following information.
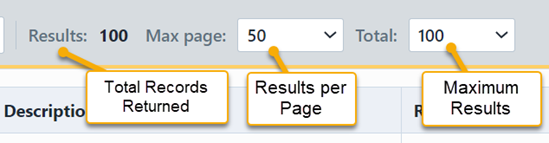
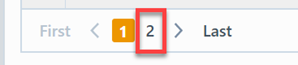
If the total number of returned records exceeds the number of results per page, the report will display a paging control.
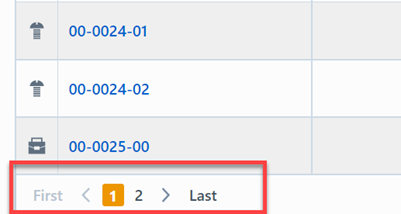
You can navigate the results pages by clicking a specific page number or by using the Previous and Next buttons.