Auto Numbers
Auto Numbers
Overview
Auto Numbers are used by Empower to automatically set Part Numbers (Item forms), Change Numbers (Change forms), Issue Numbers (Quality/CAPA forms), Training Numbers, and HelpDesk Tickets.

You can define an unlimited number of Auto Number "Groups".
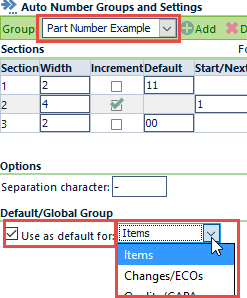
Each Auto Number group allows you to define:
- Auto Number Sections
- Character width of each section
- Which section of the auto number to increment
- Section separation character
- Start/Next Number
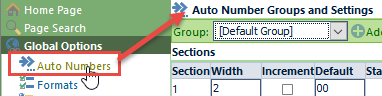
To create or modify Auto Number groups, select the Auto Numbers option from the Navigation tree (Global Options section).
Usage
Auto Numbers provide a numbering scheme that allows you to assign unique numbers/identifiers to specific objects (such as Part Numbers for items/BOMs, and Change/ECO Numbers). Each Auto Number can have any number of "sections", however one "section" must be defined as the "increment" section.
When new objects are created (such as a new item/part/BOM), the system will apply the pattern defined by the Auto Number group, and then assign a numeric value ("next" number) to the increment section. That numeric value will be incremented until it is determined that the number is not currently in use by any other similar object.
For example, let's say you desire to have part numbers such as 11-0001-00 assigned to a specific class of items. You would also like the system to automatically increment the middle section for subsequent new class items. Using this example, you would create an Auto Number group that contained 3 sections.
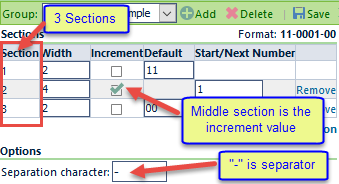
When the user attempts to create a new item whose class (type/category) is assigned to this Auto Number group, the system would check part number: 11-0001-00. If that number was already in use, the system would then check 11-0002-00, and continue incrementing (11-0003-00, 11-0004-00, etc.) until it found a number that was not already in use.
Assignment
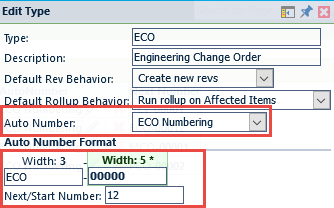
The properties of the Auto Number group provide a default pattern for sections, separation characters, and increment sections. Auto Number groups can be assigned to specific class codes (such as Item Types, Item Categories, Change/ECO Types, Quality/CAPA Types, etc.)
Once an Auto Number group is assigned to each class, you can override the default settings to define a different prefix, suffix, and/or starting number.
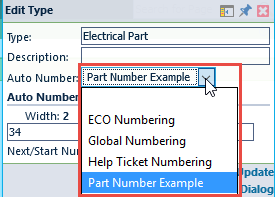
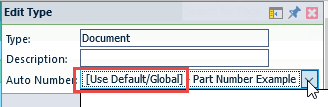
In the following example: the item "Type" called "Electrical Part", will use the same/default part number pattern "11-0001-00", however, the first two characters will be changed to use "34" and will start at "34-2000-00".
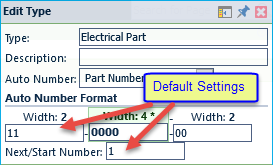

When creating or modifying class codes (Types and Categories), you will be able to select an Auto Number format and override the settings of that group.
Once an Auto Number group is selected, you can display the list of objects that use that Auto Number group by clicking the Usage button.

Default/Global Groups
Each Auto Number group can be assigned as a "Global" number. "Global" number groups can be used across multiple types/categories. One seed number and consecutive numbers are issued for all types/categories assigned to the global group.
To assign a "Global" Auto Number group, check the Use as default for option and then select the object.
When creating/modifying types and categories, you will be able to choose to use the "Default/Global" group.
Note: when using the "Default/Global" group, you will not be able to override the prefix, suffix, or define a starting number.
Creating Groups
To create a new Auto Number group, click the Add button next to the Auto Number group drop list.
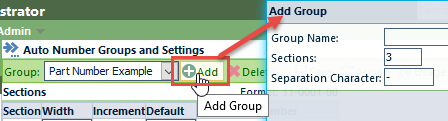
From the New Group panel, you can specify the group name and number of sections.
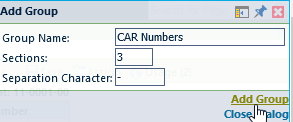
To create the group, click the Add Group button.
Modify/Remove Groups
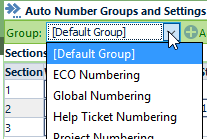
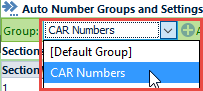
To modify a group, first select the group from the Auto Number Group drop list.
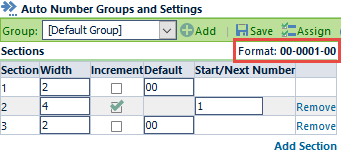
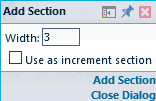
To add a section, click the Add Section link.
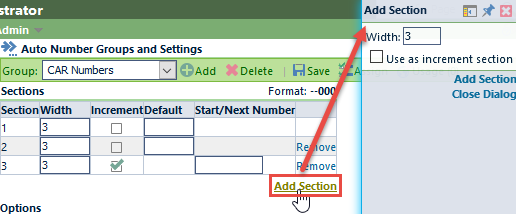
For each section, you can define the character width for each section.
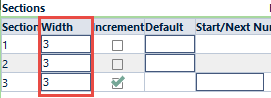
You can also define the width of each section by typing the value in the sections grid.
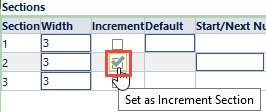
You can change/set the increment section, by checking the Increment checkbox.
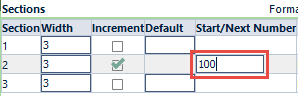
You can set the initial/seed number in the Start/Next Number area.
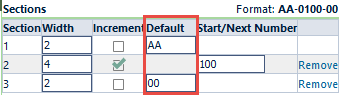
You can define the default text for each section in the Default area.
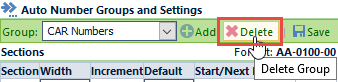
You can remove a group, be selecting the group and then clicking the Remove button.