Vendors
Vendors
Overview
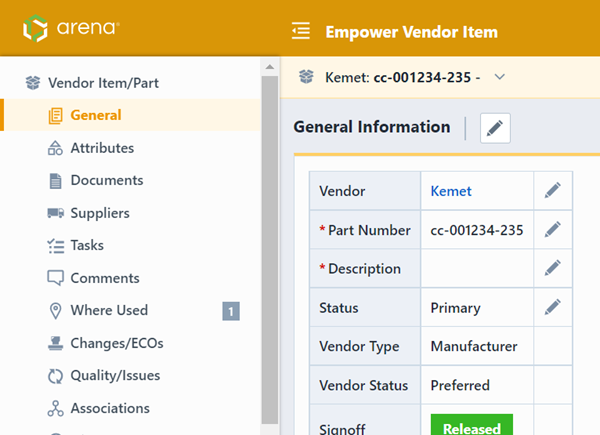
Empower supports unlimited vendor part associations for any database item. Each Vendor Item can contain: Vendor Name, Vendor Part Number, Vendor Part Status, Attributes, Documents, and associated vendor items (supplier hierarchy). When vendors are created you can define the vendor type (Manufacturer, Supplier, Distributor, etc.) and the vendor status (Preferred, Non-Preferred, Alternate, etc.). All of these options are defined in the Administrator.
The Vendors and Suppliers pages are available for both Item and Vendor Item objects.
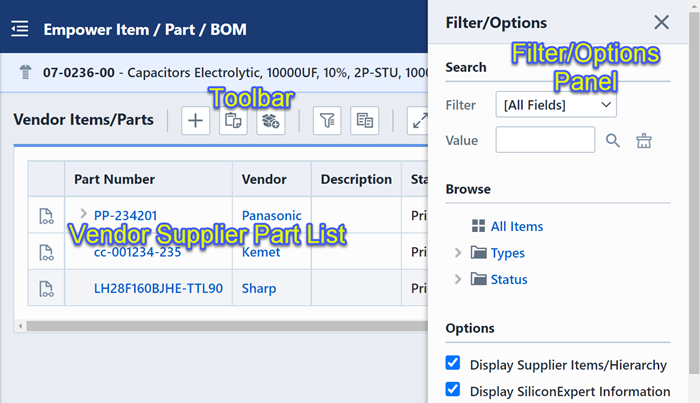
The Vendors Page contains the following sections:
| Section | Description |
|---|---|
| Toolbar | Quick access to common Vendor Item functions |
| Vendor/Supplier Item List | Current listing of associated vendor/supplier items |
| Filter/Options Panel | Access to search and filtering options |
The Vendors Toolbar contains the following commands:
| Icon | Command |
|---|---|
 | Add an existing vendor item |
 | Paste vendor items from clipboard |
 | Create a new vendor item |
 | Show/Hide the Filter Panel |
 | Copy vendor items to the clipboard |
 | Refresh/reload the list |
Refer to the Vendor Management and Vendor Item/Part Management sections for more information on managing vendor items.
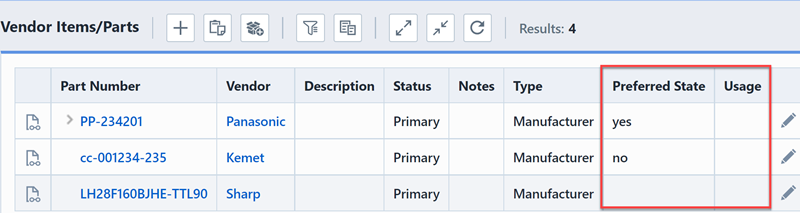
Vendor/Supplier Item List
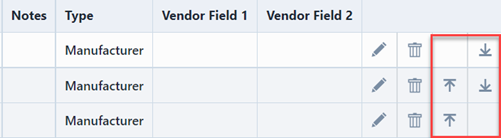
Each vendor item contains action icons (Actions column)

| Icon | Command |
|---|---|
 | Edit vendor item properties |
 | Remove vendor item |
 | Move vendor item up (Promote) |
 | Move vendor item down (Demote) |
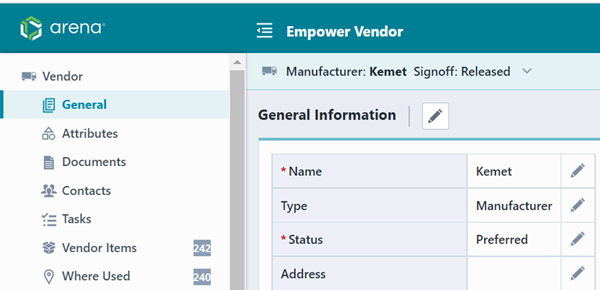
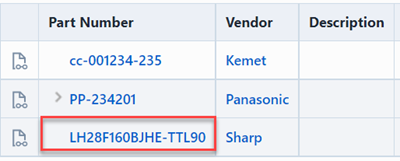
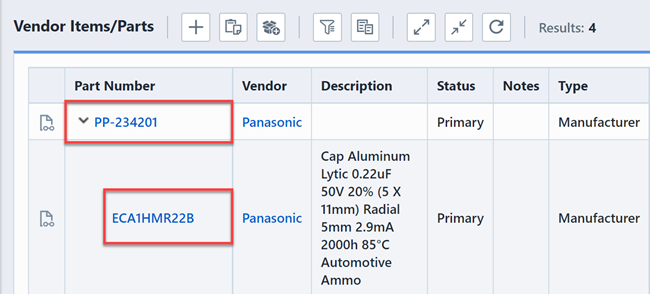
The Vendor column will contain hyperlinks.

Clicking the hyperlink will open the Vendor form.
The Part Number column will contain hyperlinks.
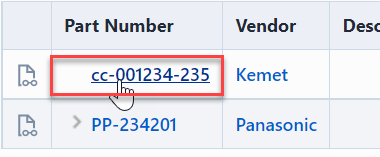
Clicking the hyperlink will open the Vendor Item/Part form.
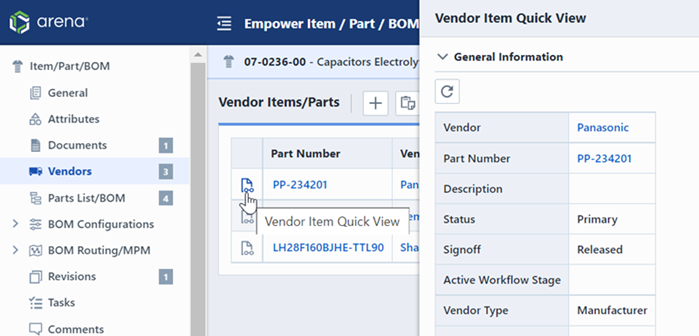
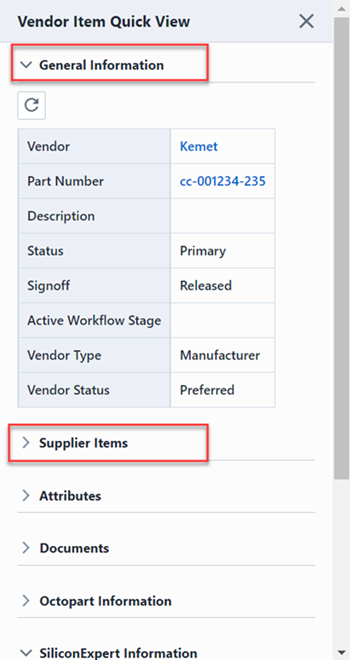
The Vendors Page provides a "Quick View" for every vendor part in the list. To view specific data about a vendor part, select the "Quick View" button.
You can expand the section data to view the information for that section.
Adding Vendor Items
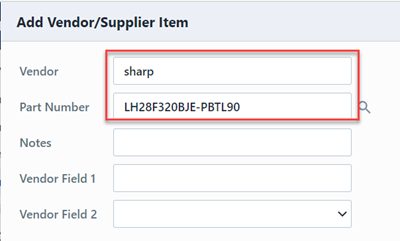
To add/associate a Vendor Item, click the Add toolbar button. This will display the Add Vendor/Supplier Item panel.
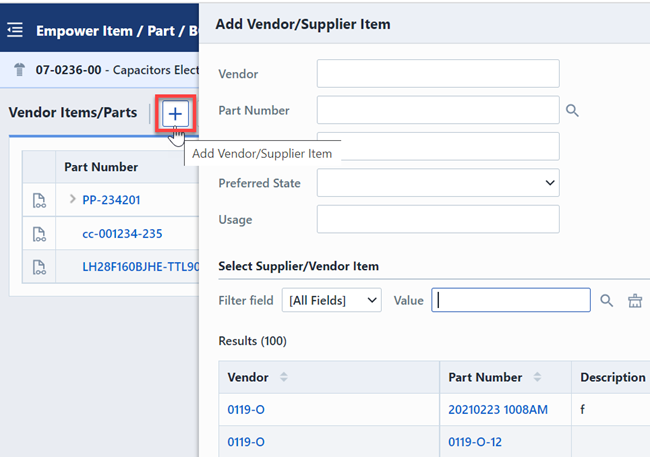
You can type the name and part number of the desired vendor item/part and click the Add or Apply buttons.
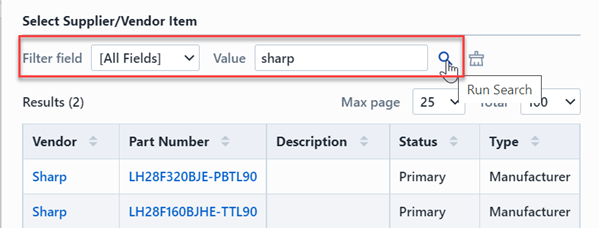
You can search on any of the fields to find the desired item by clicking the Search button. This will display a vendor/supplier item search area.
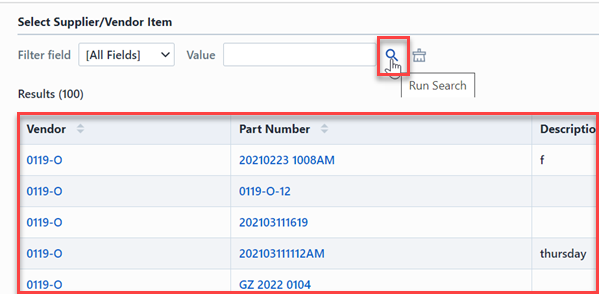
You can search the database by select a field and specifying a search value.
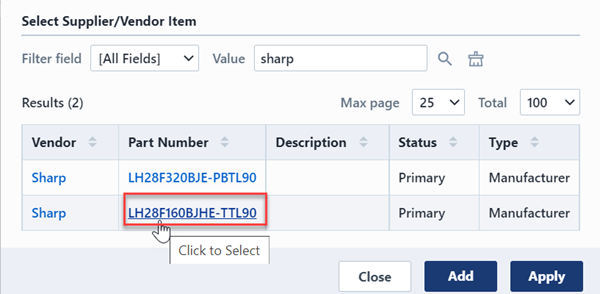
Clicking the Vendor Item will add the item to the list.
Item Order/Preferences
The order the items appear on the list defines the preference of usage.
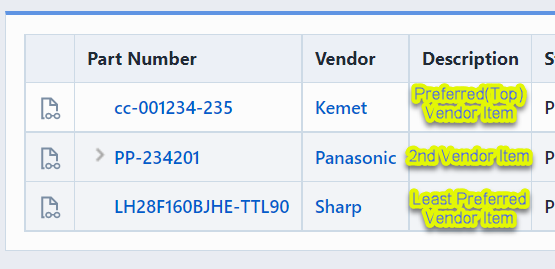
To change the order, use the Move Up and Move Down buttons.
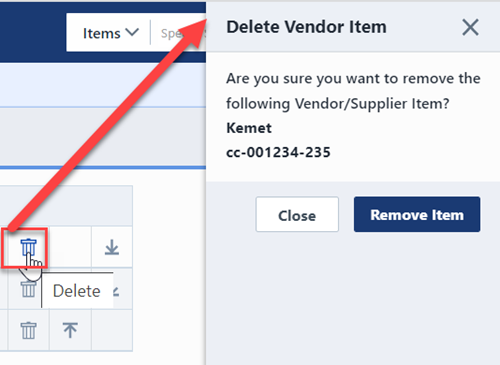
Removing
To remove a vendor/supplier item, click the Remove button. This will display a verification panel.
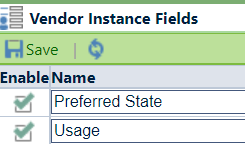
Instance Fields
Vendor Instance Fields are fields that can be assigned to Vendor Items as they are assigned to an Object. These fields are different than Vendor Item attributes. Attributes are assigned to the entire vendor item, instance fields are fields that are assigned to the association of a vendor item to another object. Thus, if a vendor item is assigned to multiple database objects, the instance fields can have different values for each assignment.
You can define up to 8 different instance fields. Fields enabled/defined on this page will be available when adding/editing Vendor items when they are associated to objects (Vendor Items page).
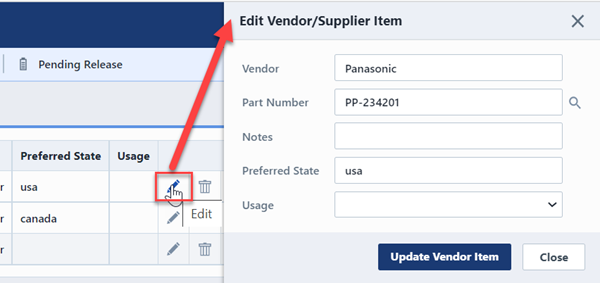
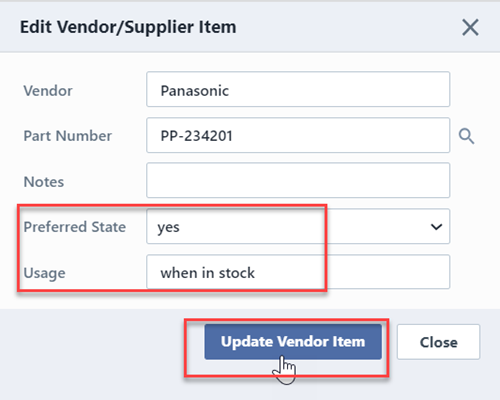
To modify the instance fields, click the Edit button on the desired item. This will display the Edit Vendor/Supplier Item panel.
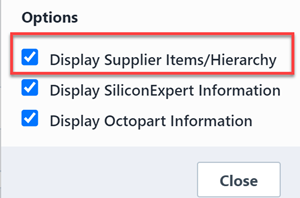
Hierarchy Display
The Vendor Item page can display the hierarchical relationship of vendor and supplier items.
To enable the hierarchical display, select the Filer/Option toolbar button. This will display the Filer/Options panel.
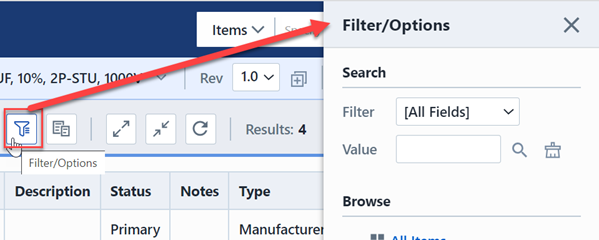
To enable the hierarchical display, check the Display Supplier Items/Hierarchy option.