Creating New Objects
Creating New Objects
Overview
All new Empower objects are created/initiated using the New Object Wizard. Most objects are placed under signoff, and are considered "pending" (internal state) until all required users on the signoff list have approved the object. Once all users have approved, it is then available to be "released".
Administrators can define "default" and "required" fields for objects. Fields can represent general fields, attributes, documents, vendors, etc. "Default" and "required" fields will appear in the New Object Wizard for the user to supply values before creating the objects.
Launching
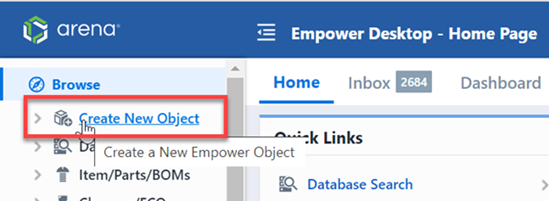
You can launch the New Object Wizard from the Desktop Home Page. To open the main/initial page of the wizard, select the New Object Wizard link.
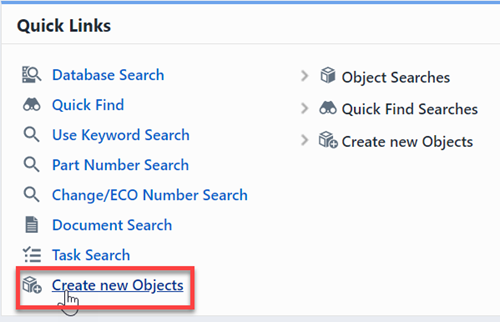
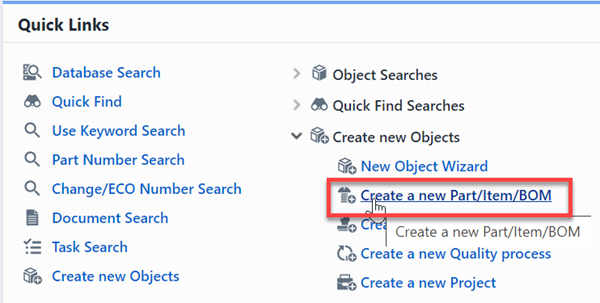
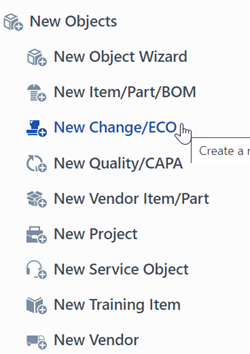
You can bypass the initial (object selection) page by selecting the specific new object link.
Object Selection
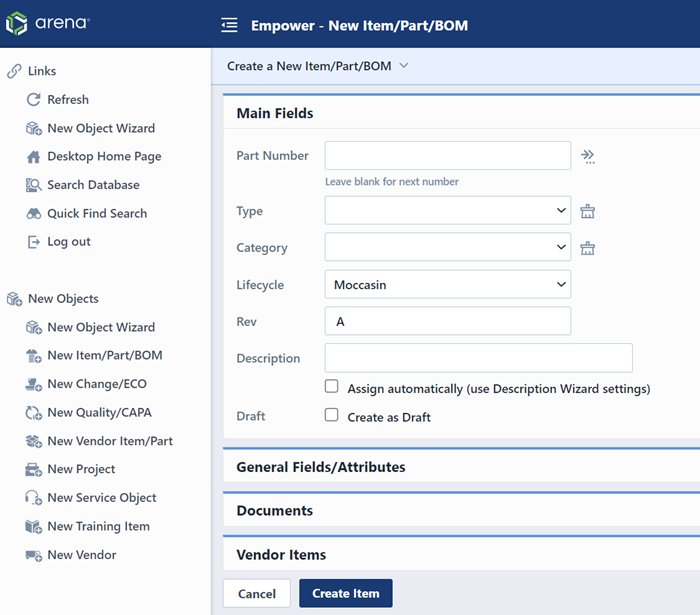
The first page of the New Object Wizard allows you to select which object you wish to create.
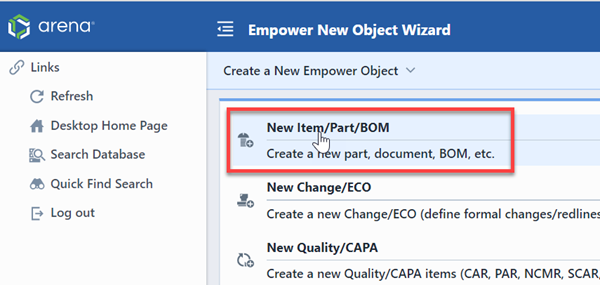
Clicking one of the object links will open the next page of the New Object Wizard. This page will contain specific fields and options for the selected object type.
You can change to a different object by using the New Object links.
Field Assignment
Once the object type is selected, the Fields list will display a list of available (General) fields and attributes.
You can then begin to fill out field values.
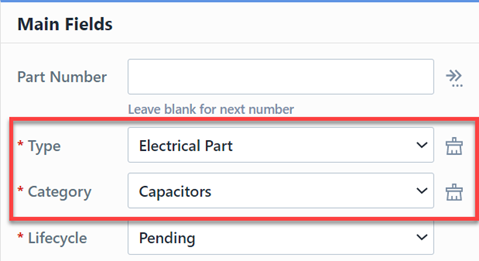
Selecting a specific Type or Category will update the fields list to display default and required fields.
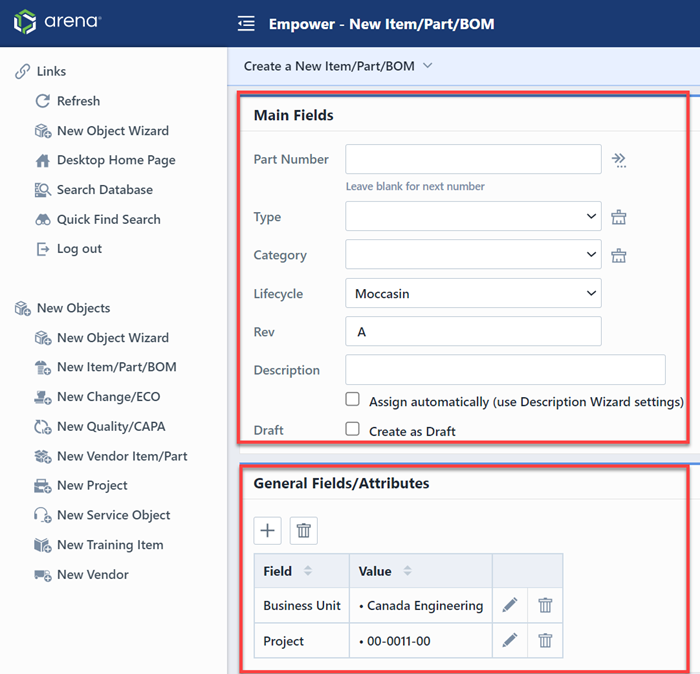
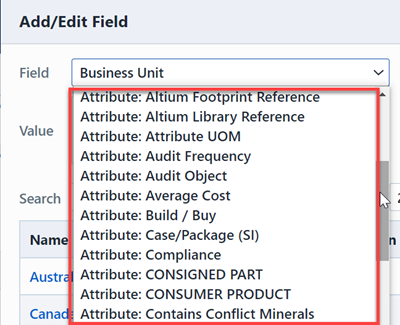
You can add additional fields and attributes by clicking the Add/Edit button.
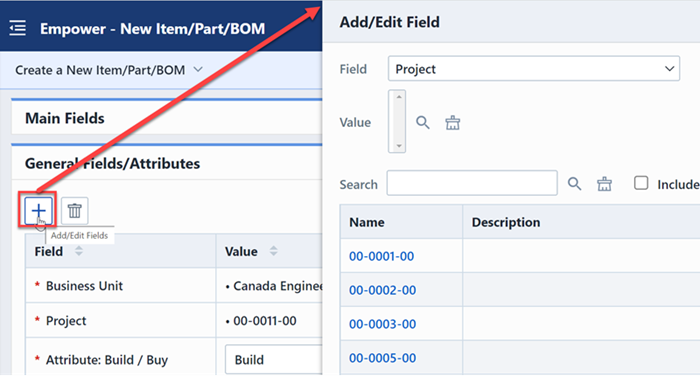
From the Add Field panel, you can select the field and value.
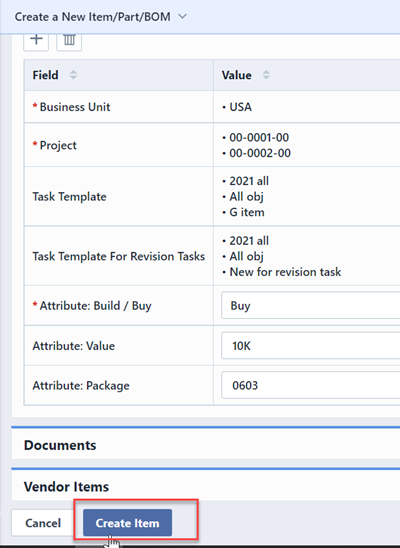
Within the Settings, General Options section of User Preferences, users can now set a default Business Unit or Project when creating objects, performing a search, or running a report.
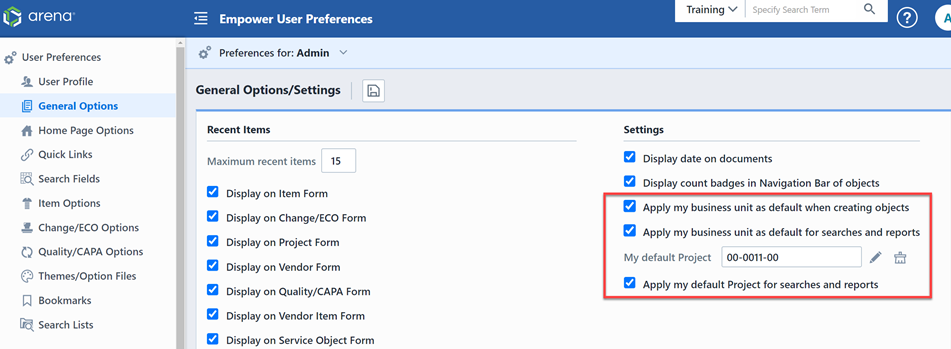
With the Apply my business unit as default when creating objects preference enabled, the designated Business Unit for the user will be assigned as a default when a user attempts to create an object. While the Business Unit is assigned as a default, the user will still have an opportunity to edit the Business Unit via the pencil icon or deleting the Business Unit via the trashbin icon before actually creating it.

With My default Project preference enabled, the default Project will also be assigned for any object that a user attempts to create. Similar to Business Units, the user will have an opportunity to edit the default Project via the pencil icon or remove the default Project via the trashbin icon before clicking the create button.
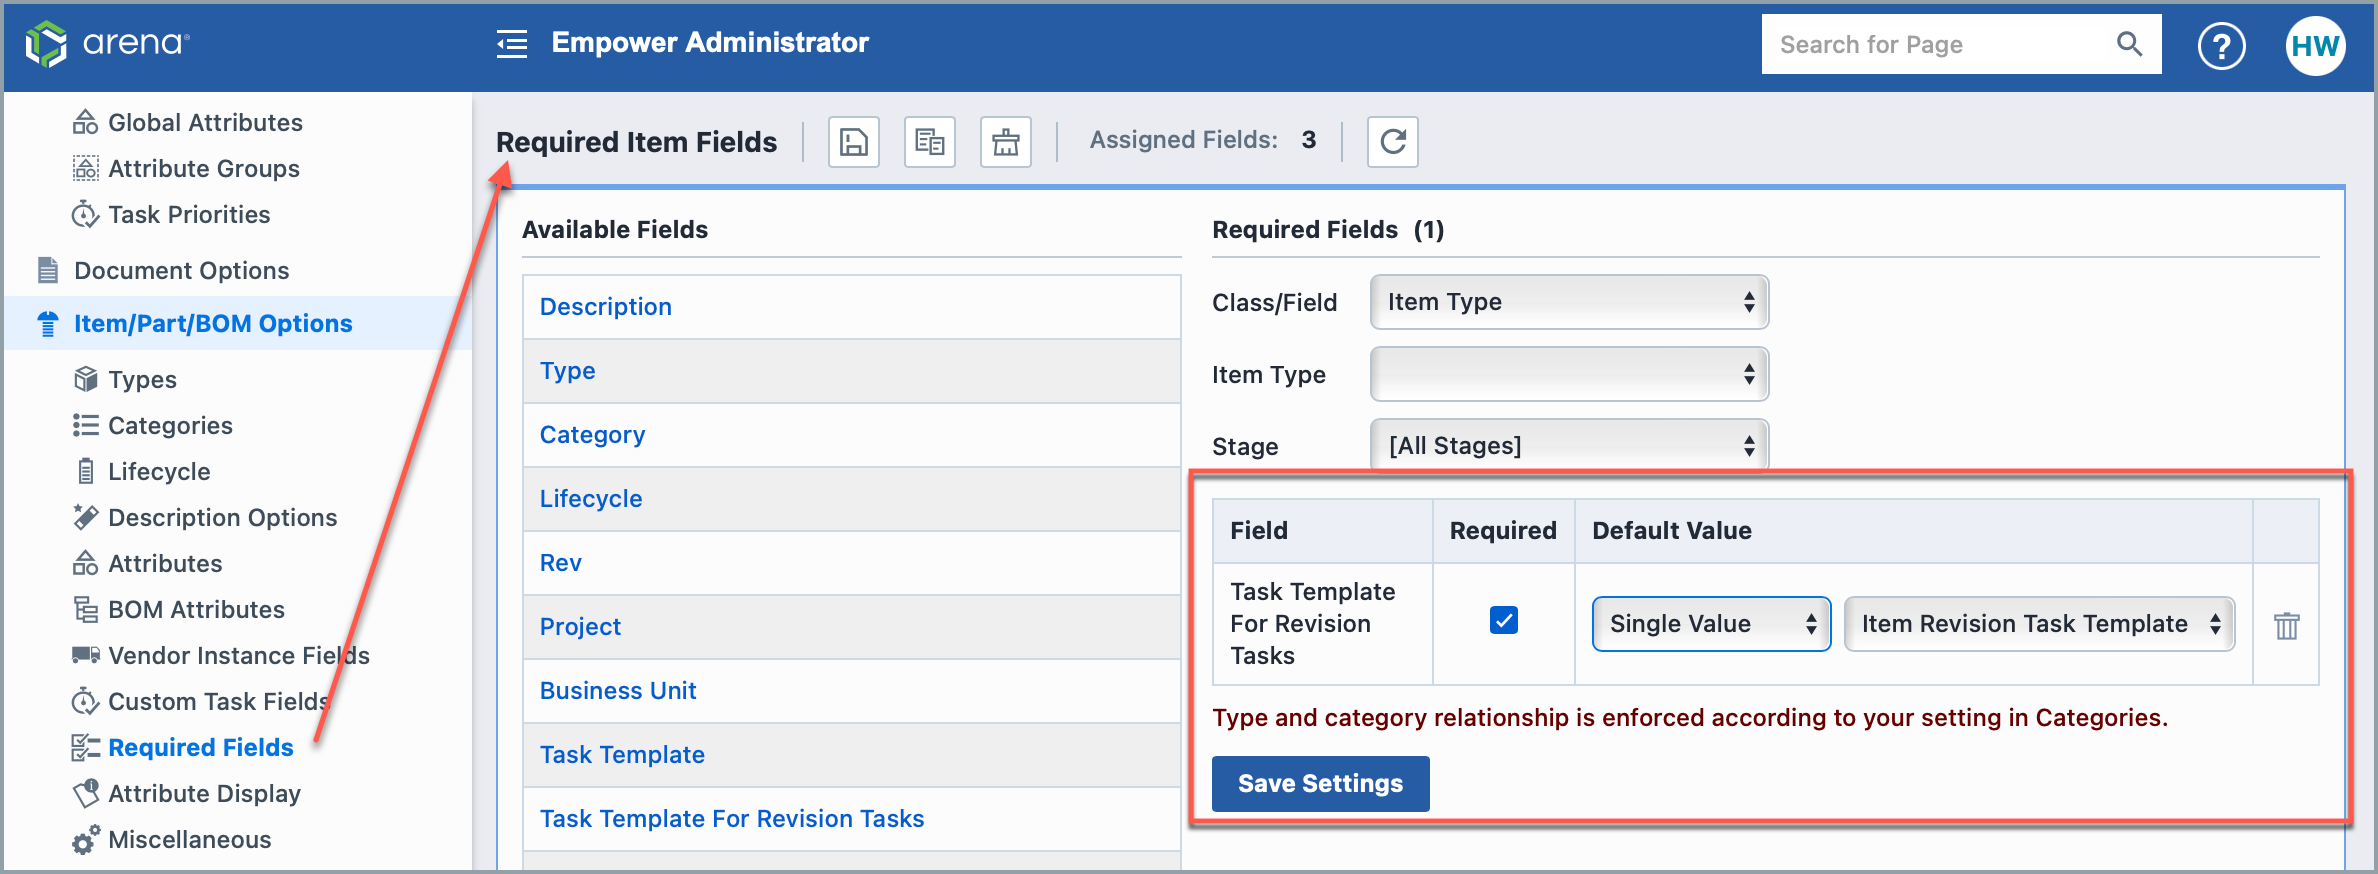
Required Fields
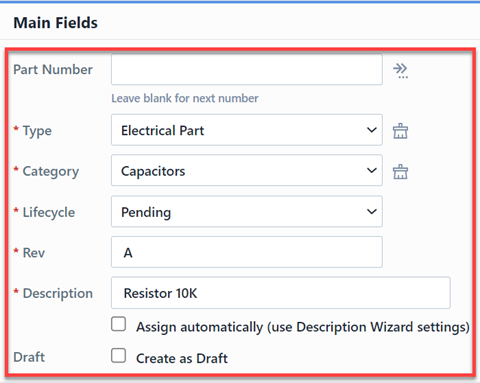
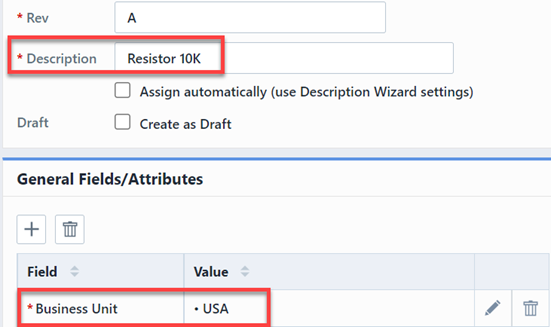
Empower administrators can define "default" and "required" fields for objects. Required fields will be indicated with a different color in the New Object wizard. You will need to provide values for all Required fields before the system will allow you to create the object.
"Default" fields will automatically appear in the New Object Wizard but do not need to be assigned values for the object to be created.
For example, the Administrator assigns fields: Description and Attribute: Build Or Buy as required, and Attribute: CAD Symbol as default.
When the user selects the assigned Type, the system displays all required and default fields.

Note: the administrator can enable an option to ignore required fields when creating "Draft" items.
Pasting Fields/Values
The New Object Wizard provides an open text area for you to type (or paste) fields and values. This feature allows you to copy and paste data from datasheets, web sites, spreadsheets, etc. to automatically assign field values.
To access the text area, click the Paste Fields/Values icon (upper right section of the object fields area).
The paste area allows you to type or paste text from the clipboard. Field names and their values can be delimited with a space, tab, or equal sign (e.g. Value 10K, Value=10K).
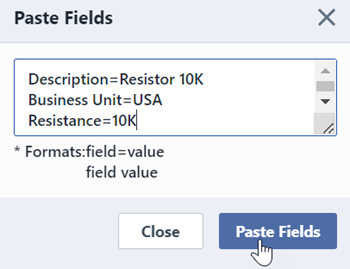
Once the fields have been specified, click the Paste Fields button to assign the fields.
Your Empower administrator or qualified Empower Application Engineer can setup field name mappings. Notice in the example the system has mapped the field called "Resistance" to the Empower attribute "Value".
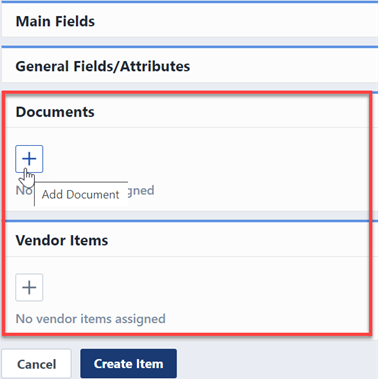
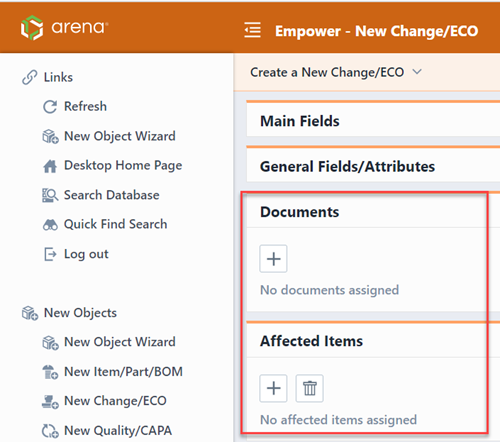
Additional Data
Depending on the selected object, additional data can be assigned such as documents, vendor items, affected items, etc.
Creating Objects
Once all fields have been assigned, click the Create button to check and create the object.
The system will check all fields and provide a summary page before creating the object.
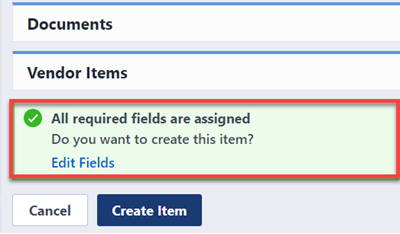
If all required fields have been assigned, click the Create button.
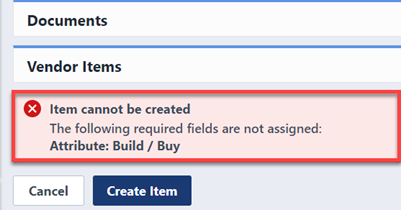
If required fields are not assigned a value, the system will not allow the object to be created.
Draft Mode
When creating new objects, you will have the option to create the object in "Draft" mode.
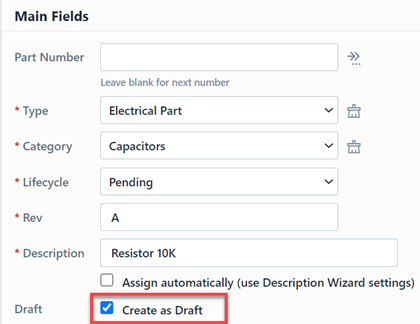
"Draft" objects are objects that have been created, however the signoff routing has not been started.
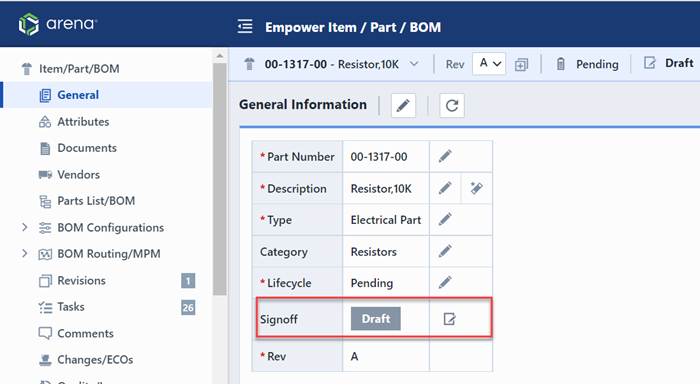
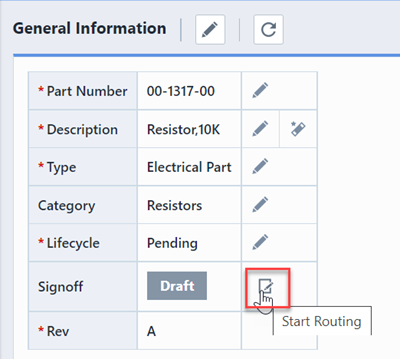
Draft items will remain in your Inbox until you begin the signoff process. To begin the signoff process, select the Signoff tab and click the Start Routing button.
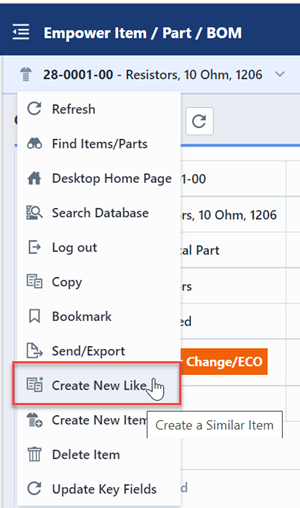
Using New Like
Empower provides a "New Like" feature that allows you to copy data from any existing object. The "New Like" can be launched from the Database Search form or from the object form title menu.

The New Like form will appear.
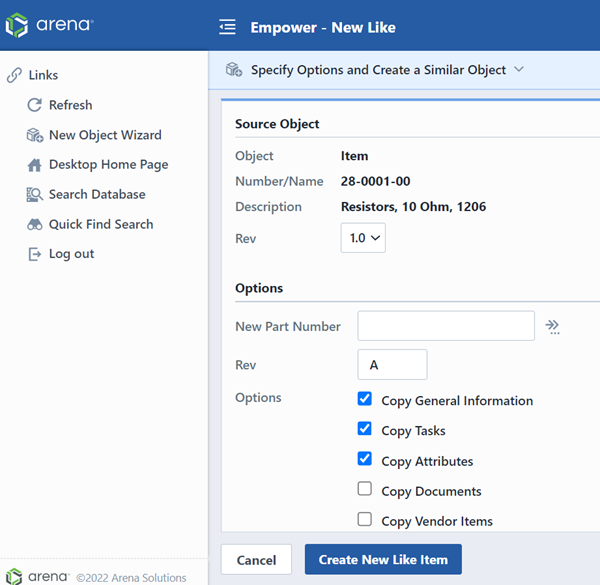
The New Like form will indicate the copied object and provide you with an option to select which data to copy.