Task Management
Task Management
Overview
Tasks can be assigned to the following objects:
- Projects
- Changes/ECOs
- Quality (CAPA) Forms
- Vendors
- Vendor Items
- Service Objects
- Training Objects
- Items
- HelpDesk Posts and Tickets
Tasks are used to define actions that users are responsible for completing on any given object. Tasks can contain timeframes that define the start and end date and times allotted for a task's completion.
Tasks Form
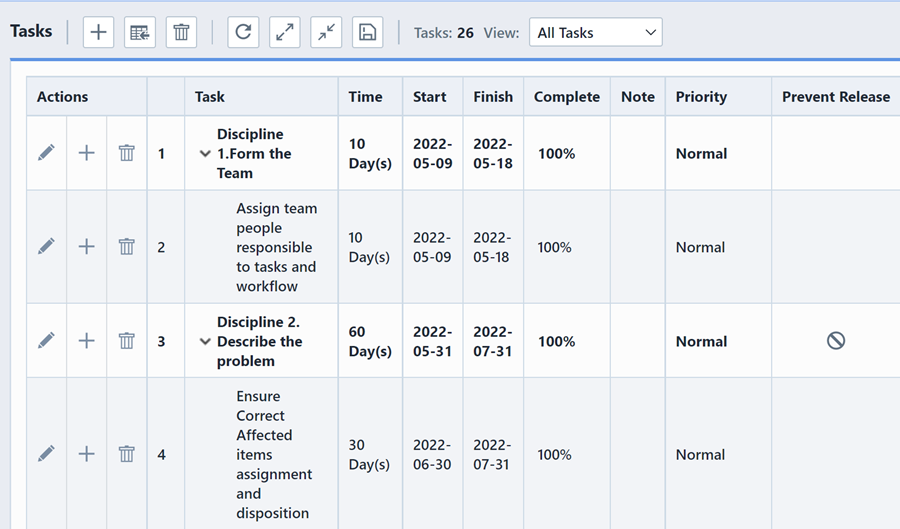
The Tasks form lists all tasks and associated data.
When adding and positioning tasks you can arrange any hierarchical representation of the tasks.
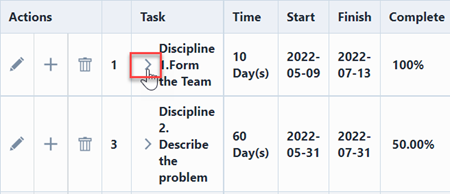
Hierarchical Tasks can be expanded or compressed using the Expand and Compress indicators before the task name.
Task Terminology
Summary/Action Tasks
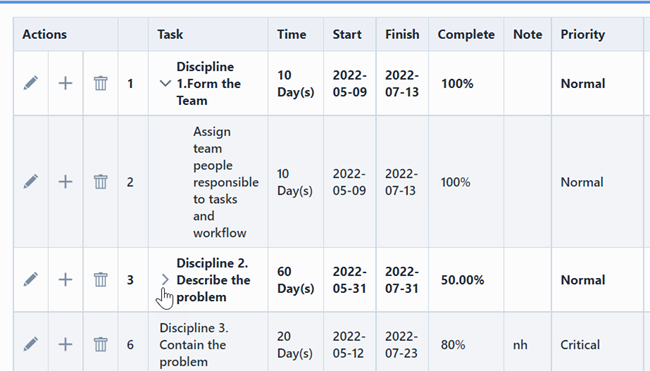
Tasks can be either Summary Tasks or Action Tasks. Summary tasks are tasks that contain child tasks (parent items).

Summary tasks will contain Expand and Compress indicators before the task name. For Summary tasks, the "Time" (Duration), "Start", "Finish", and "% Complete" fields cannot be modified by the user. These fields will automatically update when the child, action tasks are updated.
When adding new tasks, the task will default to an Action task.
Summary tasks are created when another task is indented as a child item under the task.


Note: You can also create a summary task by "Inserting" a task under the target summary task.
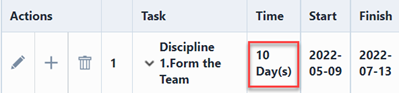
Time
The Time field for a task defines the total duration allotted for the task (for action tasks) or total summation of child action tasks duration (for summary tasks).
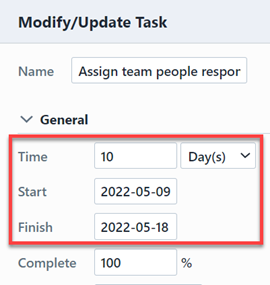
When modifying a task, you can edit the time field directly (Finish date will update automatically).
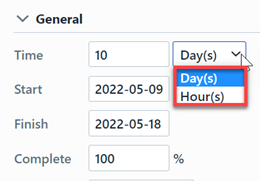
Time/Duration can be defined in Day or Hour time units.
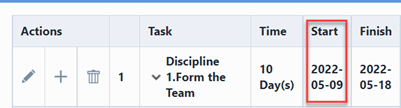
Start/Start Date
The Start field represents the day that a specific task is scheduled to begin (for action tasks) or the earliest start date for all child action tasks (for summary tasks).
Finish/Finish Date
The Finish field represents the day that a specific task is scheduled to be completed (for action tasks) or the last task completion date for all child action tasks (for summary tasks).
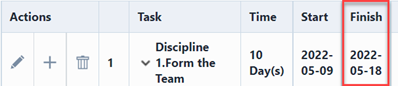
The Finish date can be set manually or automatically by selecting a Start date and specifying the Time/Duration of the task.
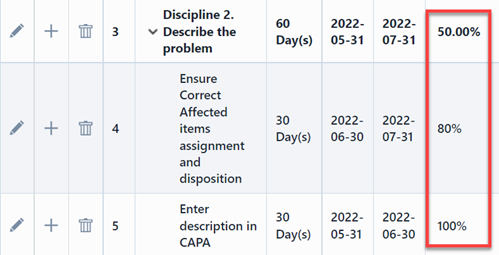
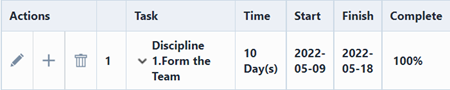
% Complete
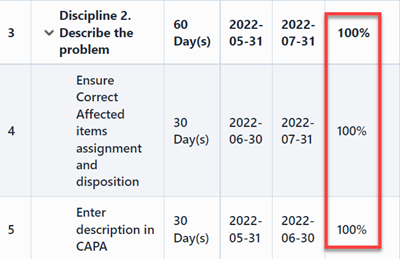
The % Complete field represents the progress of a task (for action tasks) or the percentage of child action tasks (completed tasks divided by the number of total tasks, for summary tasks).

A task is considered complete when the % Complete field is set to 100.
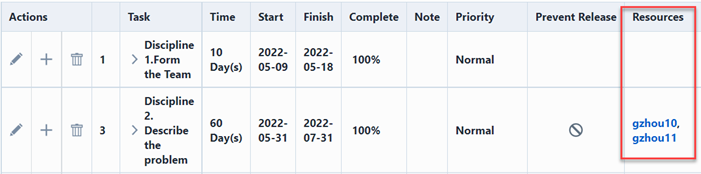
Resources
Task resources represent the users responsible for accomplishing/completing any task. You can assign any number of resources to a task.
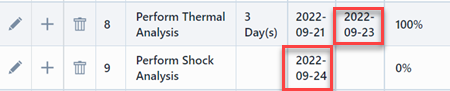
Predecessor
Predecessor tasks are tasks in which other tasks rely on to determine their Start date. Tasks that are assigned predecessor tasks will base their start date on the end date of the processor task.


Assigning predecessor tasks will result in a "waterfall" effect. Changing the Time, Start, and/or End date will automatically update the dependent task's timeframe.
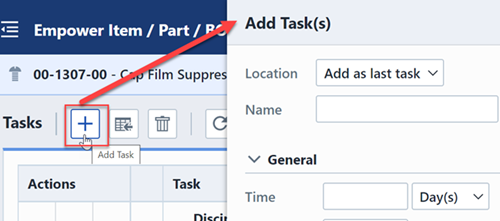
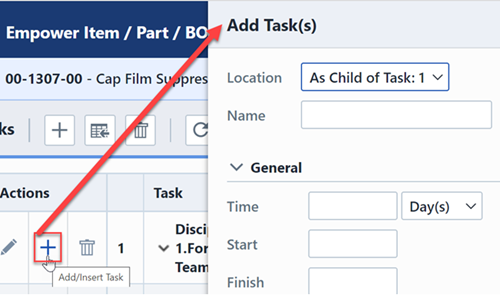
Adding Tasks
To add a task, click the Add button on the Tasks page. This will display the Add Tasks panel.
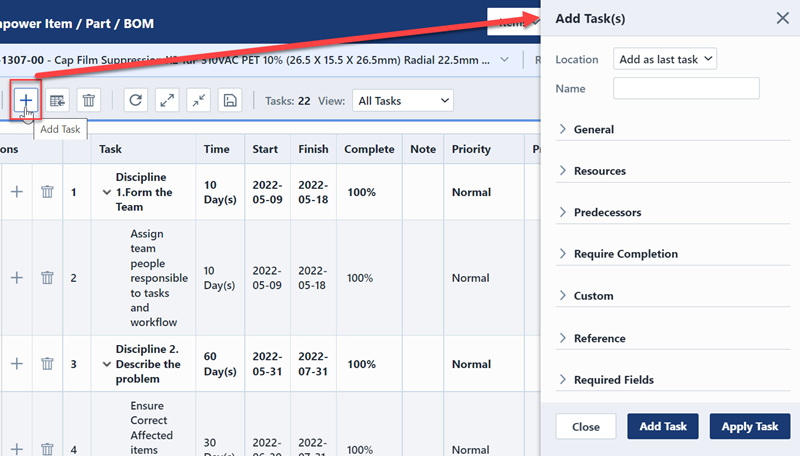
When adding a task from the toolbar, the Location option will only contain: Add as last task
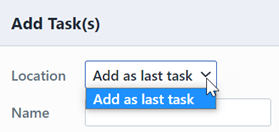
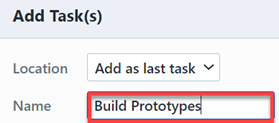
A task name is required for any task. You can define the Task name in the Name field.
The Task Properties dialog box contains 5 sections:
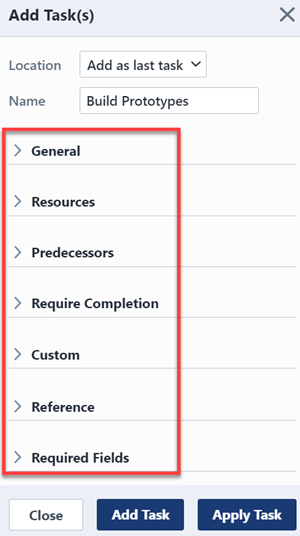
- General – Set Start date, duration, % Complete, priority, and notes
- Resources – Assign user to task
- Predecessors – Assign predecessor tasks
- Custom – Custom task fields (defined in the Empower Administrator)
- Reference – Assign Empower Objects as references/associations (described below)
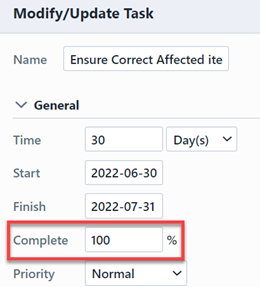
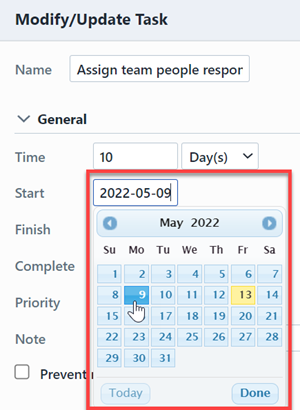
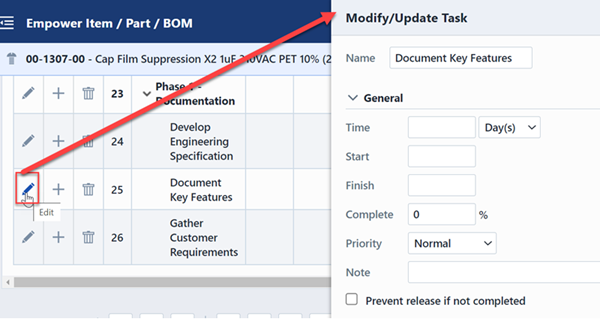
General
The General section allows you to set the Start date, duration, % Complete, priority, and notes.
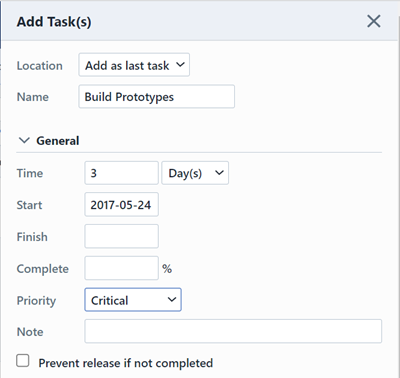
For the system to consider any task to be complete, the % Complete field must be set to 100.
The task priority can be set to indicate the importance of the task.
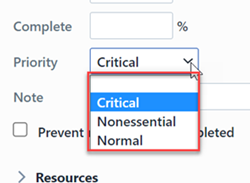
The priority options are defined in the Administrator. Each option will have a setting that will allow you to define the priority as "Essential" or "Non-Essential".
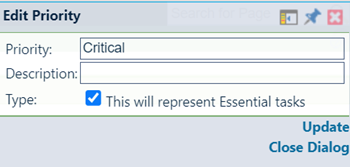
Marking task as "Essential" allows you to control the way the system will allow certain actions. For example: if you want to prevent the system from allowing a Change/ECO to be released with open tasks, you would set the Priority to an option with an "Essential" setting.
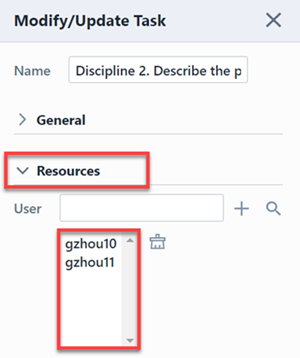
Resources
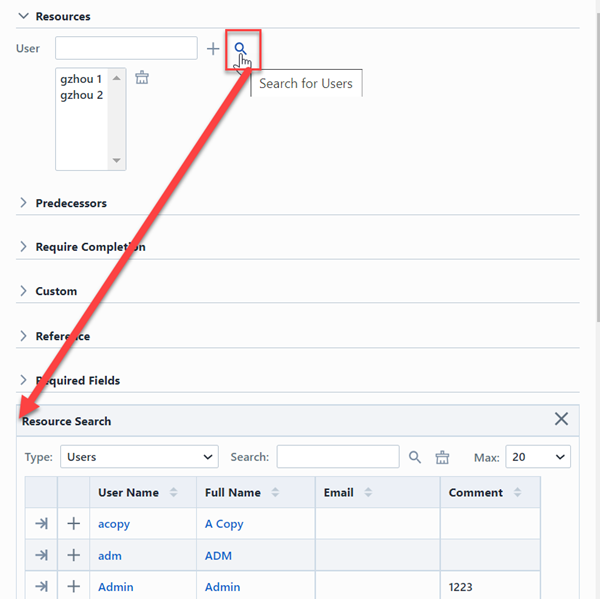
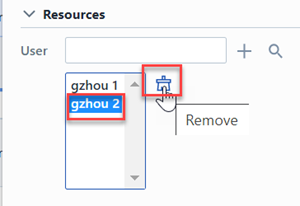
The Resources section allows you to assign Empower User(s) to the task.
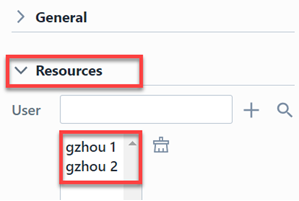
To add a resource, click the Search button and select the desired user(s).
To remove a resource, first select the user and then click the Remove button.
Predecessors
The Predecessors section allows you specify other tasks that this task depends on. To specify Predecessor tasks, check the task index checkbox.
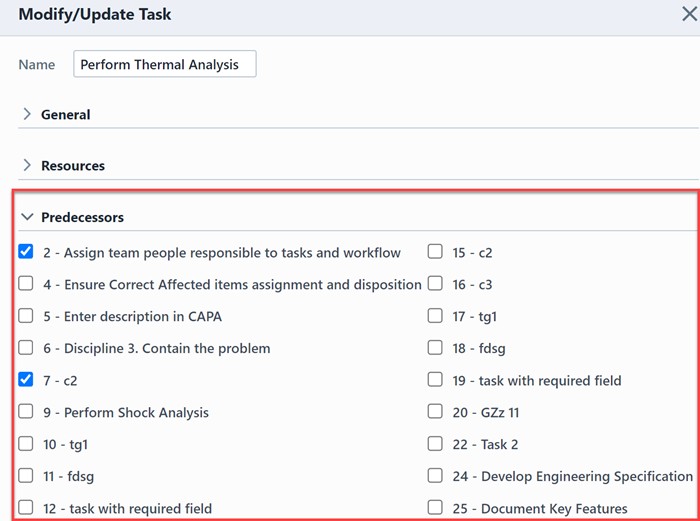
Tasks that are assigned predecessor tasks will base their start date on the last end date of the processor tasks.
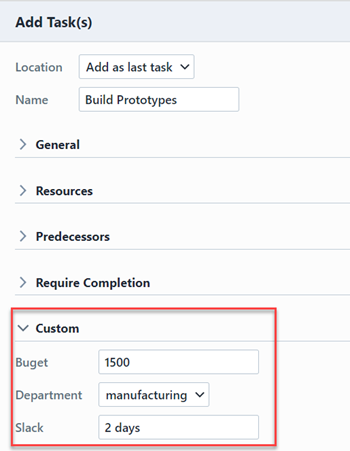
Custom Fields
The Custom section allows you specify field values for user-defined task fields (Empower Administrator).
Reference
The Reference tab allows you define reference objects.

Inserting Tasks
Once tasks have been added, you can change the order and define hierarchy using the task position action options.
You can also insert tasks (before, after, or as a child/action task) using the Add icon in the Actions column.
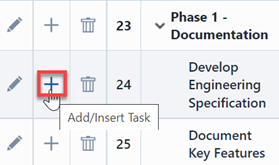
The Location drop list will contain the following options:

| Option | Description |
|---|---|
| Add as last task | Appends task as the last task on the list |
| After Task: (selected task index) | Inserts the new task as an action task after the selected task |
| Before Task: (selected task index) | Inserts the new task as an action task before the selected task |
| As Child of Task: (selected task index) | Inserts the new task as a child/action task and assigns the selected task as a summary task |
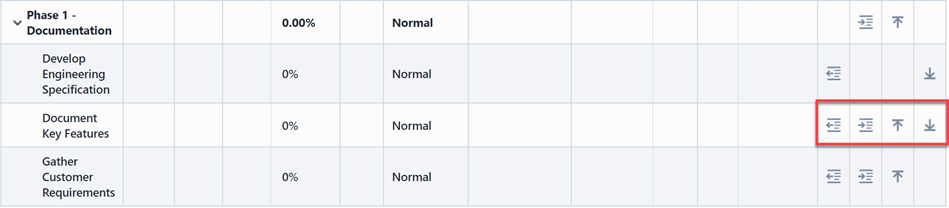
Task Position
You can move the position of tasks and define the task hierarchy using the task position action options.
| Icon | Description |
|---|---|
 | Outdent Task (decreases indent level and adjusts for summary/action task structure) |
 | Indent Task (increases indent level and assigns task as a child item of the previous task) |
 | Move Task Up |
 | Move Task Down |
Updating Tasks
You can edit tasks by clicking the Edit icon in the Actions column. This will invoke the Task Properties dialog box. All task fields can be modified from this dialog box.
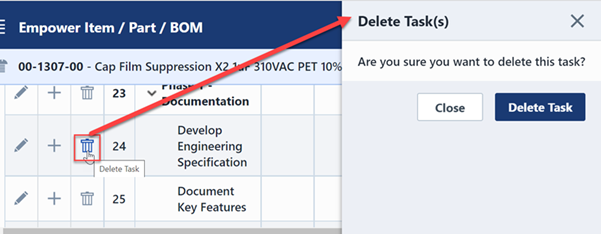
Removing Tasks
You can remove a task by clicking the Delete Task icon. You will be asked to verify the removal.
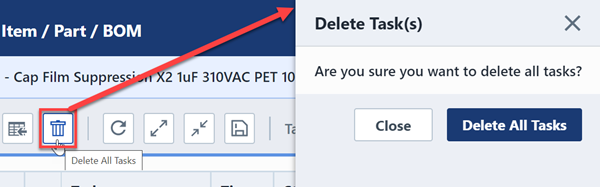
You can remove all tasks by clicking the Delete All Tasks toolbar button.
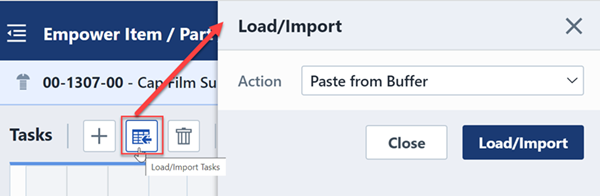
Loading/Importing
You can load/import tasks from either a Task Template or from a Microsoft Project XML file. To load/import tasks, click the Load/Import toolbar button. This will invoke the Load/Import Tasks panel.
When importing tasks you will have the following options:
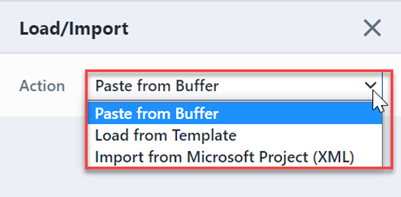
| Option | Description |
|---|---|
| Paste from Buffer | Allows you to paste tasks that have been placed in the copy buffer |
| Load from Template | Loads tasks from Task Templates |
| Import from Microsoft Project (XML) | Allows you to import tasks from a Microsoft Project file (XML Format). |
Saving/Exporting
You can save/copy tasks from the task list to the copy buffer, task templates, and/or Microsoft Project files. To save/copy/export tasks, click the Save/Copy toolbar button. This will invoke the Save/Copy/Export Tasks dialog box.
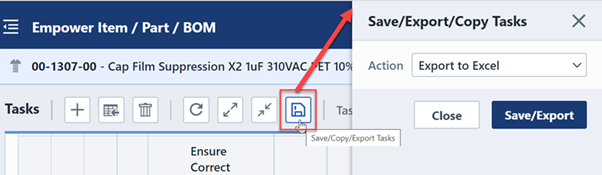
When saving tasks you will have the following options:

| Option | Description |
|---|---|
| Export to Excel | Exports the tasks to an Excel file |
| Export to CSV | Exports the tasks to a text (CSV) file |
| Export to Microsoft Project | Exports the tasks to a Microsoft Project (XML format) file |
| Copy to Buffer | Copies tasks to the copy buffer |
| Save as Template | Creates a task template from the current tasks |
Task List Filter
You can filter the Task List using the Task Filter drop list.
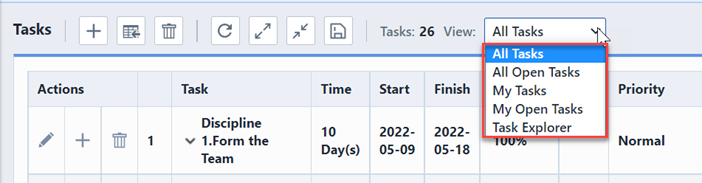
The filter provides the following options:
| Option | Description |
|---|---|
| All Tasks | Displays all tasks |
| All Open Tasks | Displays only the tasks that are not "complete" (100%) |
| My Tasks | Displays only the tasks that are assigned to the current users (as a Resource) |
| My Open Tasks | Displays only the tasks that are assigned to the current users (as a Resource) and are not complete |
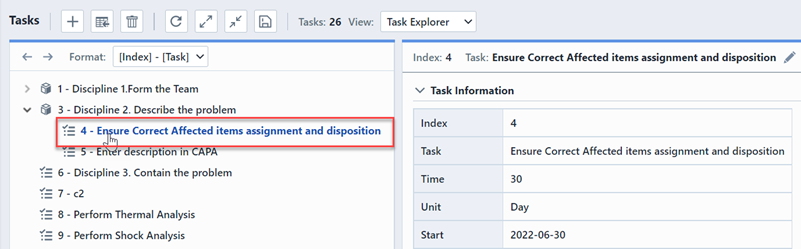
| Task Explorer | Displays the tasks in a Task Explorer view |
The Task Explorer view will display the full task tree. Clicking on a specific limb/task will display the task details in the Detail pane.