General
General
Overview
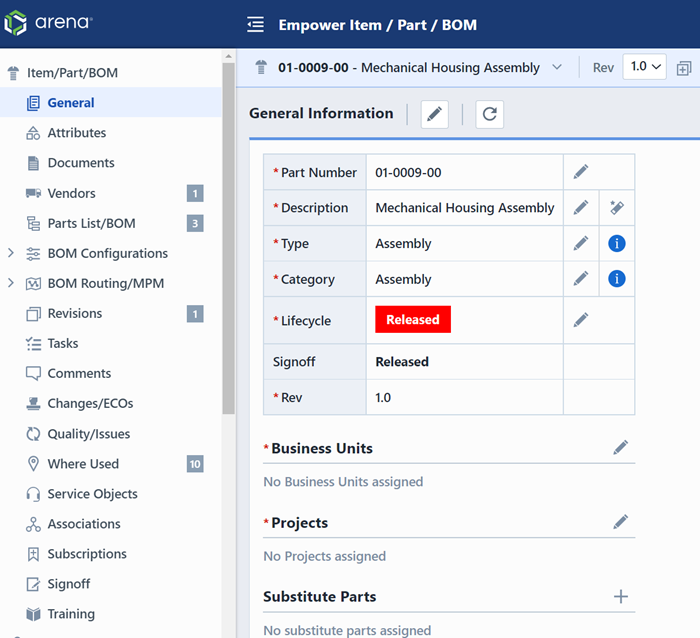
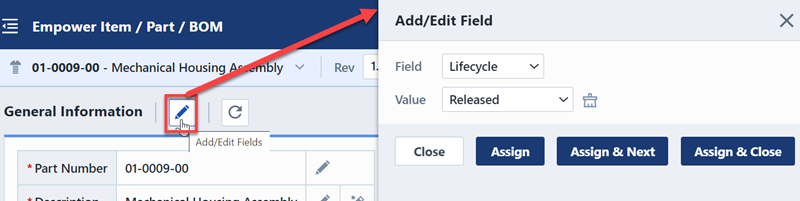
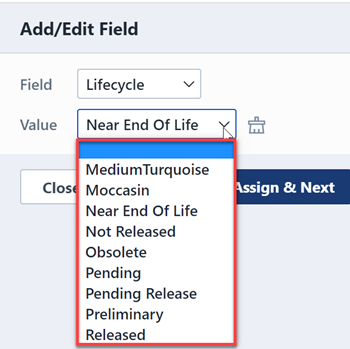
To modify any of the general fields, click the Add/Edit toolbar button. This will invoke the Add/Edit Field panel.
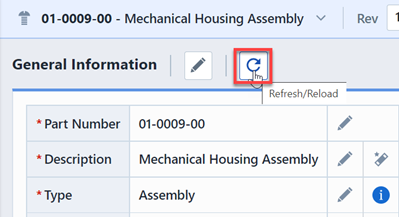
You can refresh/reload field values by clicking the Refresh toolbar button.
Part Numbers
Part Numbers represent the key field by which all item information is tracked. Each item will have a unique part number. Part numbers can be manually assigned by typing directly into the Part Number field, or automatically generated by the system. When using the automatic part number generator, Desktop will read the Part Number settings assigned in the Empower Administrator. Using the Administrator, you can define the format in terms of:
- Part Number Sections
- Character width of each section
- Which section of the part number to increment
- Section separation character
- Next/Seed Number
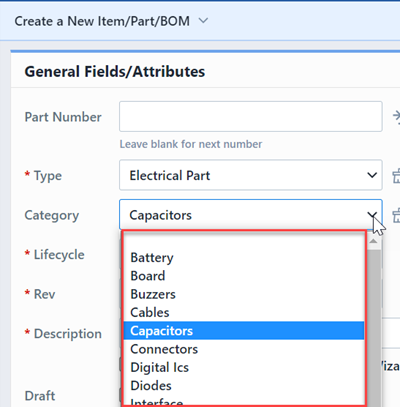
When defining multiple part number "sections", you can force Desktop to use a specific prefix (first section) based on the item Category settings (e.g. Resistors start with "06-", Capacitors start with "07-").
To use the Automatic Part Number Generator, first select an item Type and/or Category.
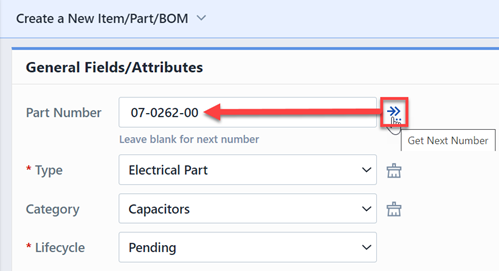
To retrieve the next part number you can click the Get Next Part Number icon.
Description
The Description is an open text field that allows you to describe the item using your own definition. The Description can be up to 256 characters. You can define case and illegal character limitations in the Empower Administrator.
To define the Description field you can:
- Type directly into the Description field
- Automatically assign from field values using the Description Builder
Using the Description Builder
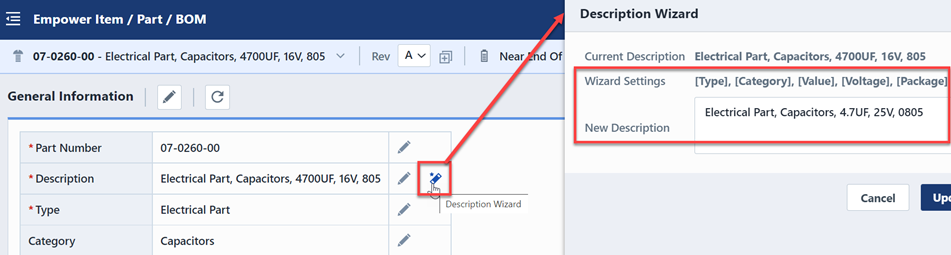
Empower Desktop provides a Description Wizard feature that allows you to define a default Description field value for Items. The Description Wizard can be used when creating or updating new items using the New Object Wizard or Item form.

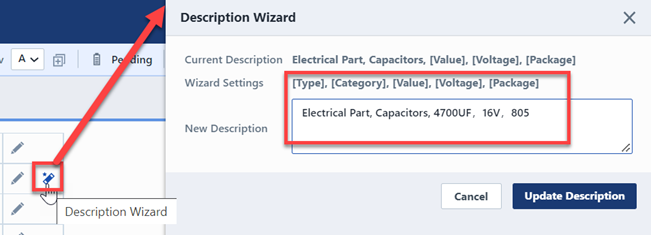
The description can consist of text and data fields. Data fields are enclosed by square brackets ([Field Name]). Data fields will be automatically replaced by their values.
For example: the Description Wizard settings specify the following: Capacitors, [Value], [Package], [Voltage]. In this example, the Description Wizard will replace [Value], [Package] and [Voltage] with the assigned values of the Value, Package, and Voltage attributes.
The Item attributes are set to:
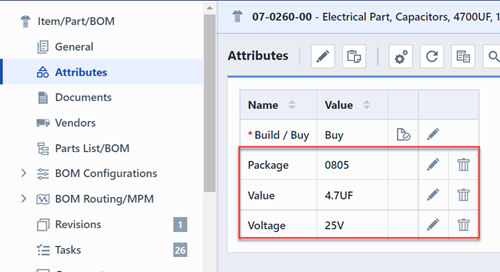
When the user assigns the Description field using the Description Wizard, the system automatically replaces the values for [Value] and [Package] with the assigned attribute values.
Type and Category
Each item in the database can be classified by both an Item Type and Item Category. This relationship is a hierarchical relationship, since item categories can appear as children of item types.
Type and Category options/names and their relationship are defined in the Administrator. You can use any strategy when defining these groups. For more information on how to add Types and Categories, go to our Administrator Item Types and Categories Page.
Note: Type/Category relationships are enforced throughout the lifecycle of an item to preserve the quality of your data. Please go to our page on Type/Category relationships for more information.
The following provides some examples of names and relationships:
| Field Value | Field Type |
|---|---|
| Mechanical Part | Type |
| - Brackets | Category |
| - Screws/Bolts | Category |
| - Wires/Cables | Category |
| - Etc. | Category |
| Field Value | Field Type |
|---|---|
| Electrical Part | Type |
| - Capacitors | Category |
| - Processors | Category |
| - Resistors | Category |
| - Etc. | Category |
| Field Value | Field Type |
|---|---|
| Assembly | Type |
| - Electrical BOMs | Category |
| - Mechanical BOMs | Category |
| - Sub Assembly | Category |
| - Etc. | Category |
| Field Value | Field Type |
|---|---|
| Software | Type |
| - Drivers | Category |
| - Firmware | Category |
| - System Software | Category |
| - Etc. | Category |
In update 8.4, the hierarchical relationship between Types and Categories is enforced. For those of you with an earlier version of Empower, this page illustrates what this relationship consists of and how to manage it.
Example: How Type/Category Relationship Enforcement works in 8.4
If you have an earlier version of Empower and would like to see how this enforcement works in 8.4, follow these steps:
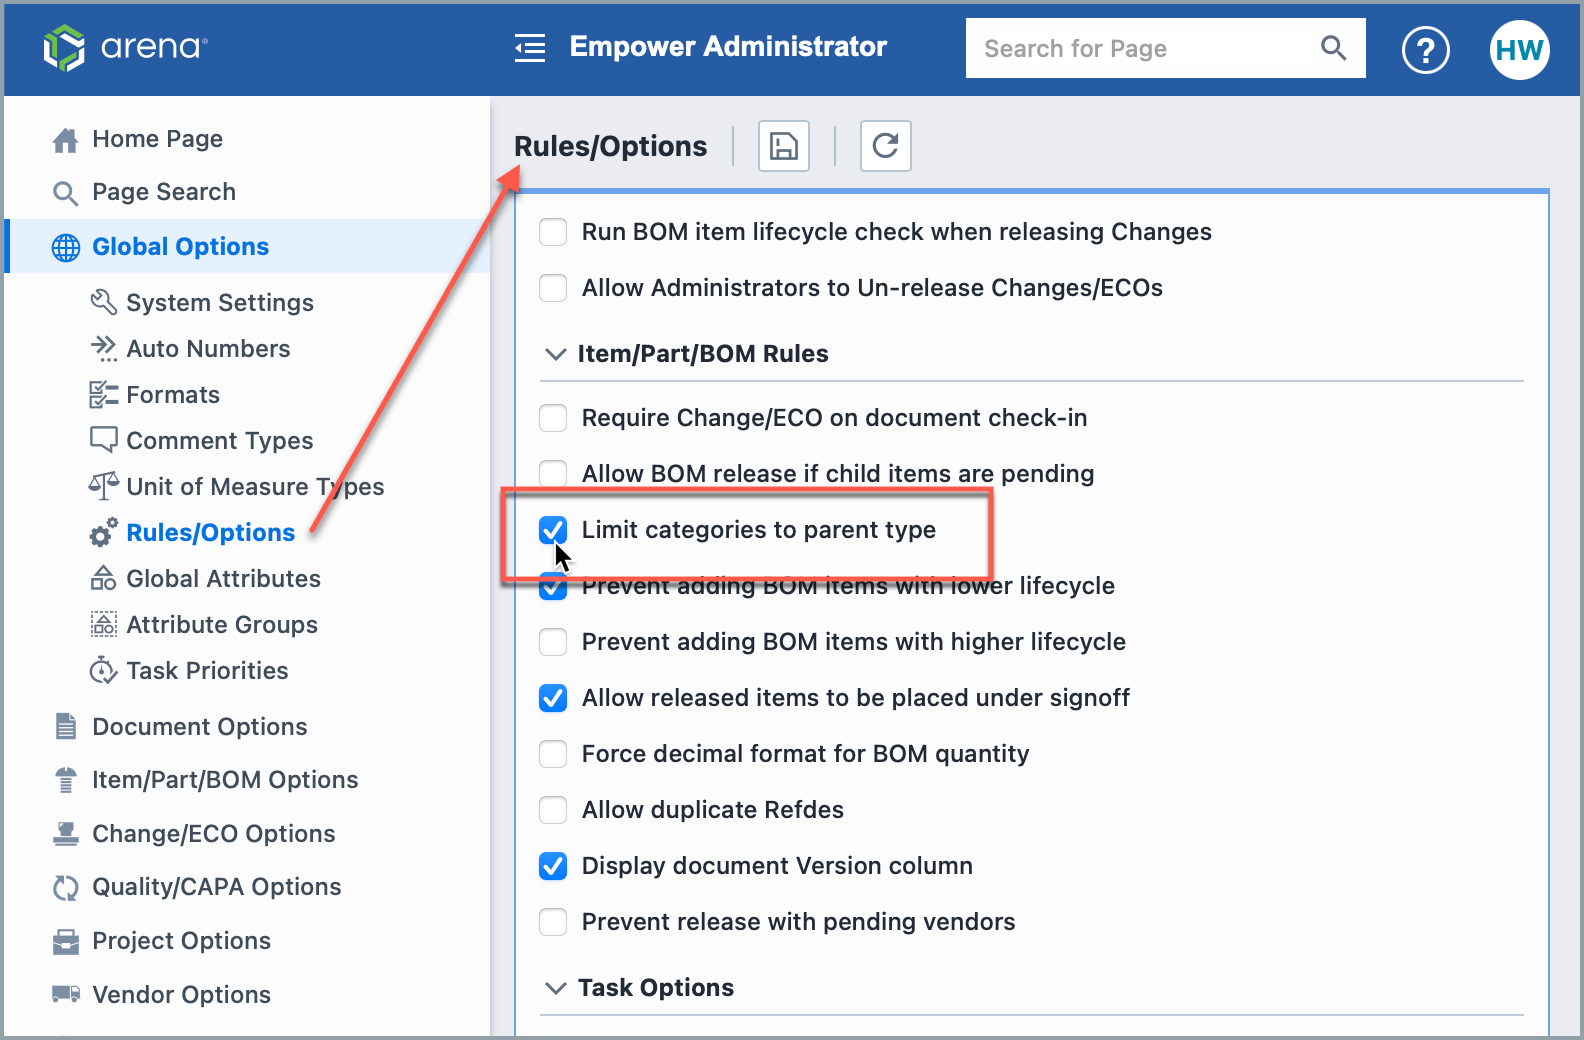
- In Empower Administrator > Global Options > Rules/Options, search for and select Limit categories to parent type. Click save.
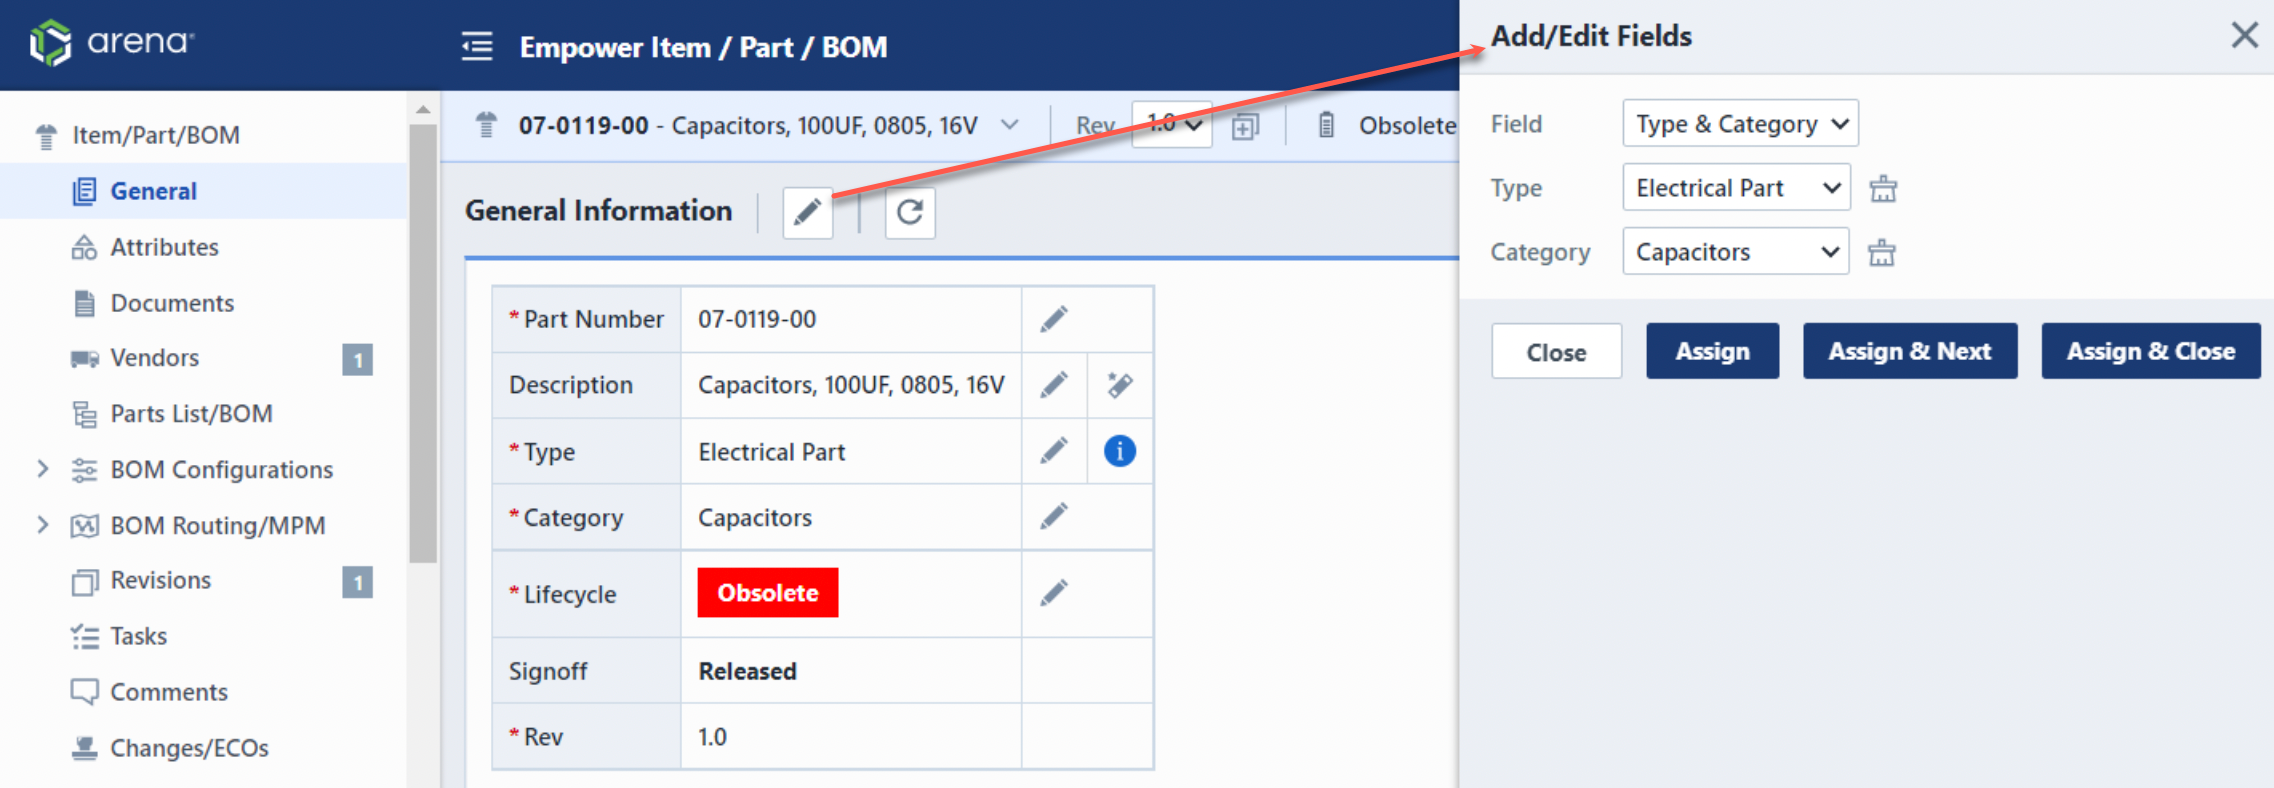
- Open an item to edit its type or category. Both type and category are visible in the edit dialog. Click on the edit pencil icon. You will not be able to change the items category to one of a different type:
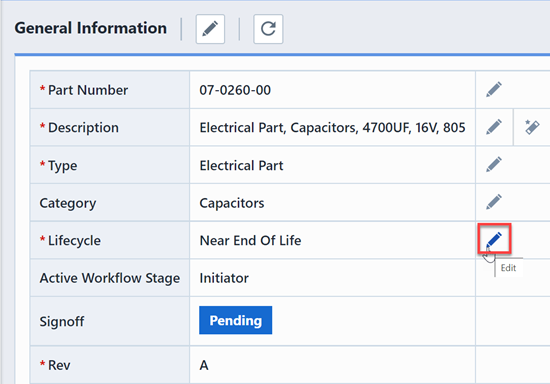
Status
The Status field indicates your current life-cycle status code for the item. The status fields/options are defined using the Empower Administrator. An initial status can be set for any new part request in the Administrator. To edit the status field, click the Edit icon in the Status field.
Revision
The Revision field will display the revision of the item that you are currently viewing. It will also display the effective dates of that revision.
The Item Banner contains a drop list that displays the current and all prior revisions.
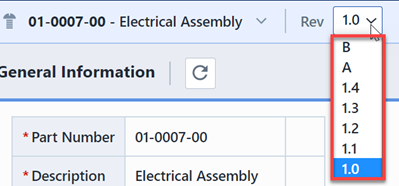
Changing the selection in this list will automatically update the data pages with the data from that revision.
To create a new revision, click the Create a New Revision button. Note: You must have the appropriate permissions to perform this action.
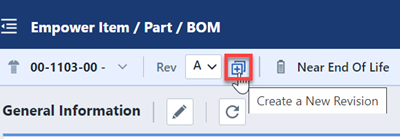
This will display the Revisions page and invoke the Create New Revision panel.

The system will automatically set the next logical revision label.

To modify the Label, effective dates and/or description for any revision, click the Edit button on the desired Revision. This will invoke the Modify Revision panel. Note: You must have the appropriate permissions to perform this action.
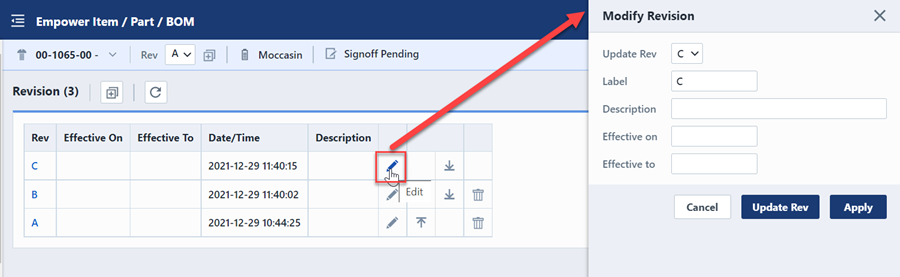
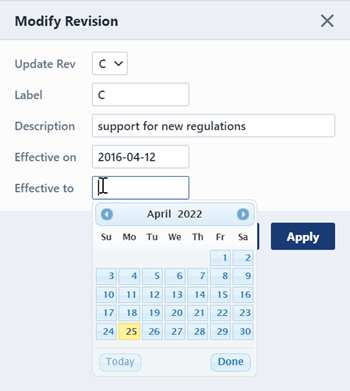
From the Modify Revision panel you will be able to modify the label, description, and effective dates.
Refer to the Revisions section for more information on creating and modifying revisions.
Business Units
Business Unit associations provide you with a way to link items and business units for searching, classification, signoff workflows, and/or permission purposes. You can define multiple business units for any item, and multiple items can appear under the same business unit.
Business Units are associated to items on the General page of the Item form. To add a Business Unit, click the Edit button. This will invoke the Modify Business Units panel.
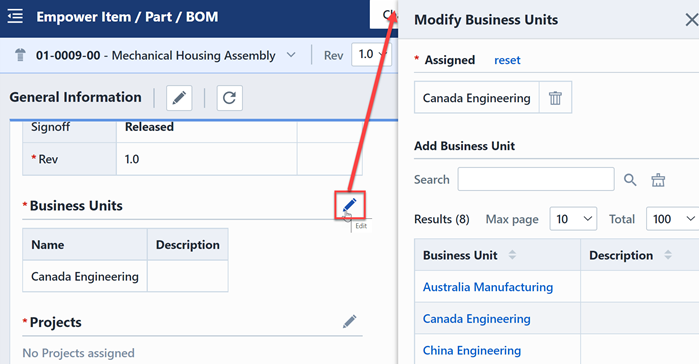
The Modify Business Units panel provides 2 sections (Assigned List and Add Section).
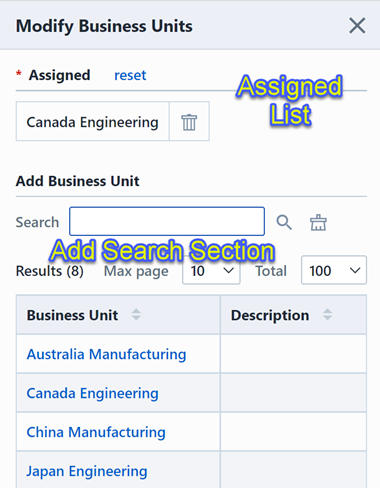
The Search Section allows you to search for desired business units.
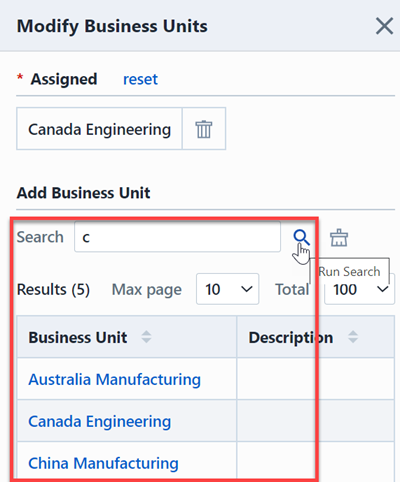
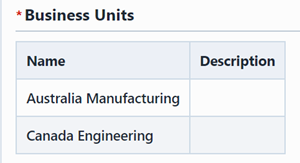
To add a business unit, click the business unit name. The business unit will be added to the list.

To remove a business unit, click the Remove button.

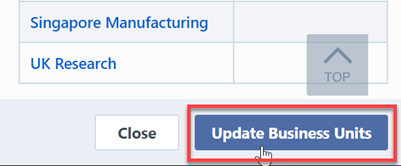
To apply the changes, click the Update Business Units button.
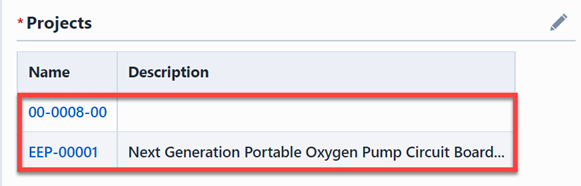
Projects
Projects associations provide you with a way to link items and projects for searching, classification, signoff workflows, and/or permission purposes. You can define multiple projects for any item, and multiple items can appear under the same project.
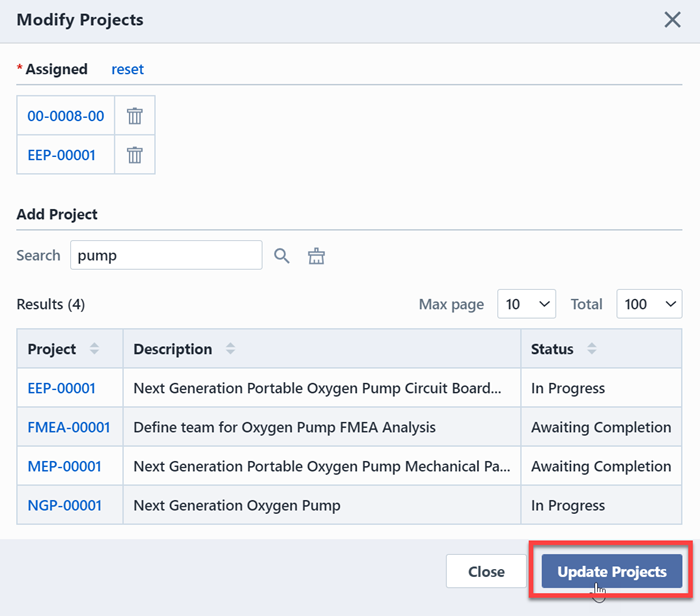
Projects are associated to items on the General page of the Item form. To add a Project, click the Edit button. This will invoke the Modify Projects panel.
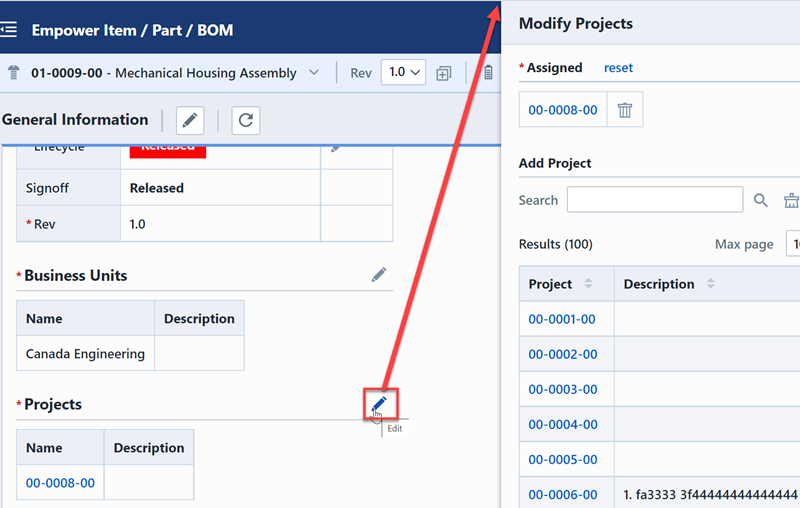
The Modify Projects panel provides 2 sections (Assigned List and Add Section).
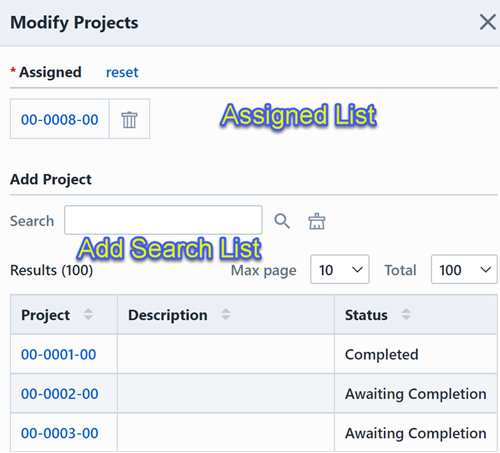
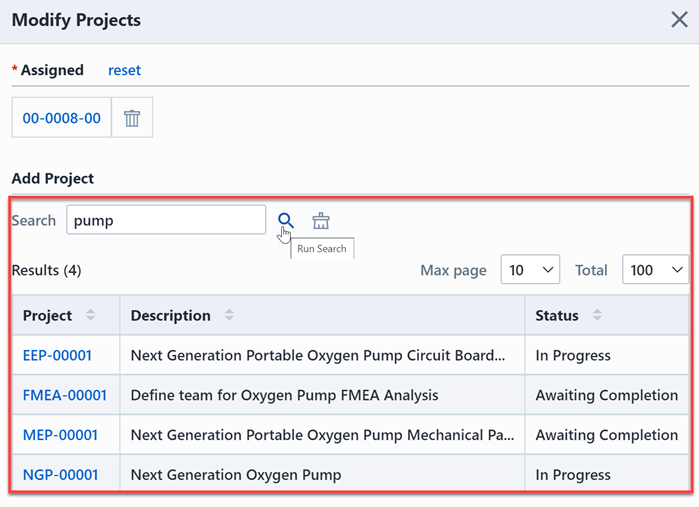
The Search Section allows you to search for desired projects.
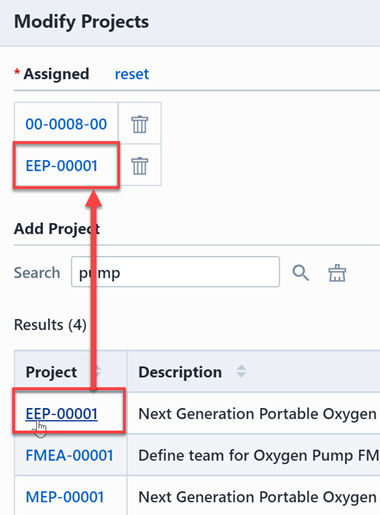
To add a project, click the project name. The project will be added to the list.
To remove a project, click the Remove button.
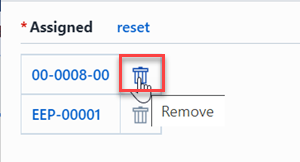
To apply the changes, click the Update Projects button.
Substitute Parts
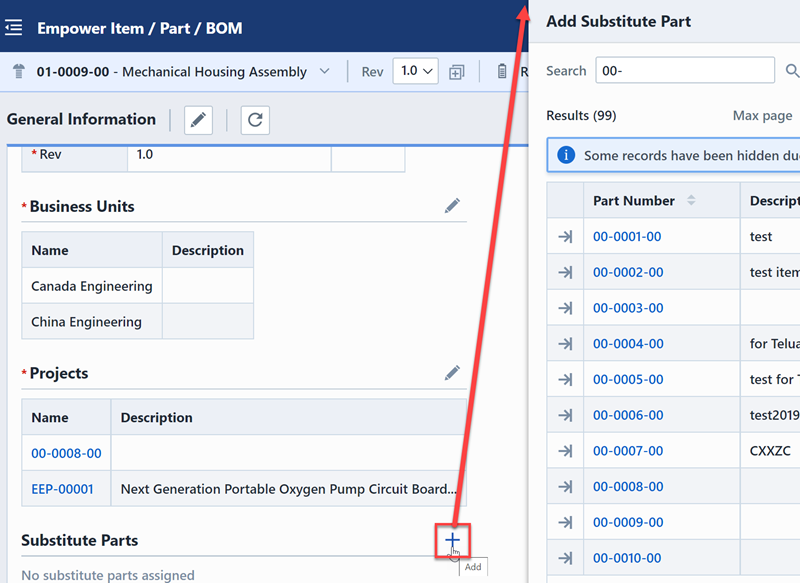
Substitute parts represent items that can be used to replace another part. Substitute parts are assigned to the entire item and can be reported as a separate field in BOM exports. Alternatively, you can assign "Alternate" parts on a per BOM basis. Refer to the Bill of Material section for more information on using Alternate parts on BOMs.
Substitute parts are assigned to an item on the General Information page of the item master form. To add a Substitute part, click the Add... button. This will invoke the Add Substitute Parts panel.
You will be able to search for a specific item.
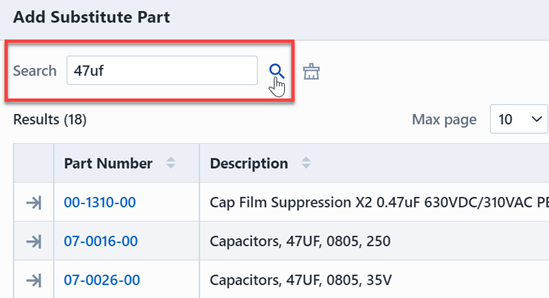
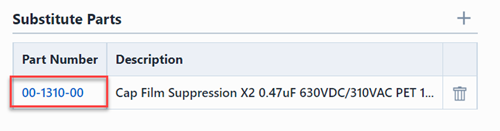
To add an item, click the part number.
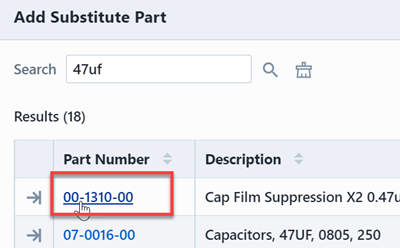
The item will be added to the list.
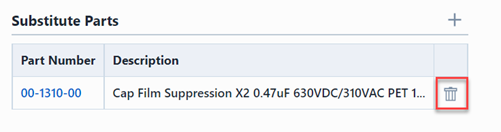
To remove an item, click the Remove button.
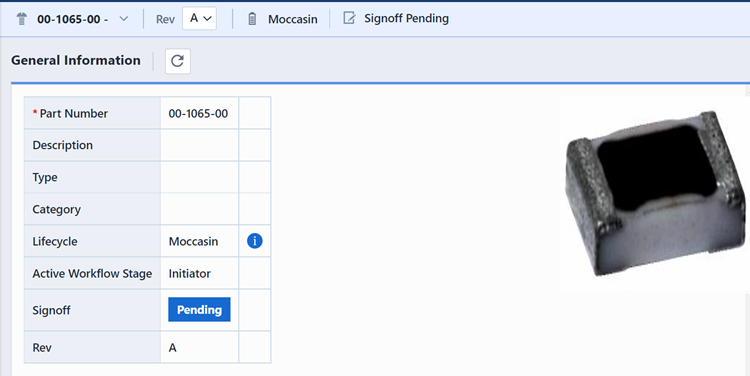
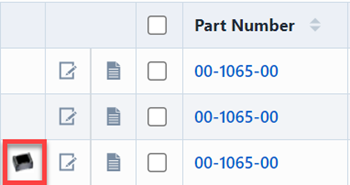
Item Images
Images can be assigned to items. Images can be any supported web browser format (.jpg, .gif, .png, .bmp, etc.). Image fields should represent a URL that can be read by the browser.
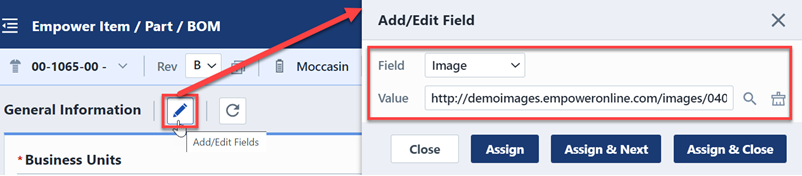
Images will be displayed on the Banner, General page and as thumbnails in search results.