Associations
Associations
Overview
Vendor associations can be used to provide intuitive grouping and navigation of similar or related items. Associations can also be used for a variety of reporting and 3rd party interface purposes. You can assign associations to any object in the system.
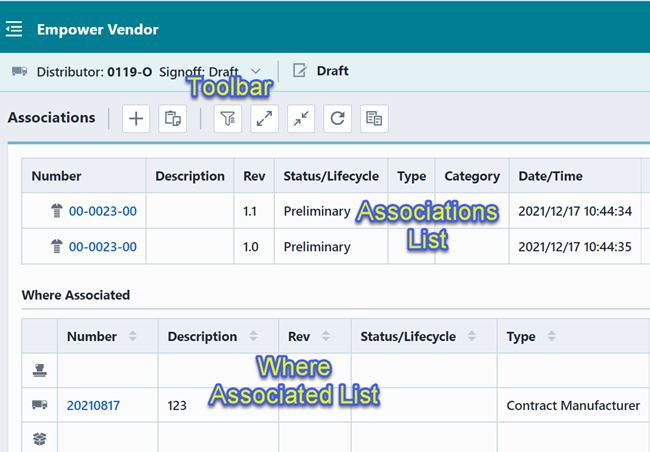
The Associations page lists vendor associations as well as a list of all objects that the current vendor is associated to (Where Associated list). The Associations page contains the following sections:
| Section | Description |
|---|---|
| Toolbar | Quick access to common functions |
| Associations List | Current listing of objects that have been assigned as association to the current/open object |
| Where Associated List | List of objects that have associated the current/open object |
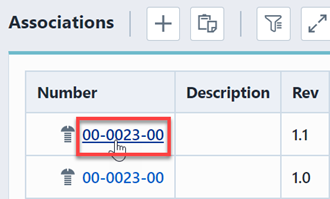
To open any object on the list, click the hyperlink on the number column.
Display Options
The Associations page provides various viewing options. To set/modify the options, select the Options toolbar button. This will invoke the Options slide-out panel.
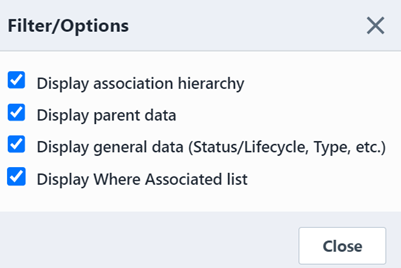
The Options pane provides the following options:
| Option | Description |
|---|---|
| Display association hierarchy | If checked, the Associations list will display all association hierarchy. If unchecked, the Associations list will display only the objects associated with the current/open object. |
| Display parent data | If checked, the Associations list will include columns for the parent number and description of the associated object. |
| Display general data (Status, Type, etc.) | If checked, the Associations list and the Where Associated list will include columns for the status, type, revision, etc. of the associated objects. |
| Display Where Associated list | If checked, the system will display the "Where Associated" list (described above). |
Hierarchy Display
The Associations list can display the complete relationship (hierarchy) of associated objects. Checking the Display association hierarchy in the Options panel will enable the hierarchical display.

You can navigate through the hierarchy by clicking the expand/compress buttons.
Adding
To add an associated object, click the Add toolbar button. This will invoke the Add Association dialog.
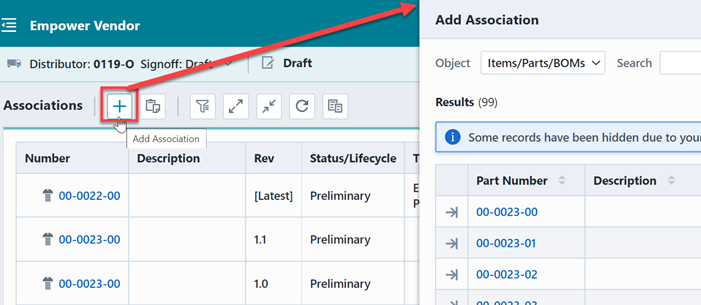
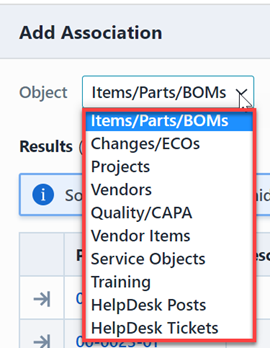
From this form you can select the desired object type.
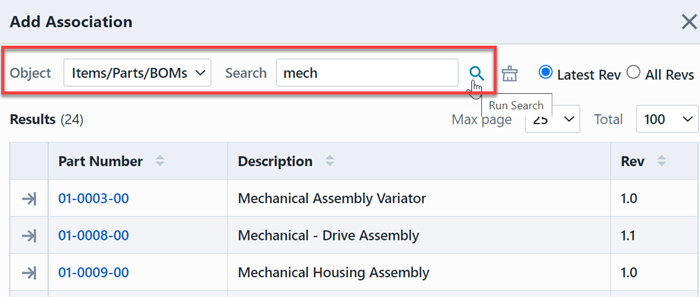
You can then search the key fields to find the desired item.
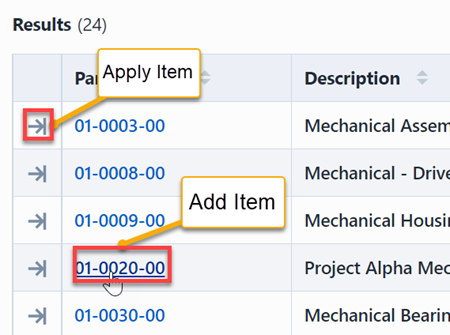
You can add objects by clicking the Apply button (form will remain open) or by clicking the Number hyperlink (closes the panel).
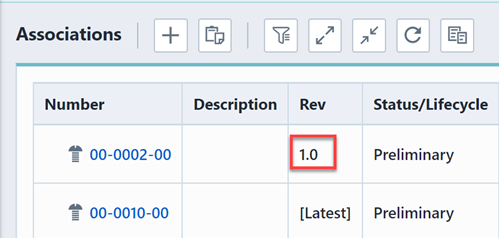
Please note that Latest Rev button differs from All Revs button.

When selecting Latest Rev, then the association that you added will always be the latest revision. For example, if the association is created when an item is at rev A, and then a year later this item is at rev D, the association will point to rev D.

When selecting All Revs, and the association that you added will always stay at the current revision you selected. For example, if you add an association to an item at rev A, the association will always point to rev A.
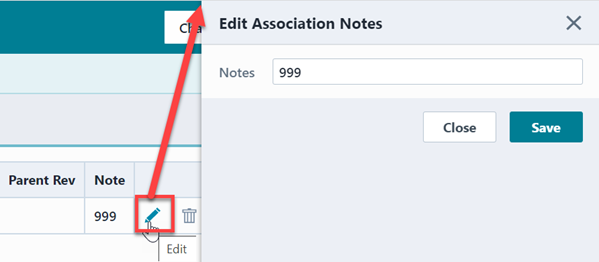
Editing
After an association is created, you can click the Edit icon to add a Note to the association.
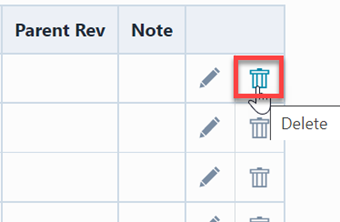
Removing
To remove an association, click the Remove button.
Copy/Paste
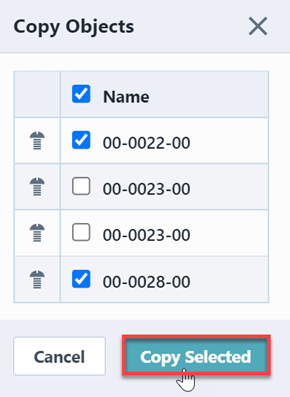
To copy the associated items to the buffer, click the Copy toolbar button. This will display the Copy Objects panel.
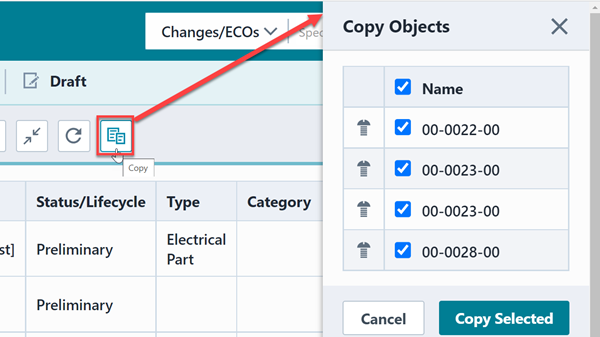
To copy objects to the buffer, check the desired items and then click the Copy Selected button.
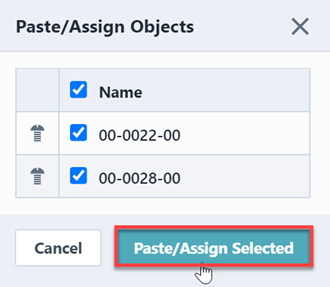
To paste objects from the buffer, click the Paste toolbar button. This will display the Paste/Assign Objects panel.
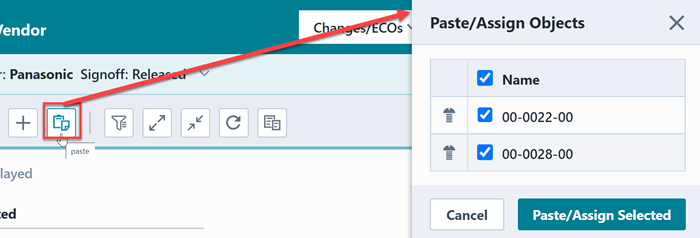
To assign the buffer items, check the desired items and then click the Paste/Assign Selected button.