Inbox
Inbox
Overview
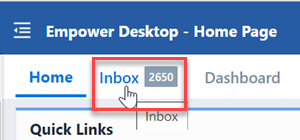
The Inbox displays a list of objects that the user is active for review and/or signoff, as well as any active tasks that the user has open. The Inbox is accessible from the Home Page or from the User form. To access the Inbox from the Home Page, click the Inbox tab.
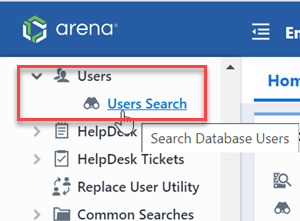
To access the Inbox from the User form, first search for the user from the Navigator.
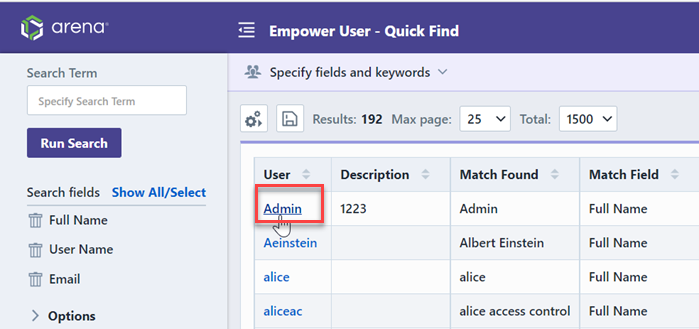
This will launch the User Quick Search. This allows you to search for the desired user and then launch the User form.
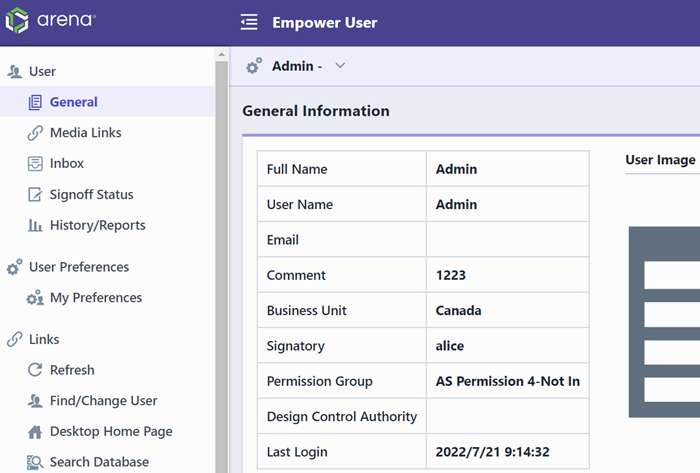
From the User form, select the Inbox page.
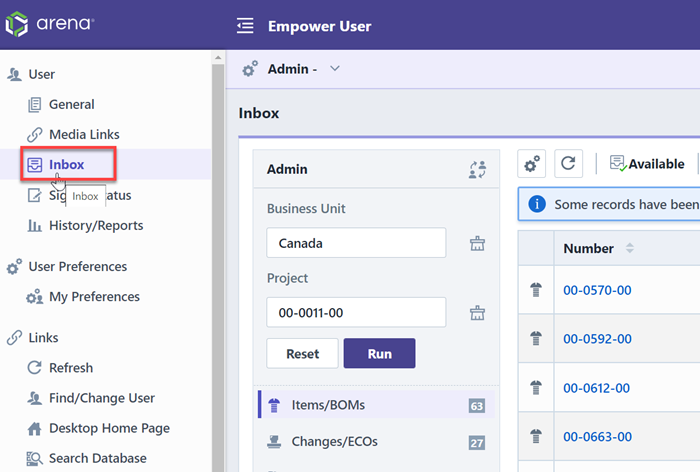
Navigation
Clicking on a link in the Inbox tree will update/filter the list for the selected option.
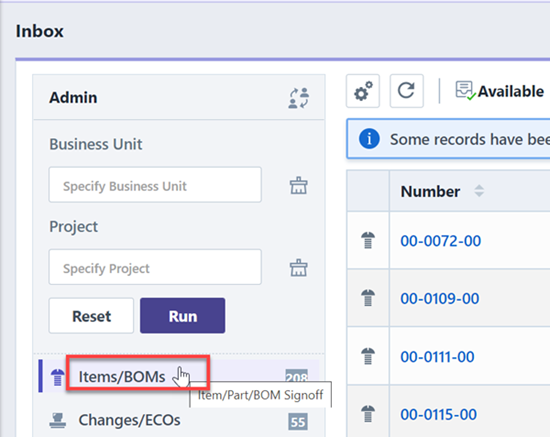
The Inbox tree contains the following options/filters:
| Option | Description |
|---|---|
| Items/BOMs | Lists the pending part requests for which the user is currently active on the signoff |
| Changes/ECOs | Lists the pending Changes for which the user is currently active on the signoff |
| Quality/CAPA | Lists the pending Corrective/Preventive Actions for which the user is currently active on the signoff |
| Projects | Lists the pending Projects for which the user is currently active on the signoff |
| BOM Routing | Lists the BOM routing items for which the user is currently active on the signoff |
| Vendors | Lists the Vendors for which the user is currently active on the signoff |
| Vendor Items | Lists the Vendor Items/Parts for which the user is currently active on the signoff |
| Service Objects | Lists the Service Objects for which the user is currently active on the signoff |
| All Signoff Items | Lists all objects for which the user is currently active on the signoff |
| My Draft Items | Lists all "draft" objects that the user created and has not started the signoff routing |
| My Signatory Items | Lists all active signoff objects that the user is a signatory user on |
| Tasks | Lists all open tasks for the user |
| Training | Lists all training items that the user has not completed |
| Messages/Posts | Lists all personal HelpDesk posts that the user has not read |
| HelpDesk Tickets | Lists all active tickets where the user is the Owner |
| Awaiting Release | Lists all active objects that are awaiting release |
Options
There are various options for displaying specific objects and settings. To change/set the options, select the Options toolbar button. This will display the Options panel.
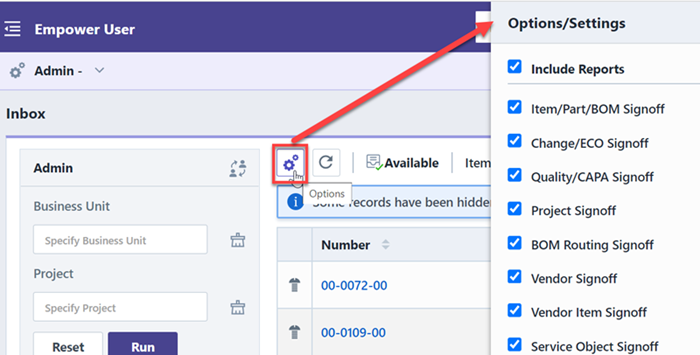
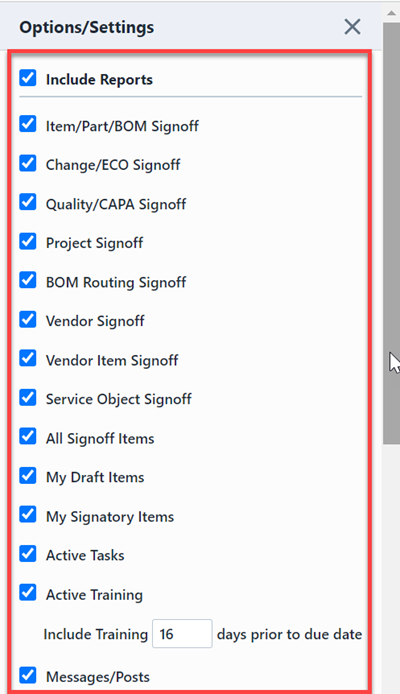
The Options panel allows you to select which reports to include under the Include Reports section.
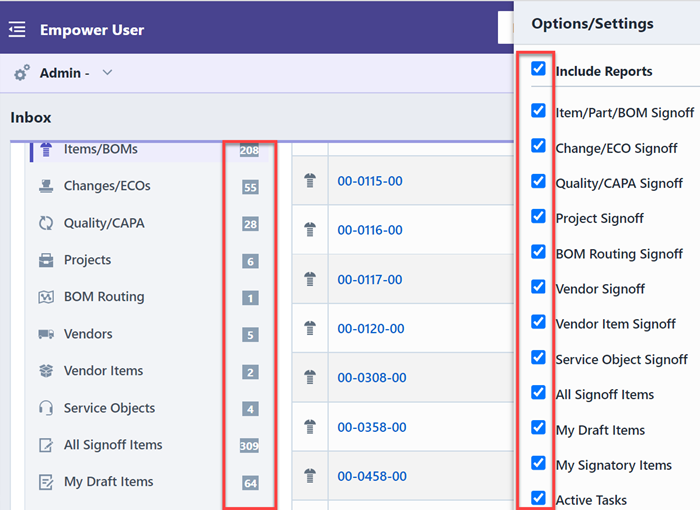
Note: the number/count displayed on the Home page will depend on which reports are selected in this list.
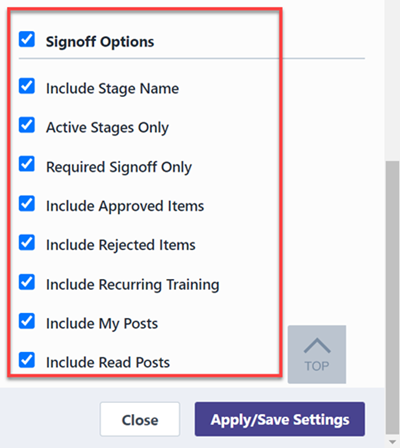
The Options panel also contains a Signoff Options section that provides the following options:
| Option | Description |
|---|---|
| Include Stage Name | If this option is enabled (checked), the Inbox will include the Active Stage name in the object signoff lists. |
| Active Stages Only | If this option is enabled (checked), the Inbox will list items where you are on the active signoff stage. If this option is disabled (unchecked), the Inbox will list all items where you are on the signoff list even if you are not on the active signoff stage. |
| Required Signoff Only | If this option is enabled (checked), the Inbox will list only items where you are required for signoff. If this option is disabled (unchecked), the Inbox will list items where you are required or a reviewer. |
| Include Approved Items | If this option is enabled (checked), the Inbox will include items that you have already approved. If this option is disabled (unchecked), the Inbox will include items that you have not approved yet. |
| Include Rejected Items | If this option is enabled (checked), the Inbox will include items that you have already rejected. If this option is disabled (unchecked), the Inbox will include items that you have not rejected. |
| Include Recurring Training | If this option is enabled (checked), the Inbox will include recurring training items. If this option is disabled (unchecked), the Inbox will not include recurring training items. |
| Include My Posts | If this option is enabled (checked), the Inbox will list open HelpDesk posts that you have authored. |
| Include Read Posts | If this option is enabled (checked), the Inbox will list HelpDesk posts that you have already reviewed. |
List Items
Clicking on a link in the Inbox tree will update/filter the list for the selected option.

The list will include all critical information as well as a hyperlink to open the object.
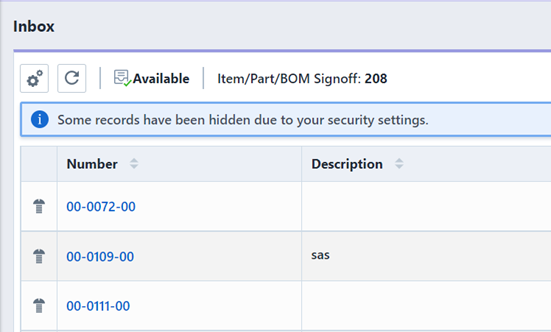
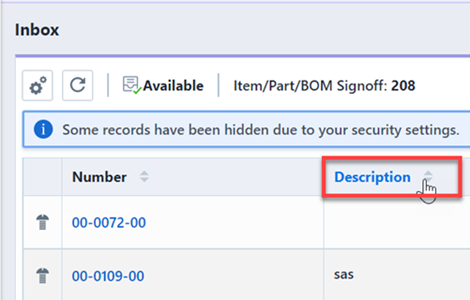
You can sort any of the columns by clicking the column header.
Out of Office
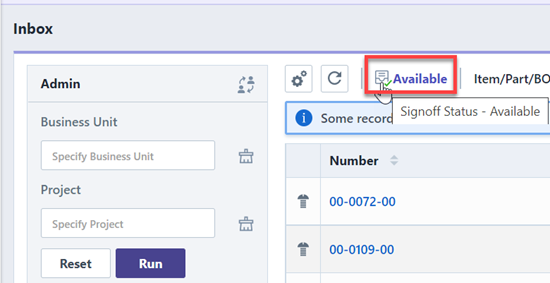
Desktop allows users to dynamically set an authorized Signatory for active signoff objects. To view and set the authorized Signatory, select the Signoff Status toobar button.
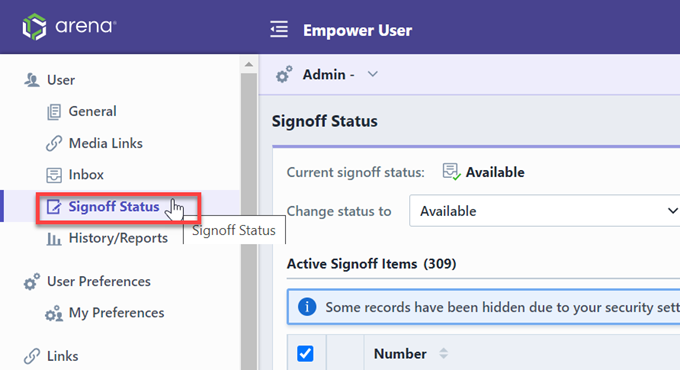
This will open the User form and select the Signoff Status page.
The page will display the current "Out-of-Office" status.
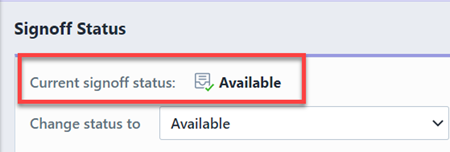
To change your status, select the desired status from the Change status to list.
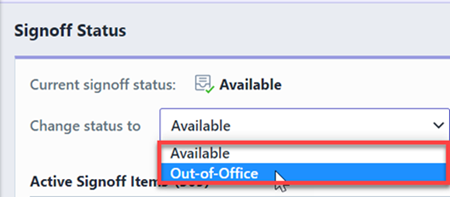
You will be able to select either Available or Out-of-Office. Selecting Out-of-Office, will allow you to set an authorized signatory who can sign off on your behalf while you are away. You will also be able to set a return date and notes.
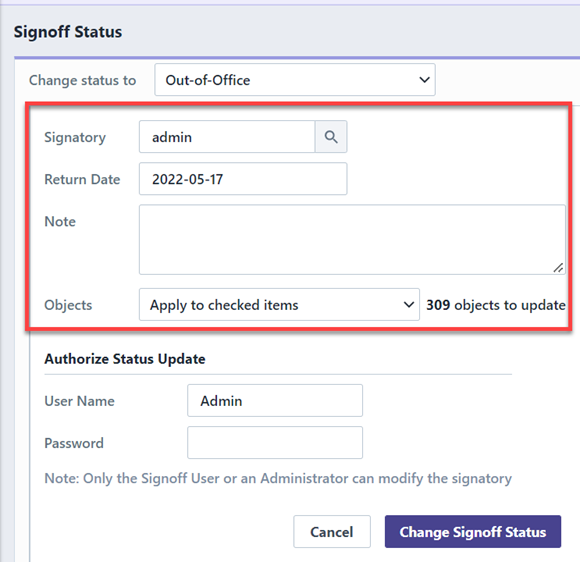
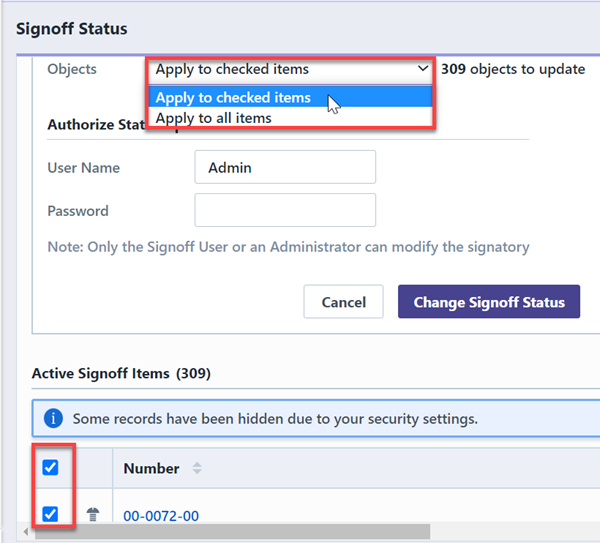
You will be able to select which items to assign the signatory to by checking the object in the list or by selecting the All items option.
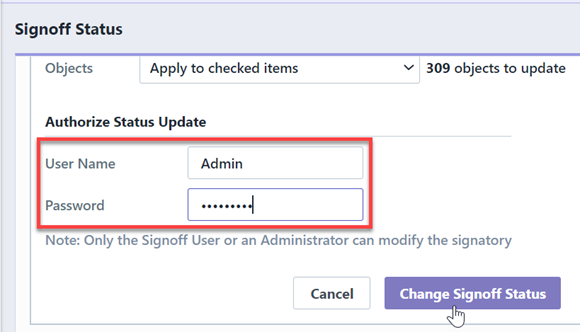
To assign a signatory, you must specify your user name and password. Note: you can also specify an administrator user name and password.
The Signatory can be set either temporarily or permanently. Users who will not be able to sign off on items for an extended period of time may want to set the Signatory while they are away and then clear the Signatory upon their return.
Other Users
To view another user's Inbox, click the Change User icon in the Inbox.
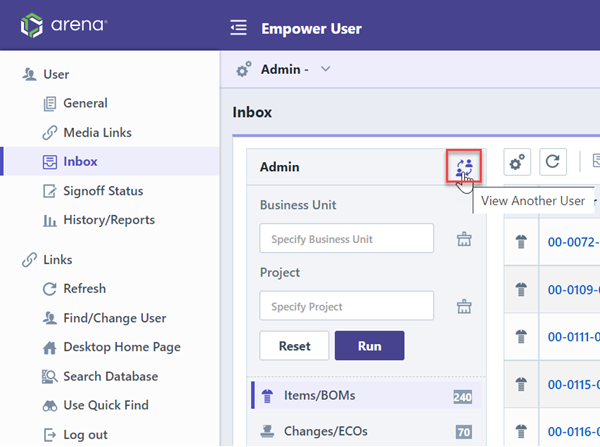
You can also launch the User Quick Find from the Navigator.

Either action will launch the User Quick Search form.
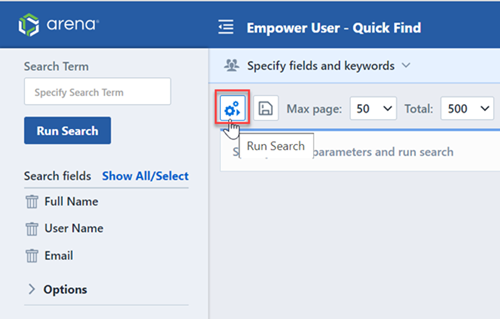
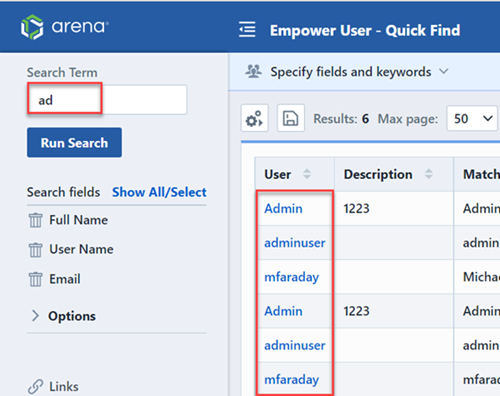
From the Quick Search form, you can type in partial or full user names and click the Run button. If an exact match is not found, the system will list possible matches. Clicking on the user, will open the User form.
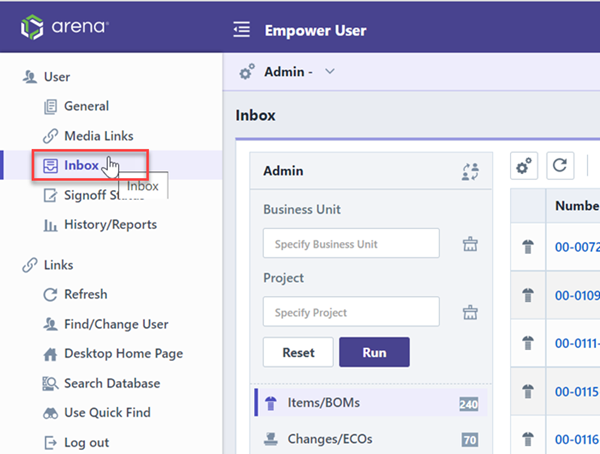
From the User form, select the Inbox page.
Custom Inbox Fields
Users can customize their Inbox with the Custom Inbox Field drop-down menu under the General Options page of User Preferences.
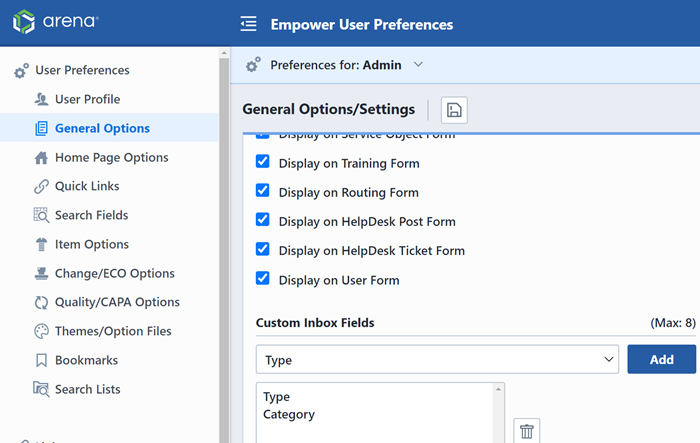
Click the Add button, then select desired fields from the drop list.
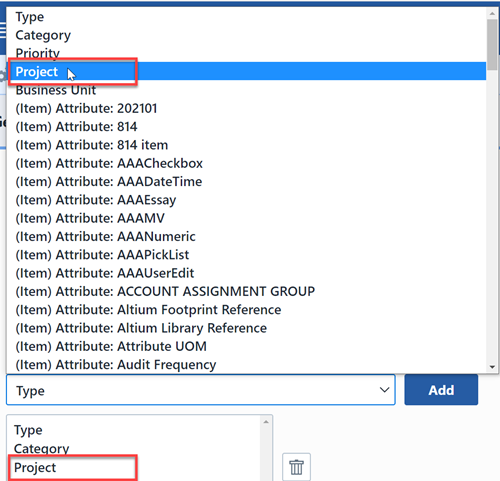
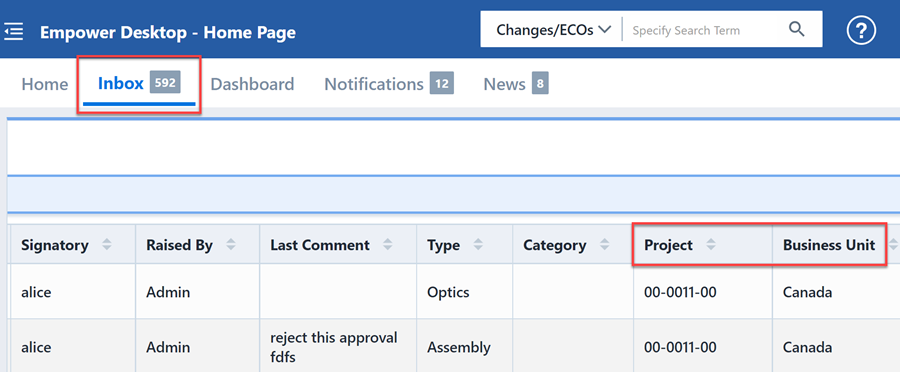
Users can now add Business Unit and Project as columns within their Inbox when users customize their Inbox within the General Option section within User Preferences.
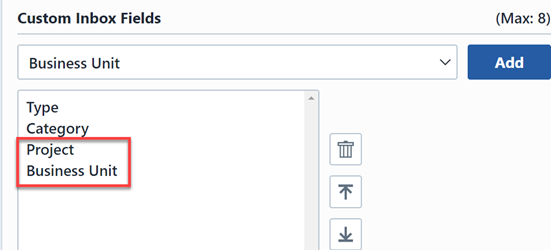
When those modifications to the Inbox are saved, Business Unit and Project columns will appear as columns within the user's Inbox.
