General
General
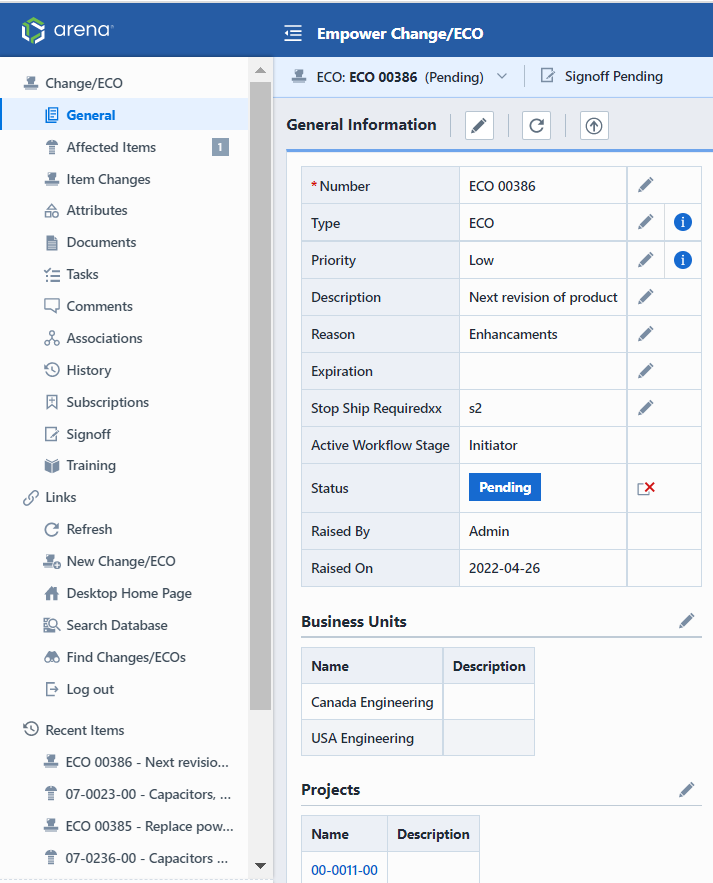
Overview
The General Page contains the following sections:
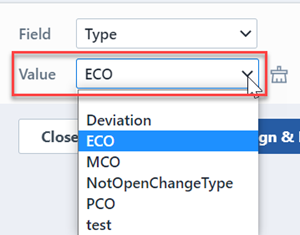
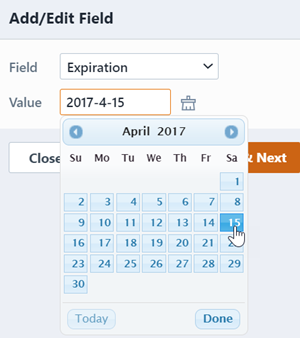
To modify any of the general fields, click the Add/Edit toolbar button. This will invoke the Add/Edit Field dialog box.
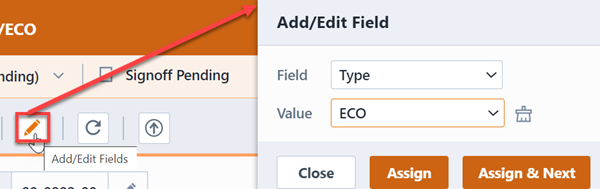
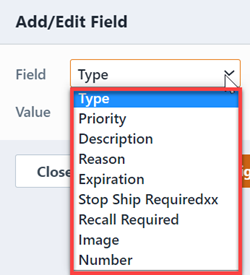
To modify a field, select the fields from the drop list.
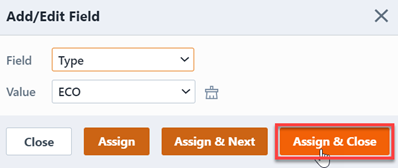
You can then set the value and click the Assign button to set the value.
Change Numbers
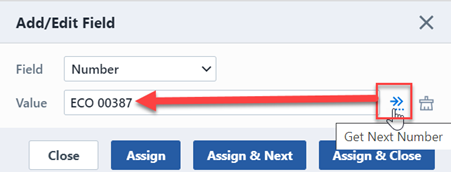
Change Numbers represent the key field by which all change information is tracked. Each Change will have a unique Change number. Change numbers can be manually assigned by typing directly into the Number field, or automatically generated by the system. When using the automatic Change number generator, Desktop will read the Change Number from the existing Changes in the system (based on the selected Change Type).
To use the Automatic Change Number Generator, first select a Change Type.
To retrieve the next Change number you can click the Get Next Number icon.
Change Types
Changes are defined by a Change Type, i.e.: ECR, ECO, ECN, MCO, Deviation, etc. You can set/modify the change type by selecting from the Type drop list.
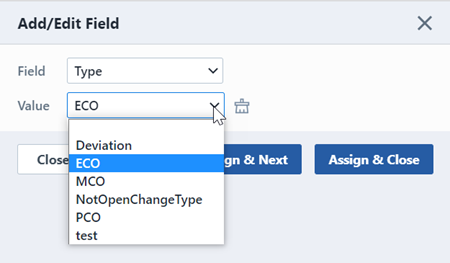
Change Type options are defined in the Administrator. Change Types can have different numbering scheme, default signoff/workflow, revision options, default reason, and default description fields.
Priority
The Priority setting is a way that you can use to alert users to the importance of a specific Change/ECO.
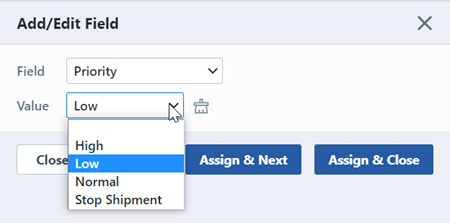
Change Priority options are defined in the Administrator.
Description of Change
The Description of Change field is an open text field. You can type in any characters and use carriage returns in this field.
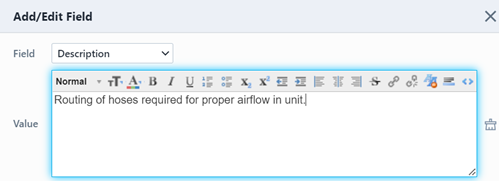
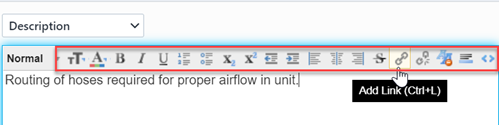
You can use the formatting toolbar to enhance the text and add hyperlinks.
Reason for Change
The Reason for Change field is an open text field. You can type in any characters and use carriage returns in this field.
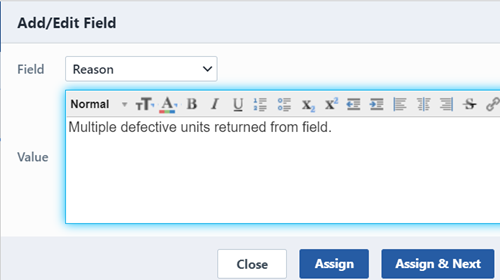
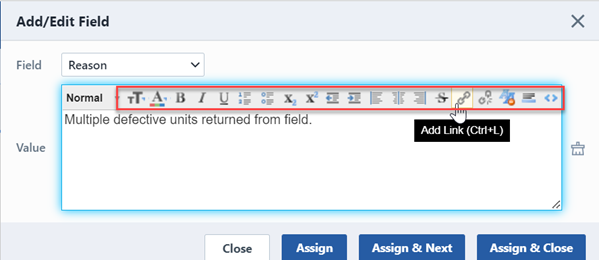
You can use the formatting toolbar to enhance the text and add hyperlinks.
Expiration
The Expiration field allows you to set an expiration date for implementing the Change/ECO. The expiration date can be used in the Expiring Changes/ECOs report.
Status Field
The Status field will indicate the internal status of the Change/ECO (such as: Draft, Pending, Awaiting Release, Released, etc.).
Based on the current status, different action buttons will be available to change the status (Release, Cancel, Reinstate).
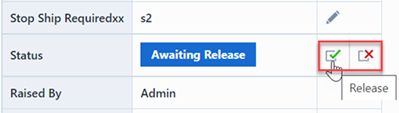
Refer to the Releasing Changes for more information on releasing Changes/ECOs.
Custom Fields
You can create Custom fields that will be displayed on the General page of the Change/ECO form.
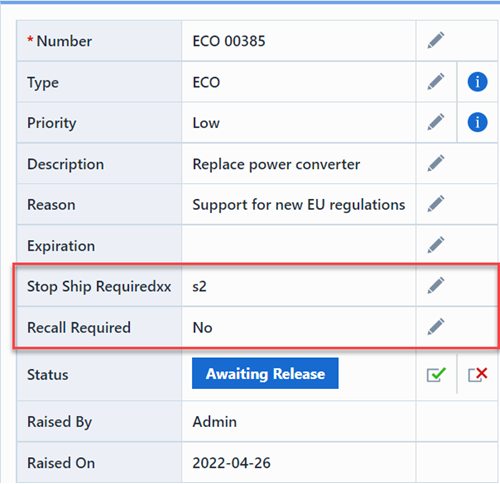
Custom fields are defined in the Administrator and can be open text fields or pick list options.
Business Units
Business Unit associations provide you with a way to link items and business units for searching, classification, signoff workflows, and/or permission purposes. You can define multiple business units for any item, and multiple items can appear under the same business unit.
Business Units are associated to Changes/ECOs on the General page of the Item form. To add a Business Unit, click the Edit button. This will invoke the Modify Business Units panel.
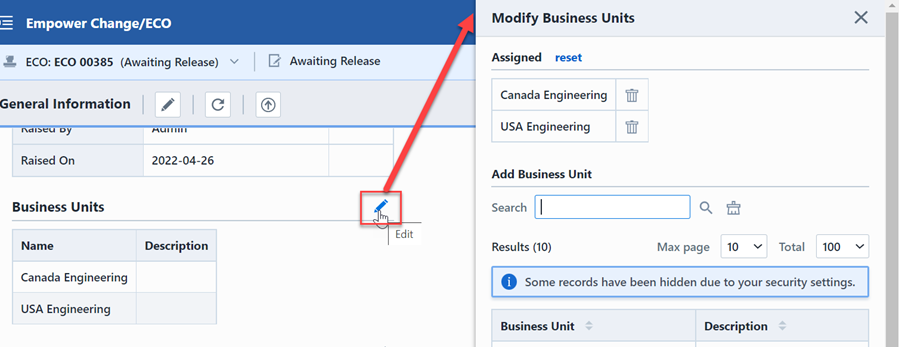
To add a business unit, select a business unit from the Add Business Unit section. The business unit will be added to the Assigned list.
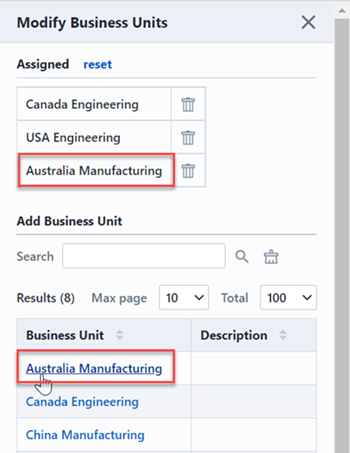
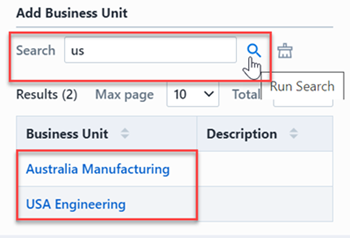
You can search for the desired business unit in the Add Business Unit section.
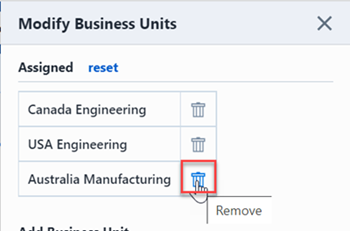
To remove a business unit, click the Remove button on the Assigned list.
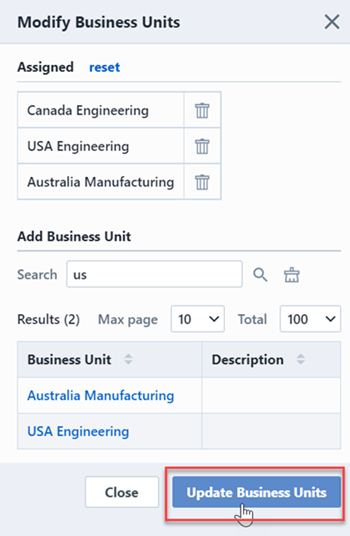
To apply the changes, click the Update Business Units button. Business units that appear in the Assigned list will be applied to the object.
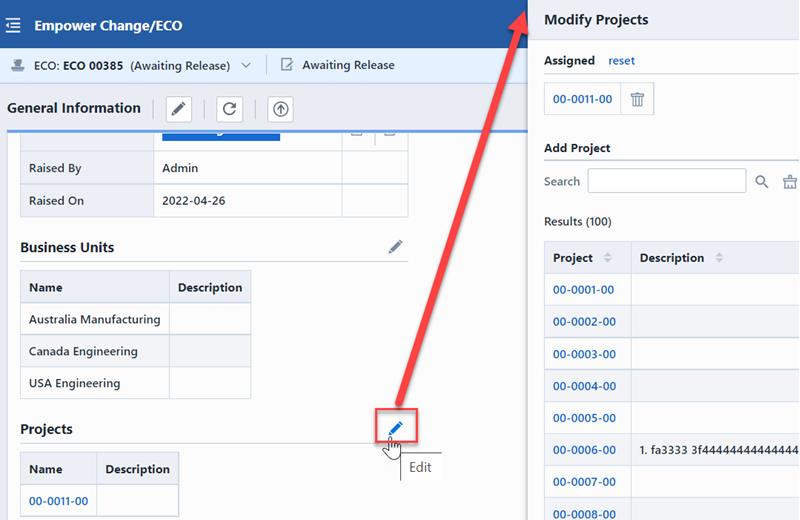
Projects
Projects associations provide you with a way to link items and projects for searching, classification, signoff workflows, and/or permission purposes. You can define multiple projects for any item, and multiple items can appear under the same project.
Projects are associated to Changes/ECOs on the General page of the Item form. To add a Project, click the Edit button. This will invoke the Modify Projects panel.
To add a project, select a project from the Add Project section. The project be added to the Assigned list.
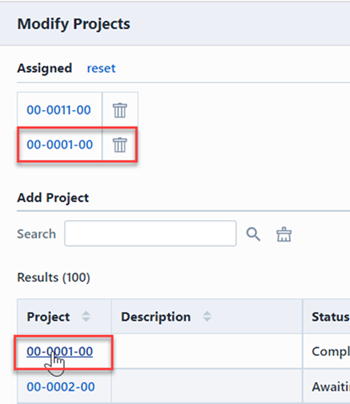
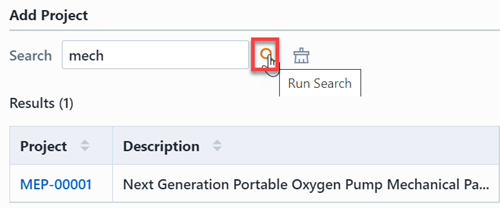
You can search for the desired project in the Add Project section.
To remove a project, click the Remove button on the Assigned list.
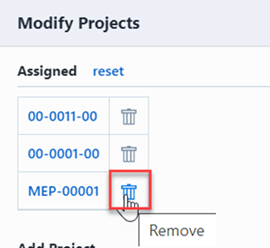
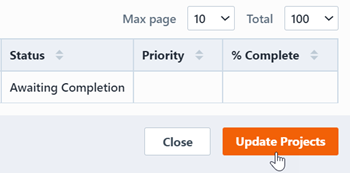
To apply the changes, click the Update Projects button. Projects that appear in the Assigned list will be applied to the object.
Escalation
The Escalation area allows you to create an associated Change/ECO or Quality/CAPA object. The system will automatically assign the same Affected Items and create the Association link when creating a new object from the current form.
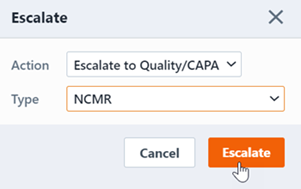
To create an associated Change/ECO or Quality/CAPA item, click the Escalate button. This will invoke the Escalate panel.
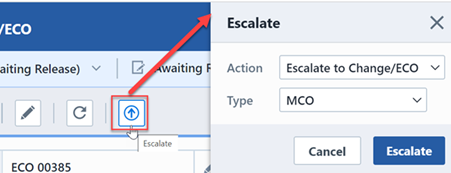
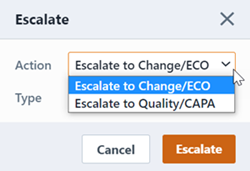
From the Escalation area, select the target action (Change or Quality).
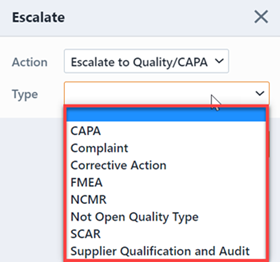
Once the target object is selected, the Type list will display the available types for that object.
To create the new object, click the Escalate button.
This will launch the New Object Wizard. All affected items and associations will be carried over to the new object.