Empower Upgrade Guide
Empower Upgrade Guide
Overview
Welcome to the Empower Upgrade Guide. This guide will provide all information necessary to prepare and upgrade your existing Empower environments to higher. It is highly recommended that a test instance be created for testing and validation before upgrading your production system.
Please note that the licensing process has changed from previous versions. Licenses are now available directly from the Empower App Portal. Please refer to the Licensing and Site IDs section of this manual for more information.
Empower Support is here to help you through the upgrade process. Contact us at: arena-support@ptc.com
Quick Checklist
The following sections will be covered in detail in this document. Below is a quick checklist of the upgrade process.
Test/Validation Process
IIS configuration
IIS installation with the feature of "Application Initialization"
It is necessary to install the module of "Application Initialization" to make sure Empower application auto start and always running.
Below is the steps for Windows Server 2012 or Windows Server 2012 R2.
- On the taskbar, click Server Manager.
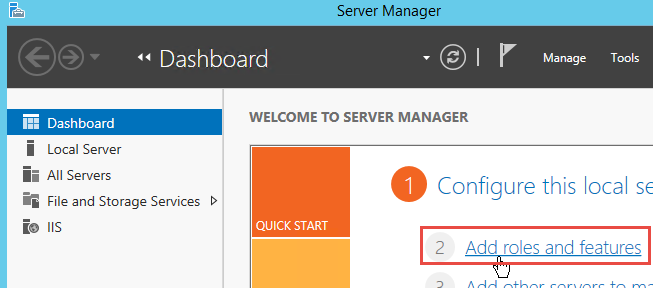
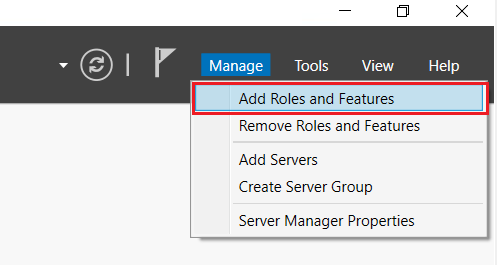
- In Server Manager, Click Add roles and features from home page or Under Manage menu.
- In the Add Roles and Features wizard, click Next. Select the installation type and click Next. Select the destination server and click Next.
- On the Server Roles page, expand Web Server (IIS), expand Web Server, expand Application Development, and then select Application Initialization. Click Next.
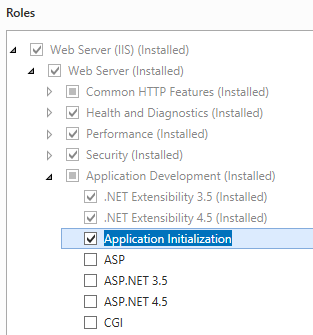
If you find that you have already installed it, ignore the following steps and just close the window.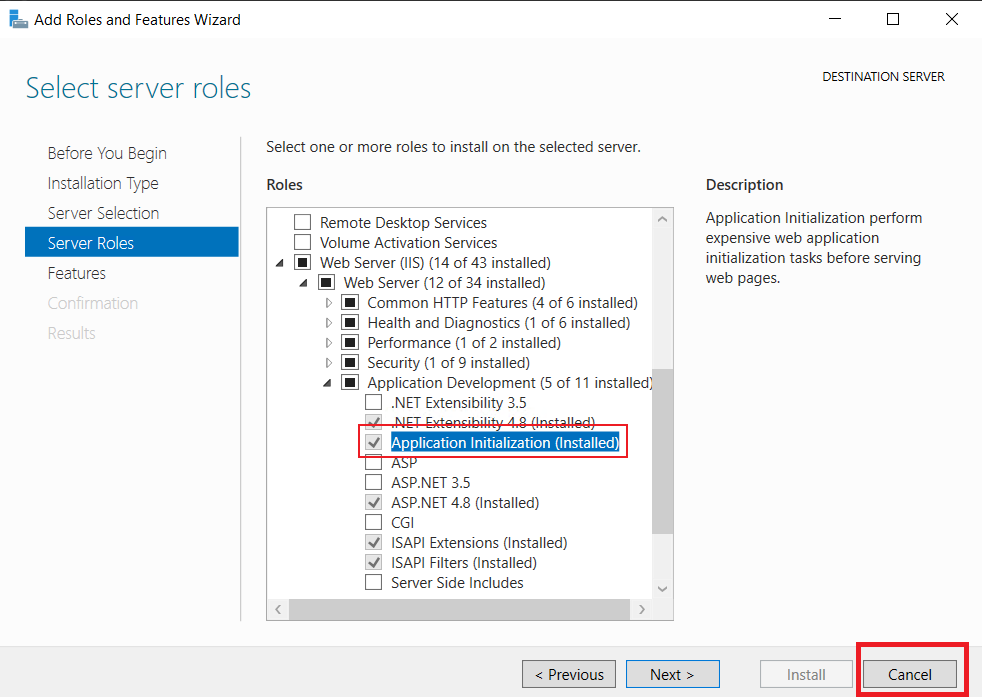
- On the Select Features page, click Next.
- On the Confirm installation selections page, click Install.
- On the Results page, click Close.
Application Pool Settings
- Open IIS from Control Panel.
- Click on the Application Pool node.
- Right-click on the Application Pool used by Empower Applications and select Advanced Settings.
- Change the Start Mode from "OnDemand" to "AlwaysRunning".
Please note that these steps are provided based on the information you provided and may vary depending on the specific version of IIS you are using.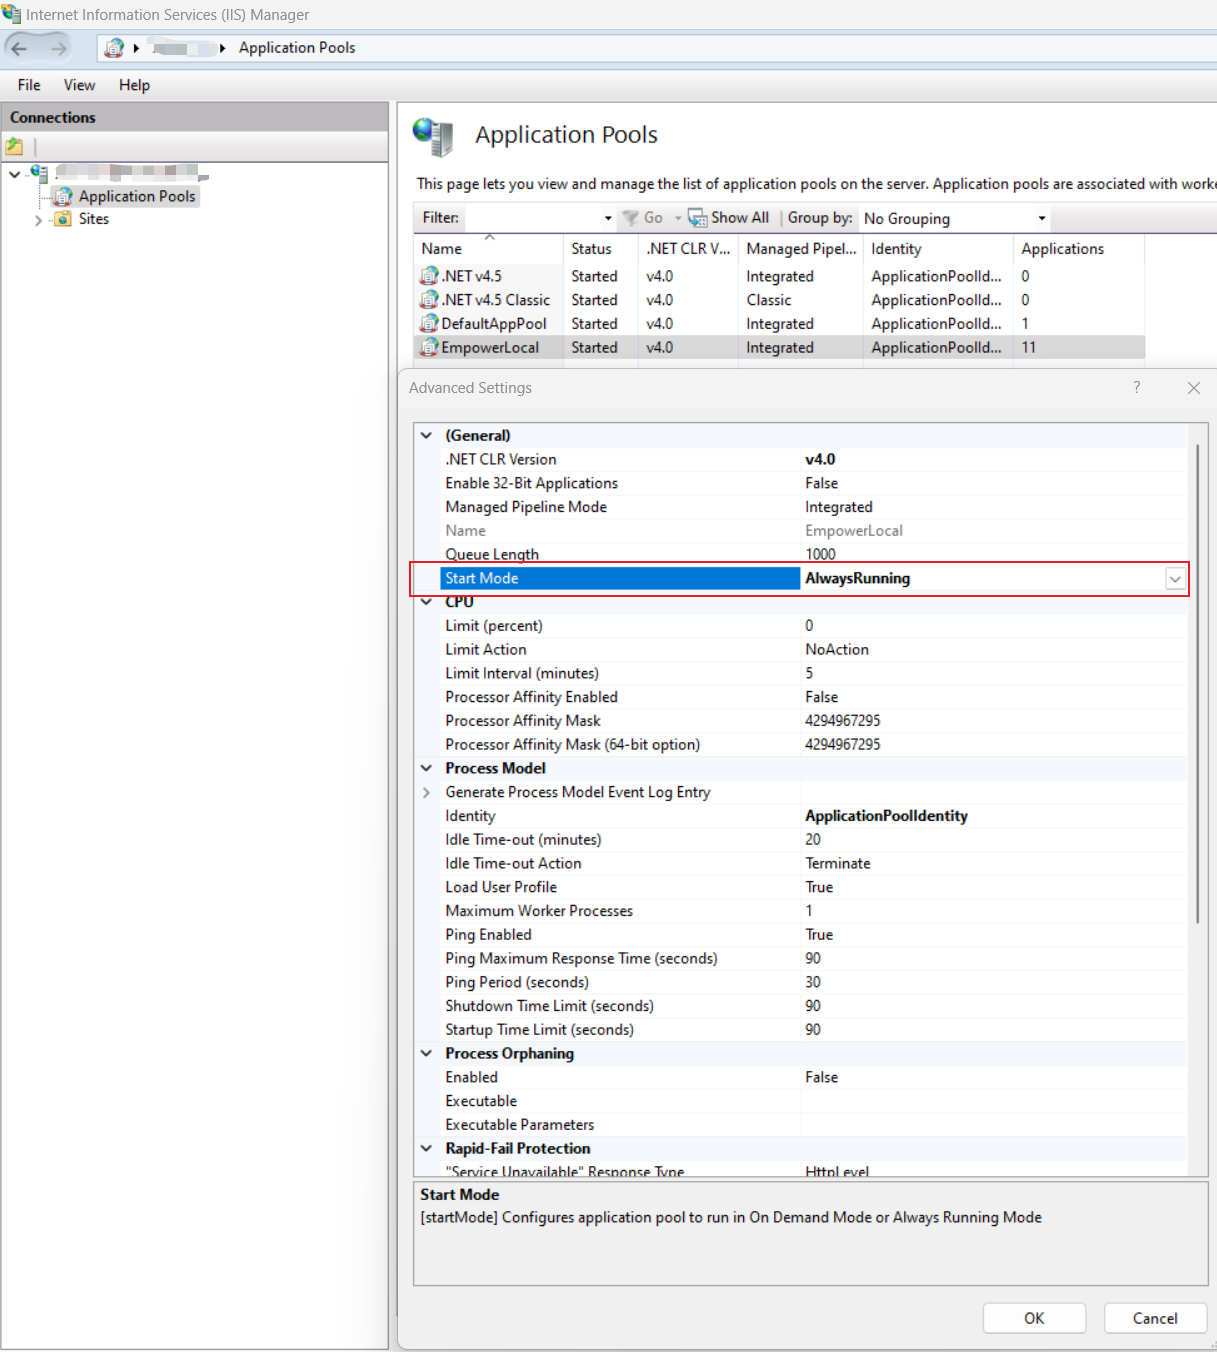
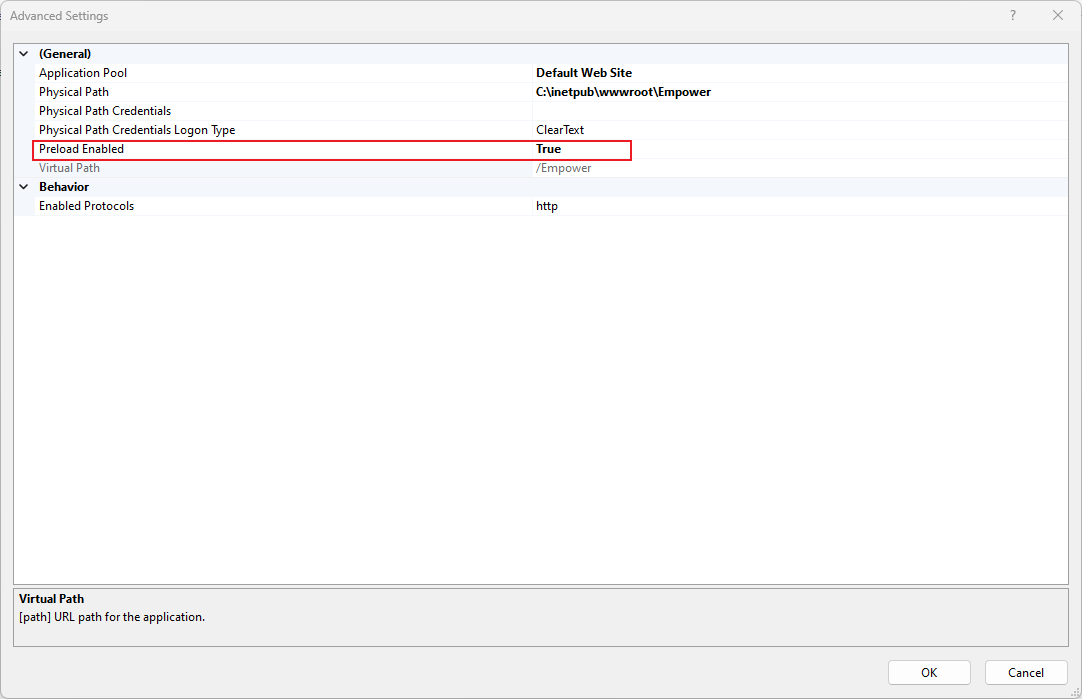
Site Settings
- Open IIS from Control Panel.
- Click on the Sites node and expand it.
- Navigate to the Empower site and click on it.
- In the right Actions panel, click on Advanced Settings.
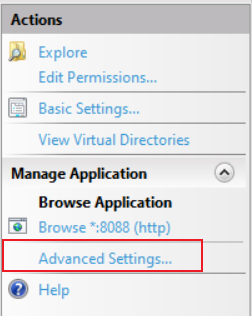
- Set Preload Enabled to True.
Resources/Links
| Resource | URL |
|---|---|
| System Requirements | SystemRequirements.html |
| What's New | OverviewOfEmpower840.html |
Contents
| Section | Description/Topics |
|---|---|
| Test Environment | Setting up a test server and databases for validating in your environment |
| Upgrading Databases | Upgrade database from Server Home page to upgrade databases from previous Empower versions |
| Licensing and Site IDs | Overview of the new licensing and site setup process as well as license installation |
| Administrator Changes | Key changes to the Administrator, processes and schema that you should review before testing |
| Toolkits/Customizations | How to setup and deploy customizations and 3rd party interfaces |
For additional support please contact Arena Empower at:
| Ways | Address |
|---|---|
| Support Email | arena-support@ptc.com |
| Support Portal | https://arenasolutions.my.salesforce.com/sserv/login.jsp?orgId=00D00000000hZci |