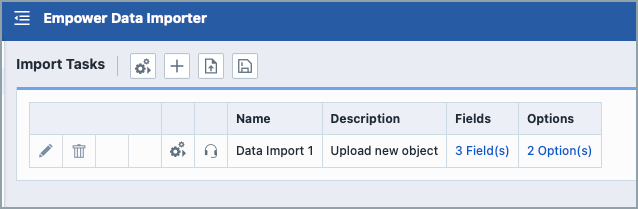
Import Tasks
Import Tasks
Overview
The Data Importer allows users to bulk import and edit Empower Objects and data from various sources, including SQL, Access or OleDB Databases; Microsoft Excel, XML, or Text Files; or via a REST API.
An attempt to import data is called a task. Users can create a single task at a time, or use the Load Tasks button to import several tasks at once using an XML, Database, or Toolkit file.
How to Import Data with Tasks
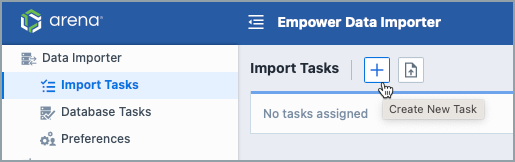
- Click the New Task toolbar button to go to the Create an Import Task step. ADVANCED MODE ONLY:
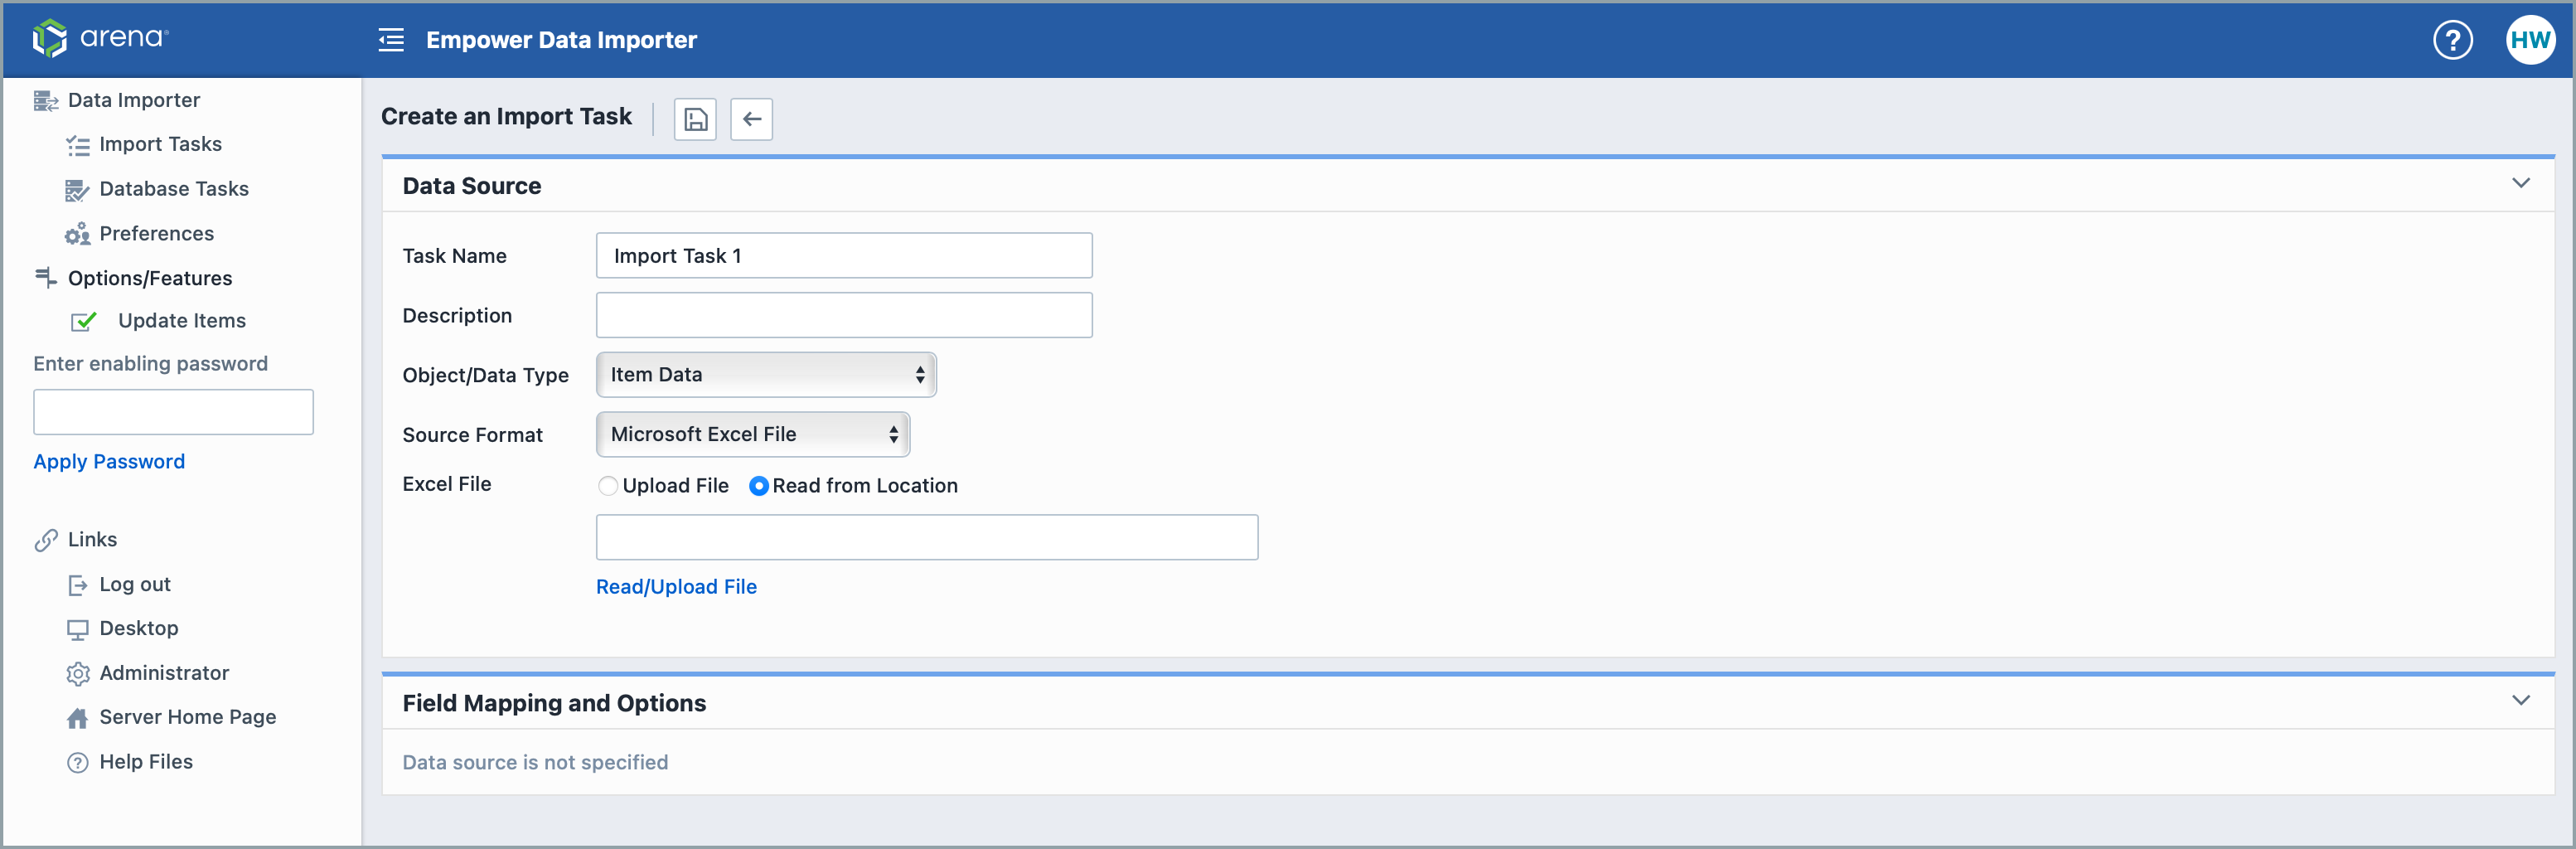
- You can define:
- Task Name: Choose a memorable name
- Description: Provide details to help your colleagues understand this import
- Object / Data Type: Pick the type of Object your import will affect.
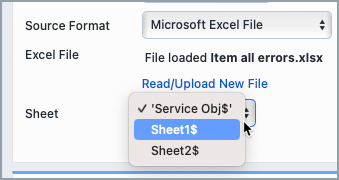
- Source Format: Choose the type of file you will be importing.
- Excel File: If you are importing with an Excel file, you can select to Upload File or Read from Location. When uploading a file, a button will appear asking you to Choose a file. When reading from location, a field will appear where users can input the file location on their server.
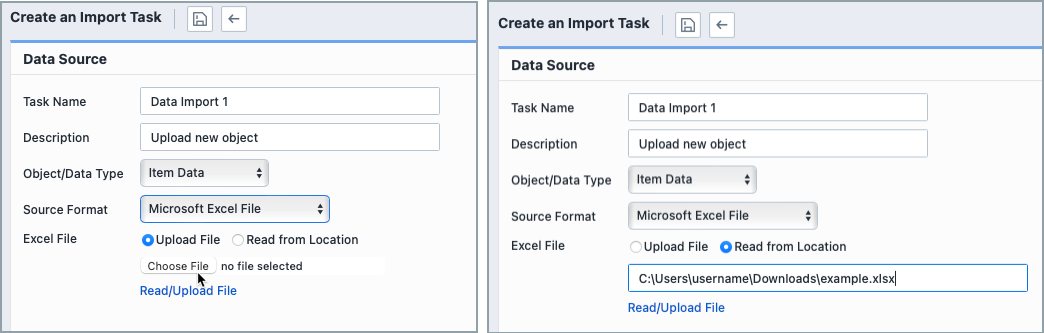
Click the Read/Upload File button to read and begin uploading the file.
After reading, you can select which sheet to read data from.
- You can then define field mapping and options. Source fields are read from the file you uploaded. Notes: Certain special characters in Excel column headers (such as “.” and “[]”, but not limited to these) may be automatically adjusted by the system to prevent SQL parsing conflicts. This adjustment does not affect the import result. As long as the mapping is configured correctly, the system will retrieve the proper values and import them as expected.
ADVANCED MODE ONLY: If there are no fields you want to map a source field to, you can select Attribute (New) and input the new attribute name.

Click the
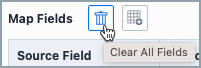 button to clear fields. Click the
  button to auto-map them. Once auto-mapped, you can edit for errors.
Options: Depending on your Object/Data Type, different options will appear for you to choose from. Choose the options that best represent the tasks you need to complete.

- Click the Save toolbar button to save the task.
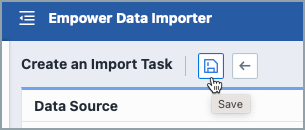
- After a few seconds of processing, the task will be stored on the Empower server temporarily (it will disappear if you exit the system).
- You can continue adding tasks and save them. Click the Save Tasks toolbar button to invoke the Save Tasks panel.
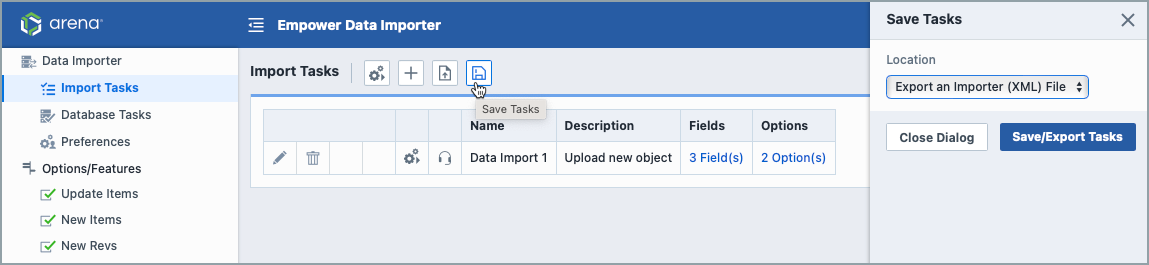
- You can export a file or save them as database tasks or as an Importer (XML) file.
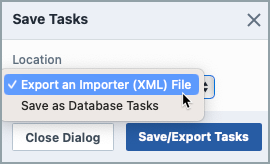
- Click the Save/Export Tasks button to save or export them.
Loading Tasks
- From the Save Tasks page, users can upload more tasks to include. Click the Load Tasks toolbar button to invoke the Load Tasks panel.

- Users can select one location from three options:
- Upload an Importer Tasks (XML) File
- Load Database Tasks
- Load Toolkit Options File
When checking the Clear existing tasks checkbox, existing tasks will be cleared when new tasks are loaded.
Click the Load Tasks button to load them.
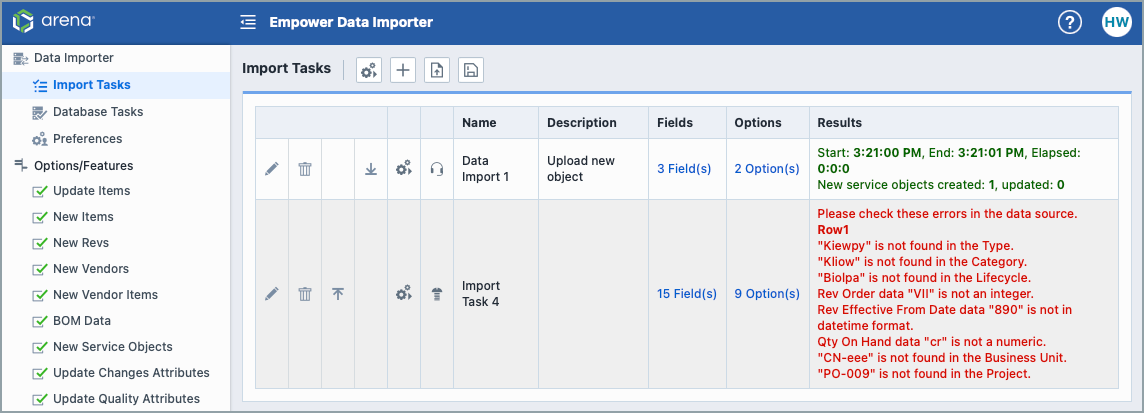
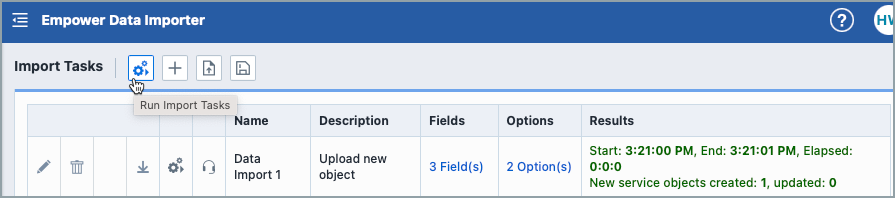
Run Tasks
When your tasks are loaded,you can begin your import. You can also specify the order of the import tasks by using the arrows to move a task up or down the list. ADVANCED MODE ONLY: Users must enter their password before running a task. 
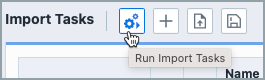
- Select the order in which the Data Importer will carry out tasks by using the up and down arrows. Click the Run toolbar button to run existing tasks.
- Preview the fields and options of tasks to doublecheck your Import.
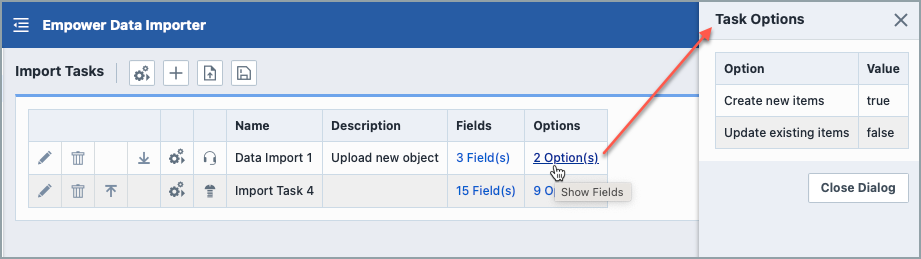
- Click the Run/Import Tasks button to begin your import.
 BASIC MODE ONLY: The Data Importer performs a preliminary validation of your import data and provides a list of all changes that need to be made before the Import can be completed. This validation checks the data type, length, and whether the Object can be updated. This validation will catch if the imported data does not match the types found on Administrator defined picklists or does not match a legal value for a checkbox (true/false).